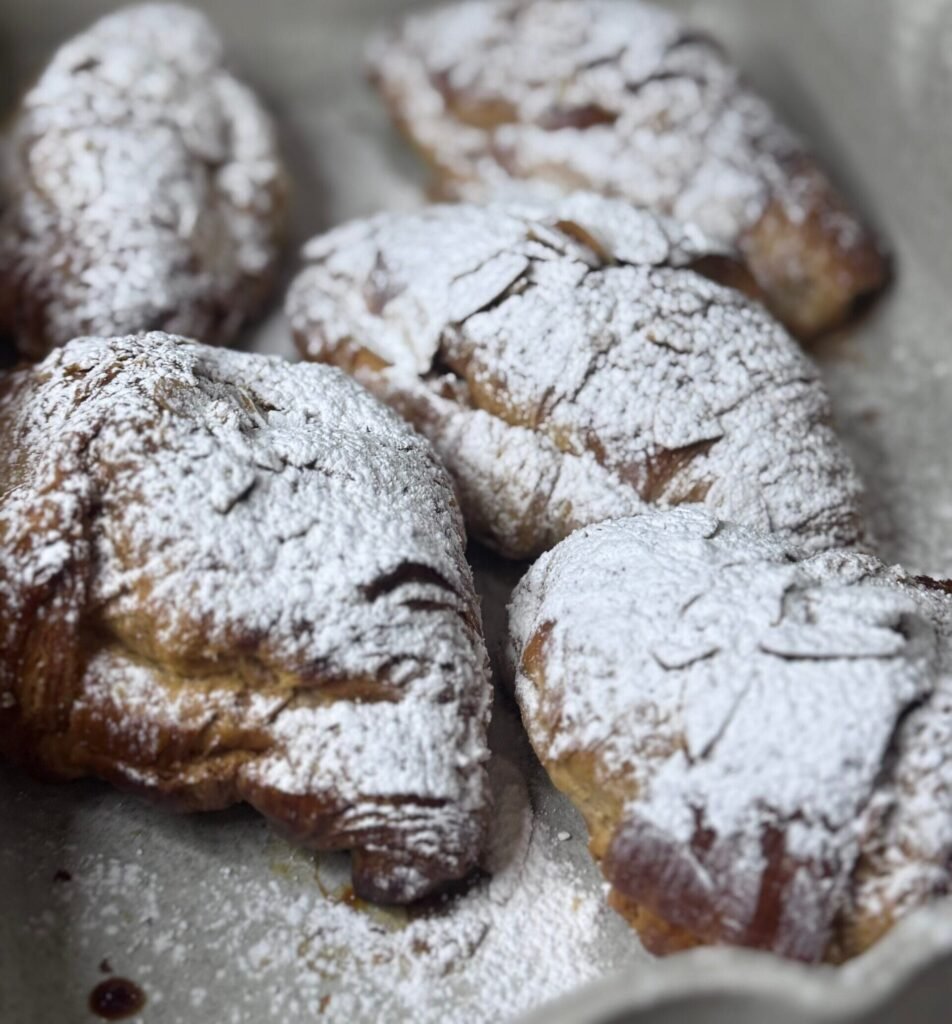
I think there is nothing better than the smell of freshly baked dinner rolls in your home. Soft, fluffy, and so incredibly delicious, these dinner rolls are the perfect addition to any meal, especially during the holidays.
As we approach Easter, my mind starts spinning, wondering what can I do to make dinner extra special? And as usual, the right answer is – the fluffy dinner rolls.
These dinner rolls also serve so well during summer season, when we are ready to grill and enjoy a good burger or a Sloppy Jo.

And, let’s be real, what would a holiday dinner be without the homemade dinner rolls?
They are the kind of food that makes everyone reach for more, because they are so irresistibly good. Plus they make the best little sandwiches the next day, repurposing all those delicious ingredients into a full meal.
I know, dinner rolls may seem intimidating, but I promise you, with this recipe, you will be rolling them in no time. I used to steer clear of baking rolls, thinking it would be too messy and hard to make, but this foolproof method changed everything.
This recipe has no fancy ingredients, no complicated steps, just simple instructions that will make you look like a baking pro in no time.
How To Set You Up For a Success
I want to share few important tips, that I find incredibly helpful:
Grab a Dutch oven – strongly encourage using a Dutch oven (again as it is a real master of the show). For this quantity, serving about 6-8 people, you need a 7 quarts size oven to fit them all. Plus the even heat distribution does wonders in the baking process.
Standing mixer – The dough attachment of the standing mixer will be super handy, but if you don’t have it – don’t sweat! A spatula and some elbow grease will do just fine.
The yeast factor – Every time I bake, I try using fresh yeast, but having dry yeast around will be super helpful too. Just make sure the yeast is not too old for best results and perfect activation.
Keep the ingredients warm – To enable yeast to perform the best, keep ingredients warm. That means, let the eggs and yogurt sit at room temperature at least 1 hour before starting.
As an Amazon affiliate, I earn from qualifying purchases, at no extra cost to you.
Overnight Option
To make things easier on you, I am also giving you an overnight option (which I strongly recommend):
- Cover the rolls in the Dutch oven with a plastic foil and refrigerate overnight. This breaks up the prep time and gives you more time and energy to enjoy your special dinner the following day.
- On the morning, take the dough out 3–4 hours before the baking and let it come to room temperature for 30-45 minutes.

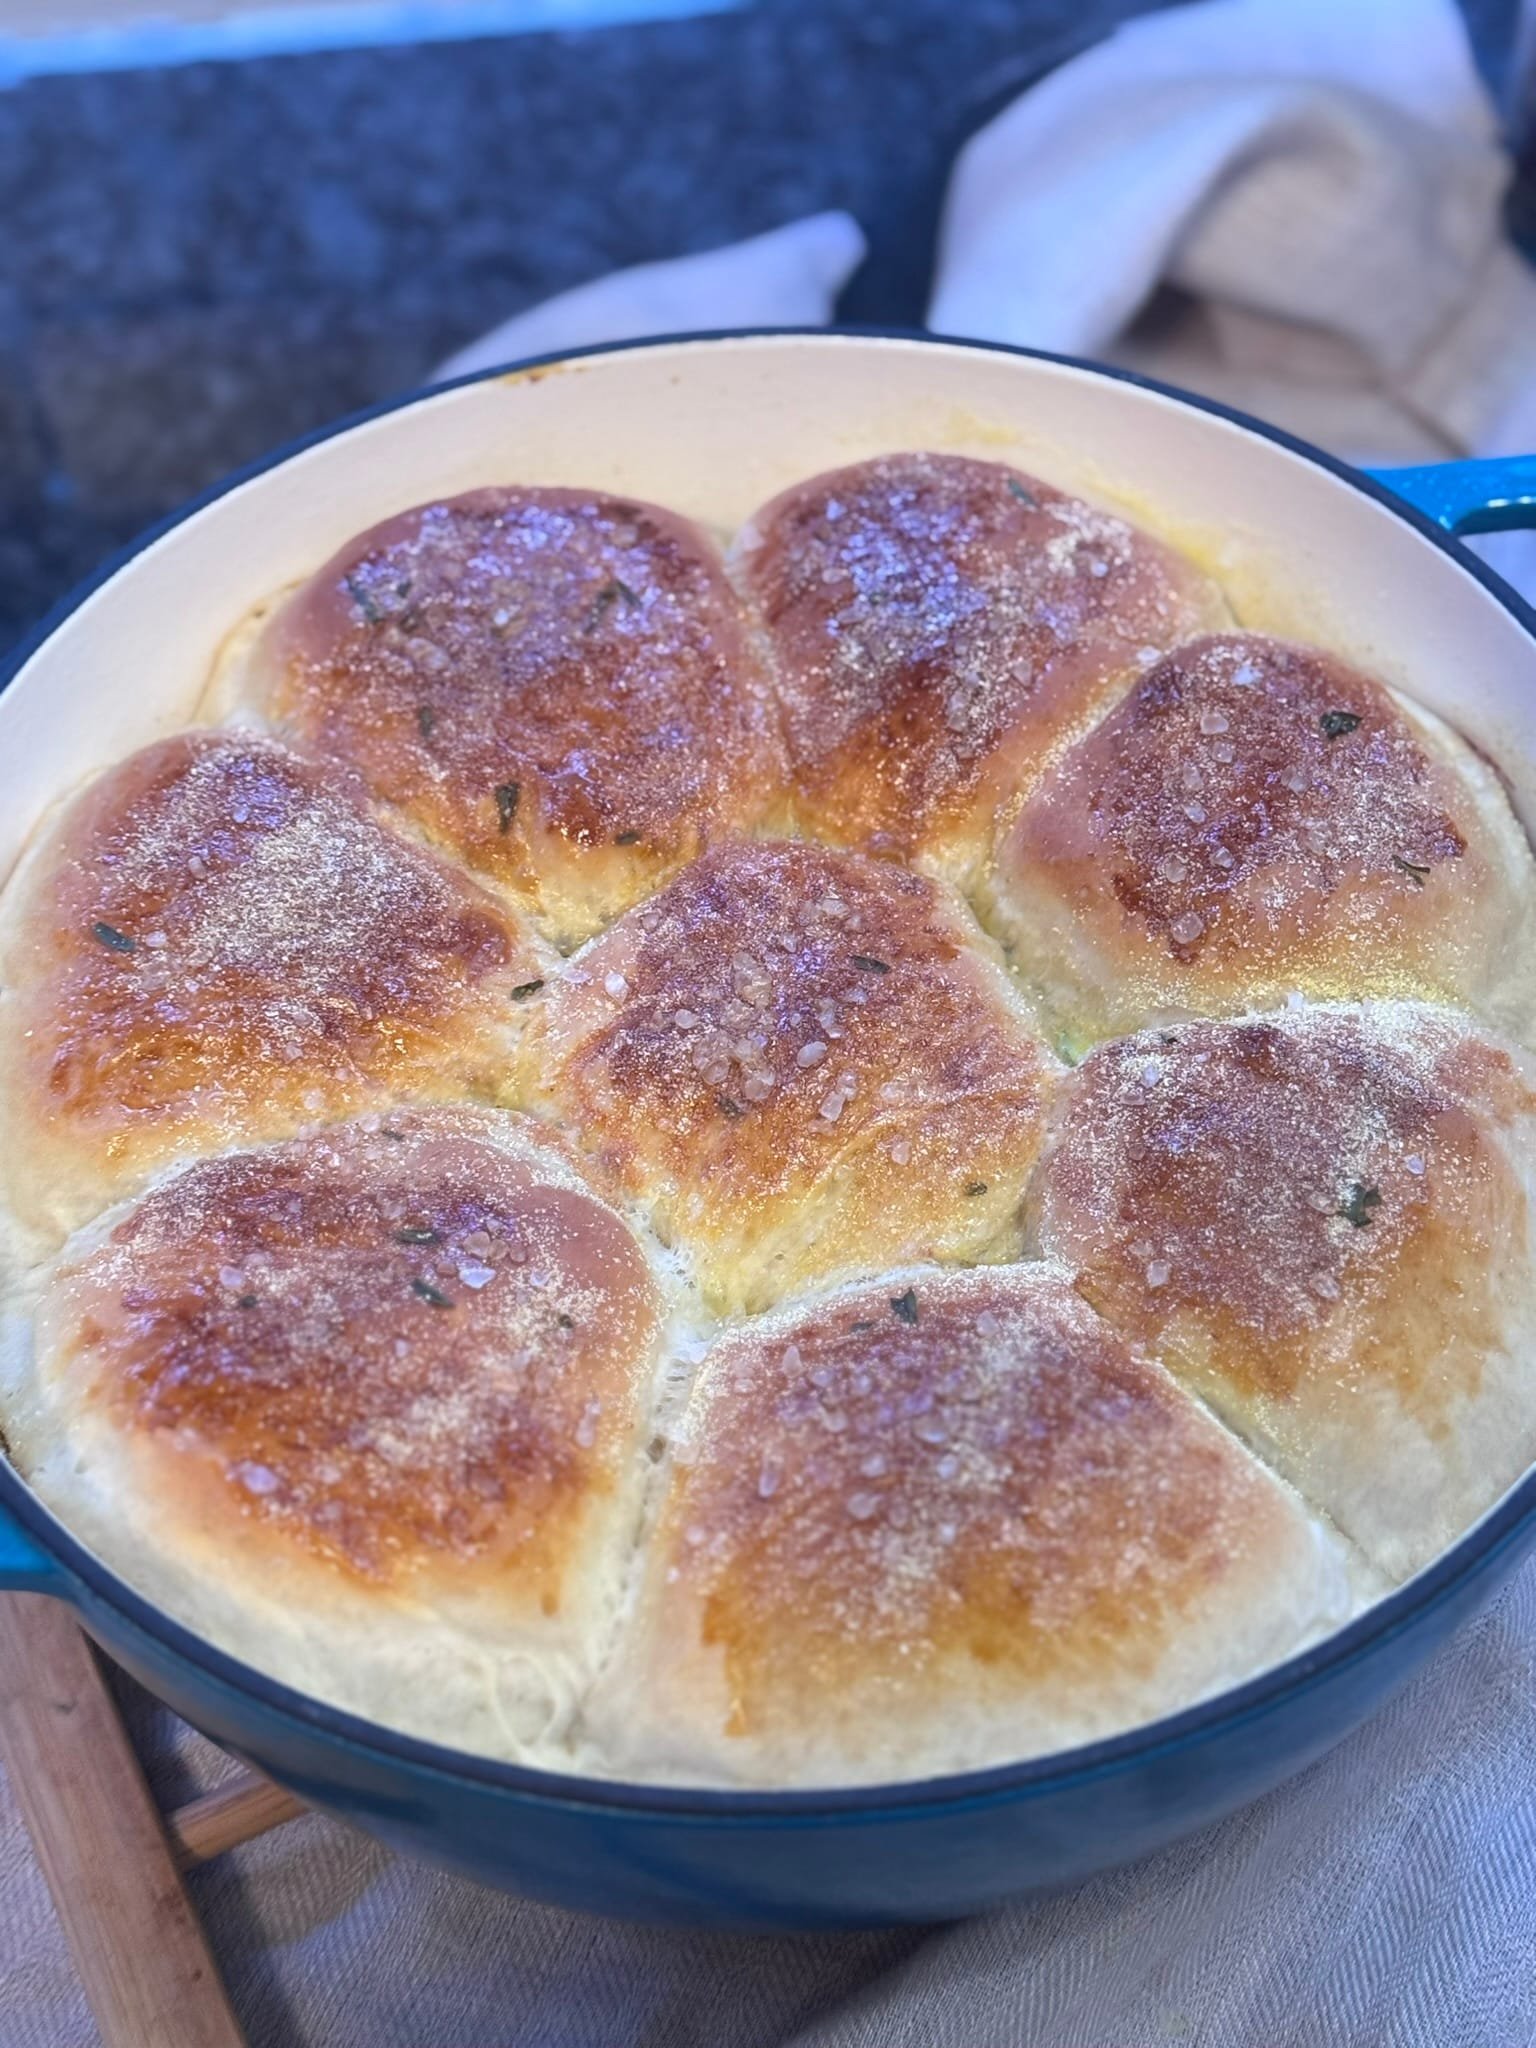
These dinner rolls are so soft, fluffy, and irresistible. Serve them warm with a butter, and watch them disappear very quickly!
How to store leftovers
Very easy – Simply put the rolls in a a plastic bag and use within one day. For longer storage, freeze them on the same day for up to two weeks.
Fluffy Dinner Rolls
Recipe by BibaCourse: Main, BreakfastDifficulty: Medium8
servings20
minutes1
hour30
minutes45
minutesTry these soft, fluffy dinner rolls perfect for any holiday celebration or simple breakfast treat. These delicious homemade rolls are easy to make and sure to impress.
Ingredients
1 cup buttermilk (or yogurt)
100 grams butter
4 tablespoons sugar
4-5 cups of all purpose flour
2 eggs
50 grams fresh yeast (or 1 package active yeast)
¼ cup warm water
2 tablespoons salt
- For finishing
1 egg yolk for finishing
- Toppings
You can choose sesame seeds, fresh herbs, corn meal or corse salt
Directions
- Activate the yeast
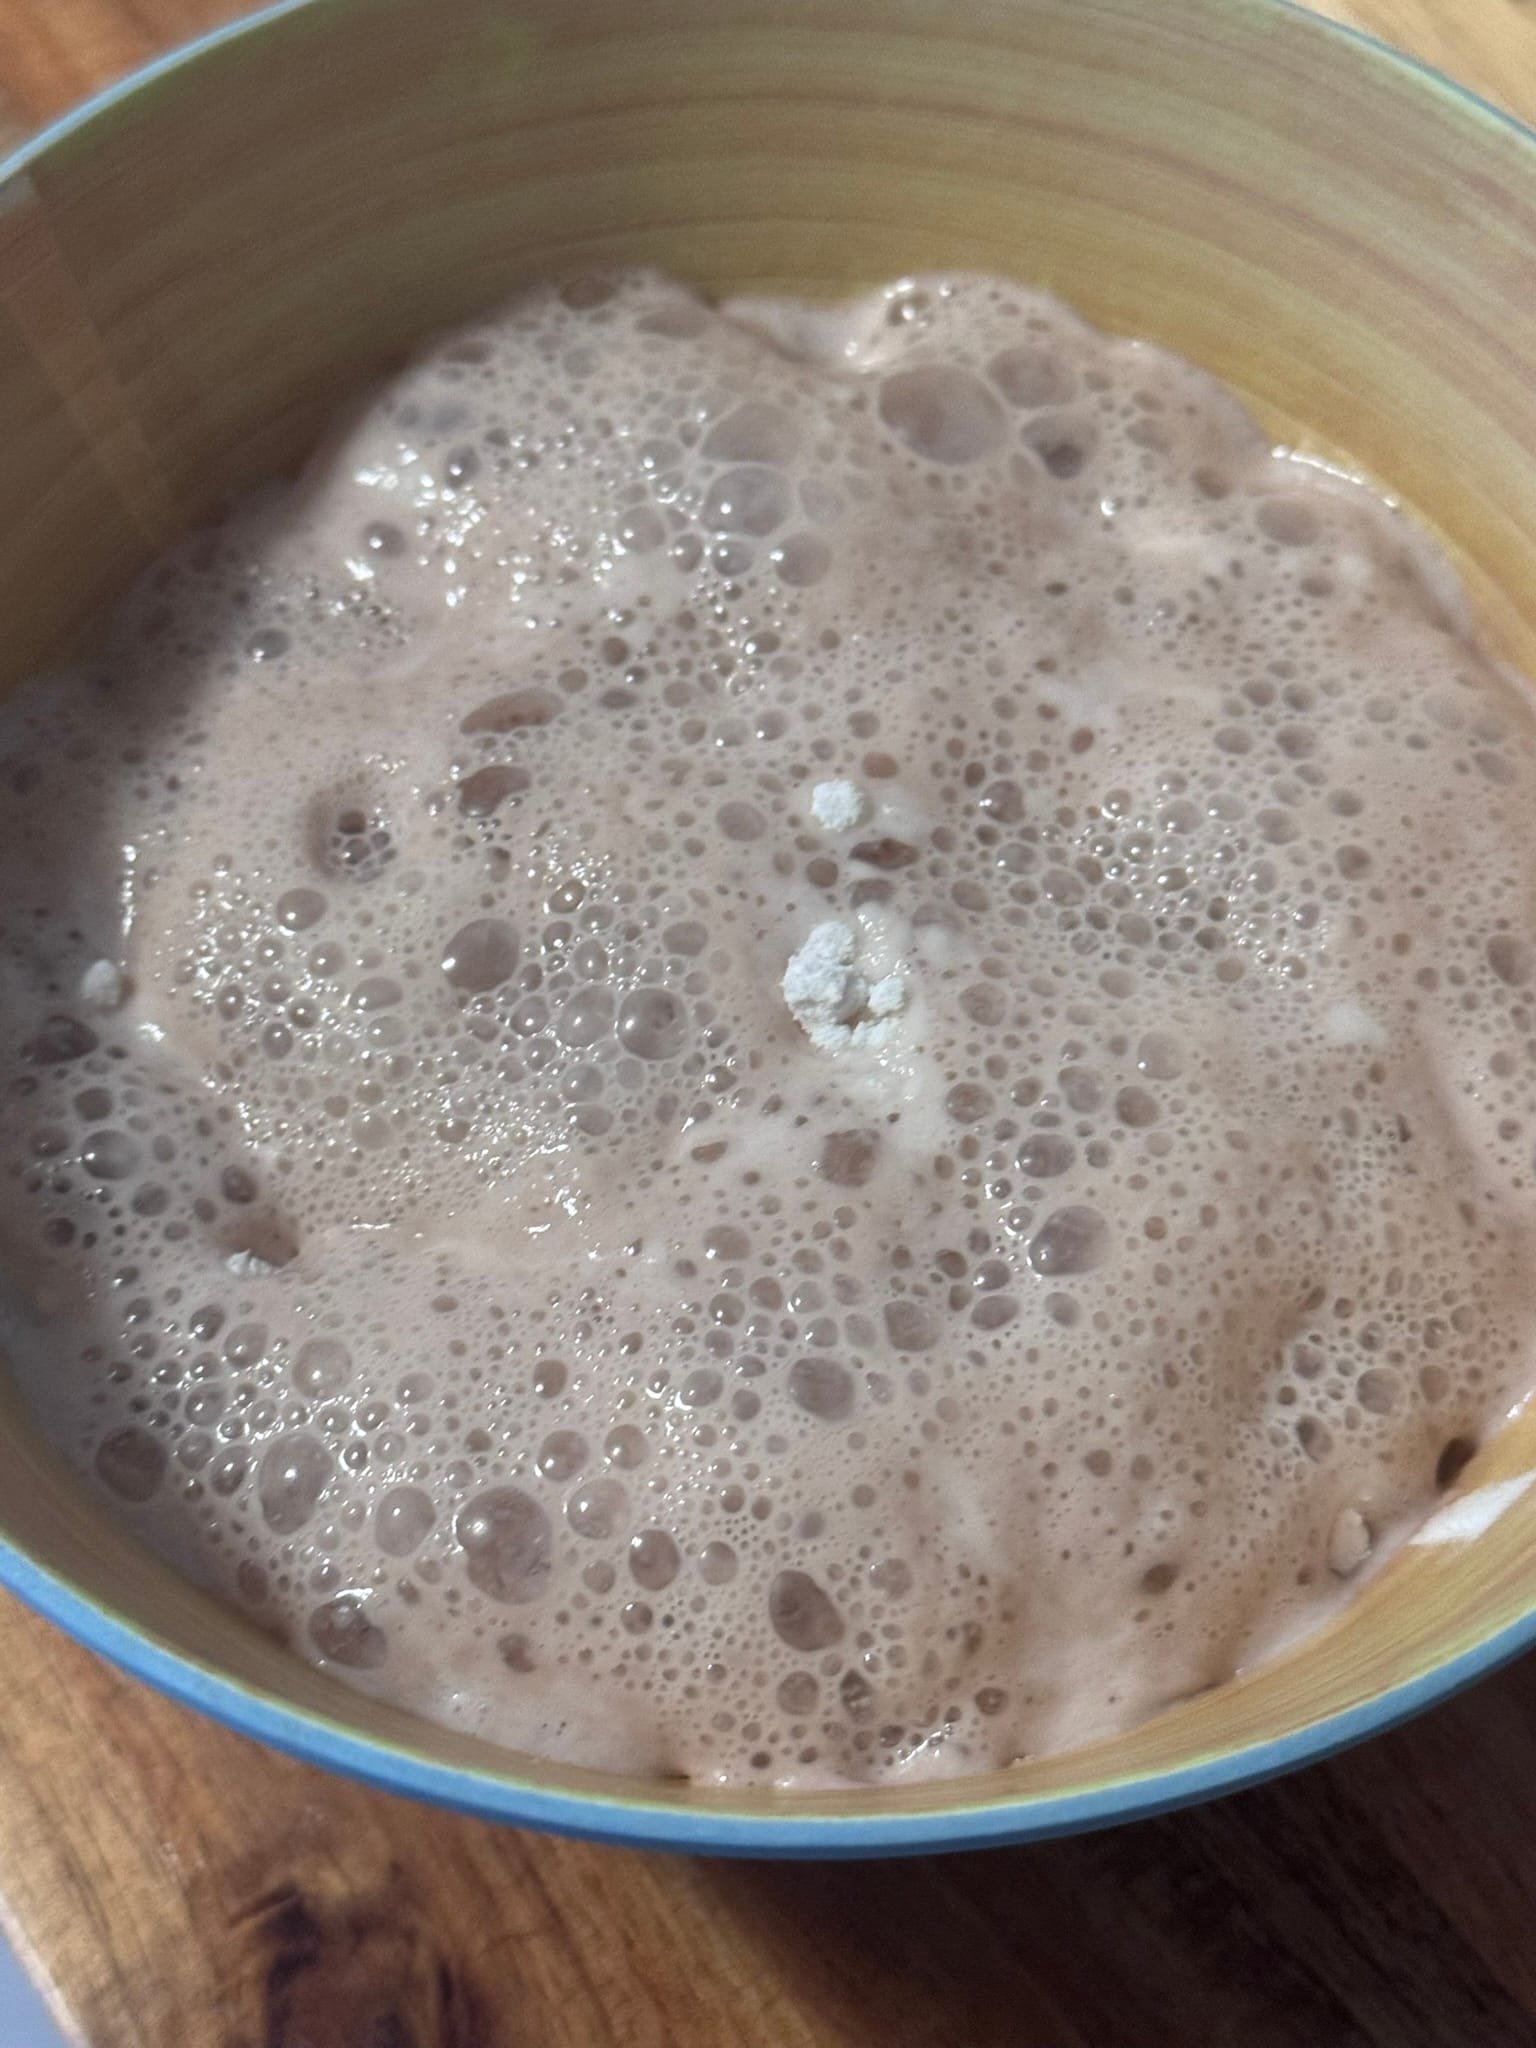
- In a small bowl, combine the warm water, the fresh yeast broken into small pieces (or pour the dry yeast), 1 tablespoon of sugar, and a sprinkle of flour.

- Let it sit in a warm spot for 10-15 minutes until it becomes bubbly and fluffy.

- Prepare the dough
- In a meantime, melt the butter in the microwave (20-30 seconds) or on the stove over low heat.
- In a large mixing bowl, combine the activated yeast, melted butter, buttermilk, salt, and sugar.
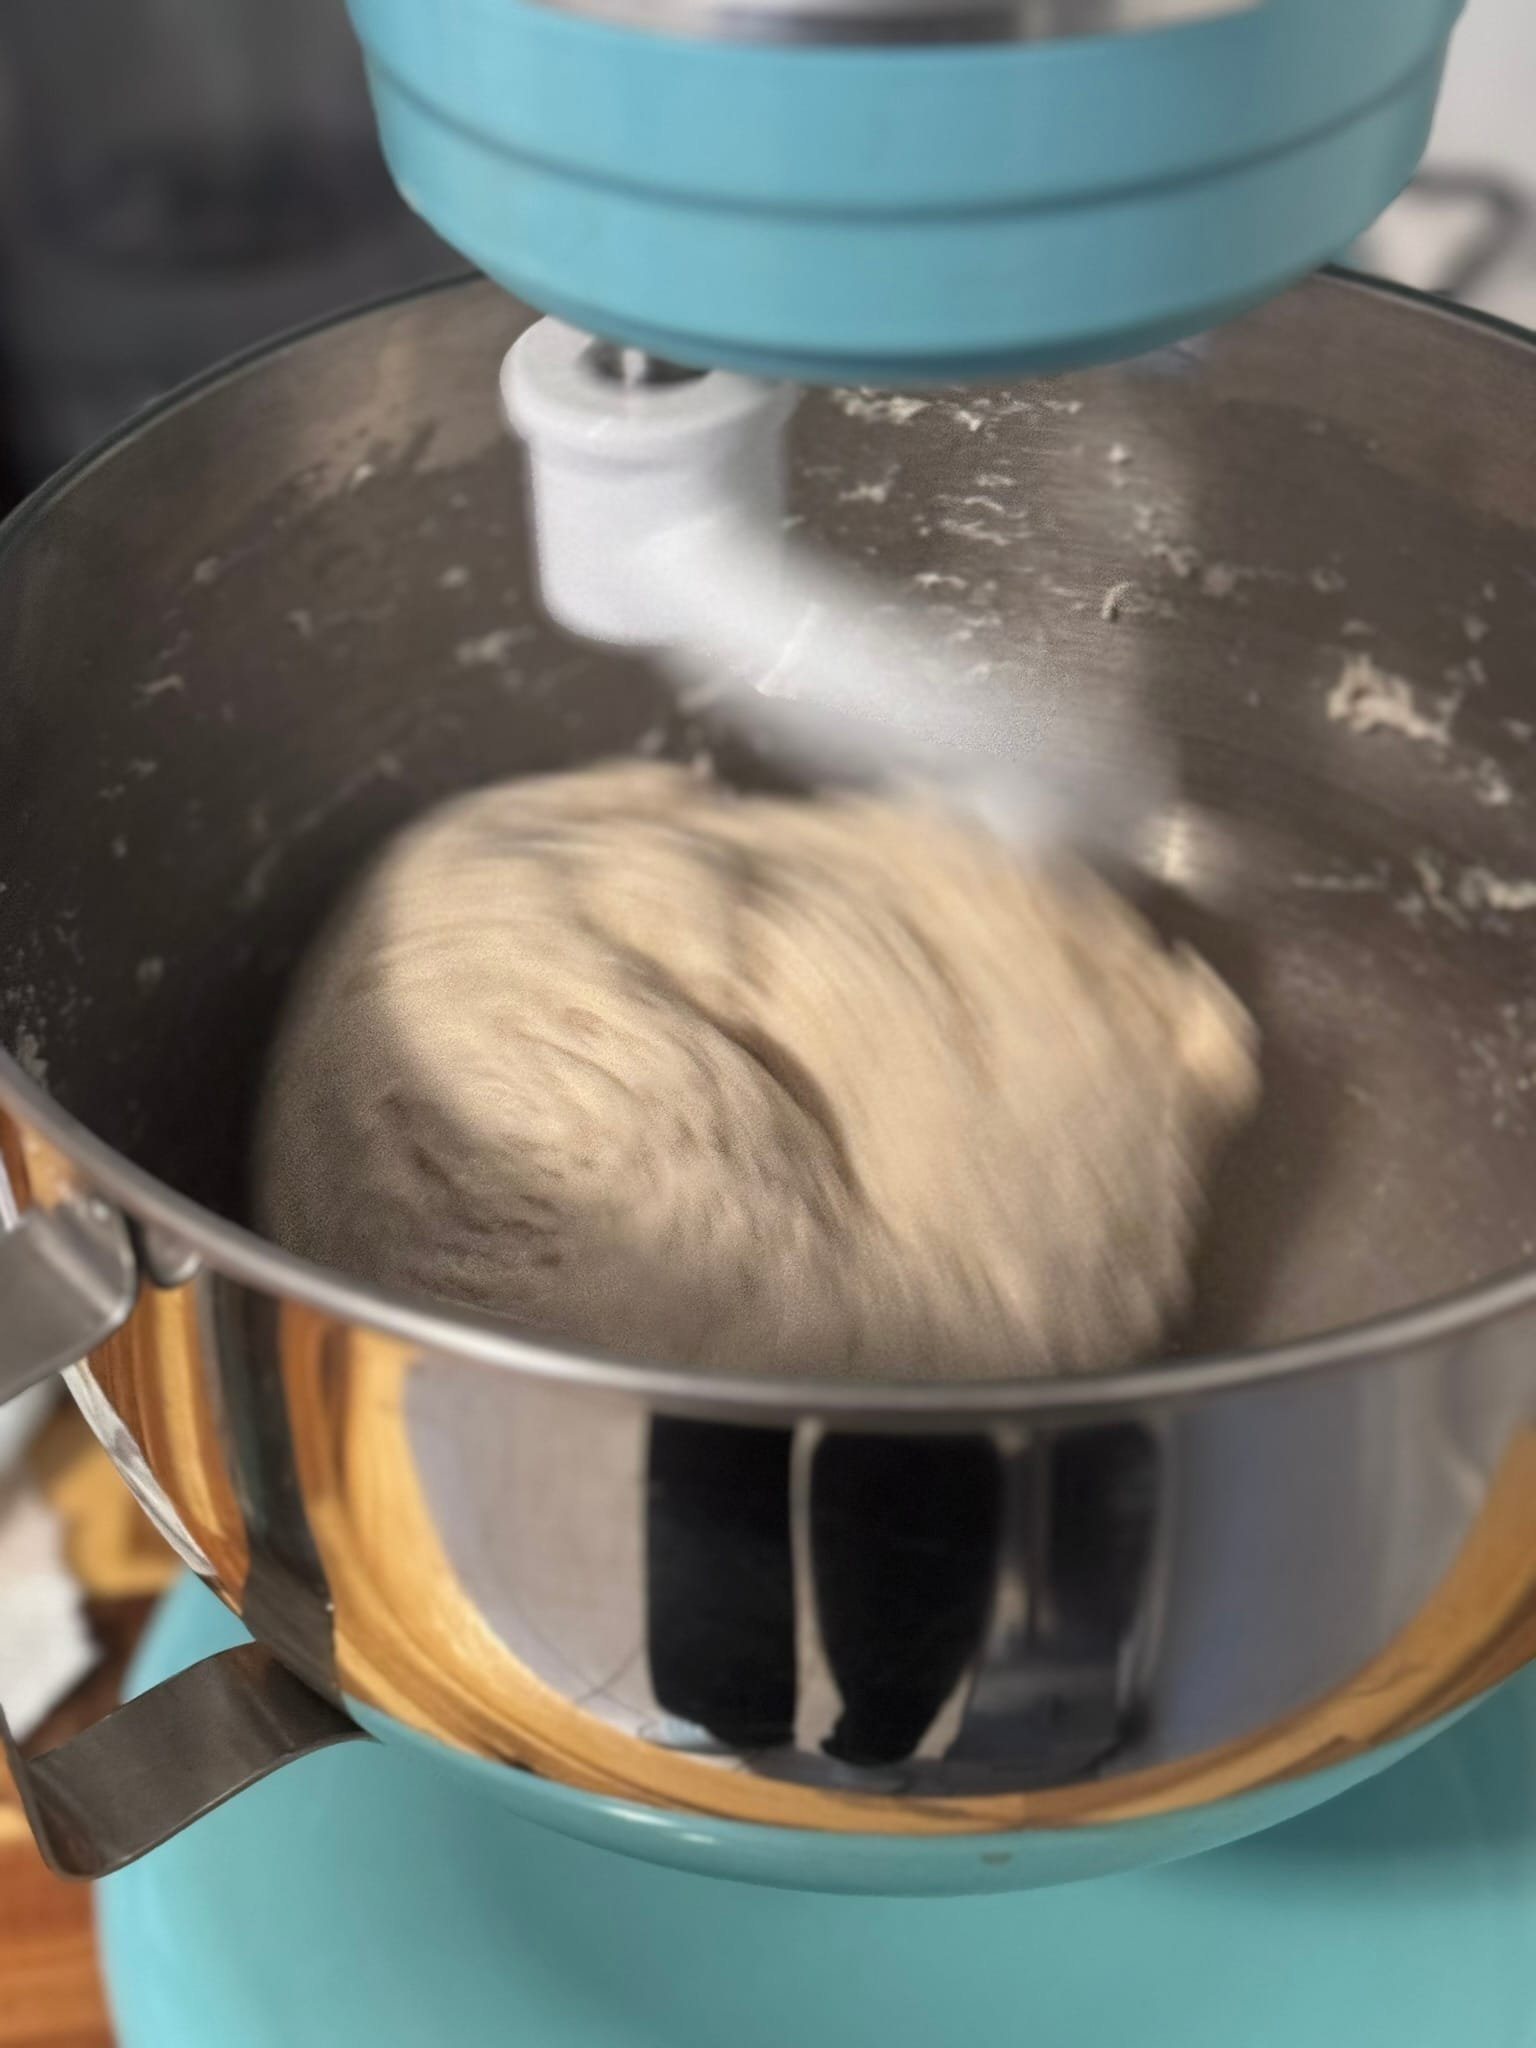
- Using a stand mixer with a paddle attachment, start mixing on low speed while gradually adding the flour. Start with 4 cups and add more if the dough is too sticky after 5 minutes of mixing on medium speed.

- Switch to the dough spiral attachment (or use your hands) and knead the dough on medium speed until it's smooth and no longer sticks to the bowl. Note, the dough should be fluffy and soft, so carefully add any extra flour.

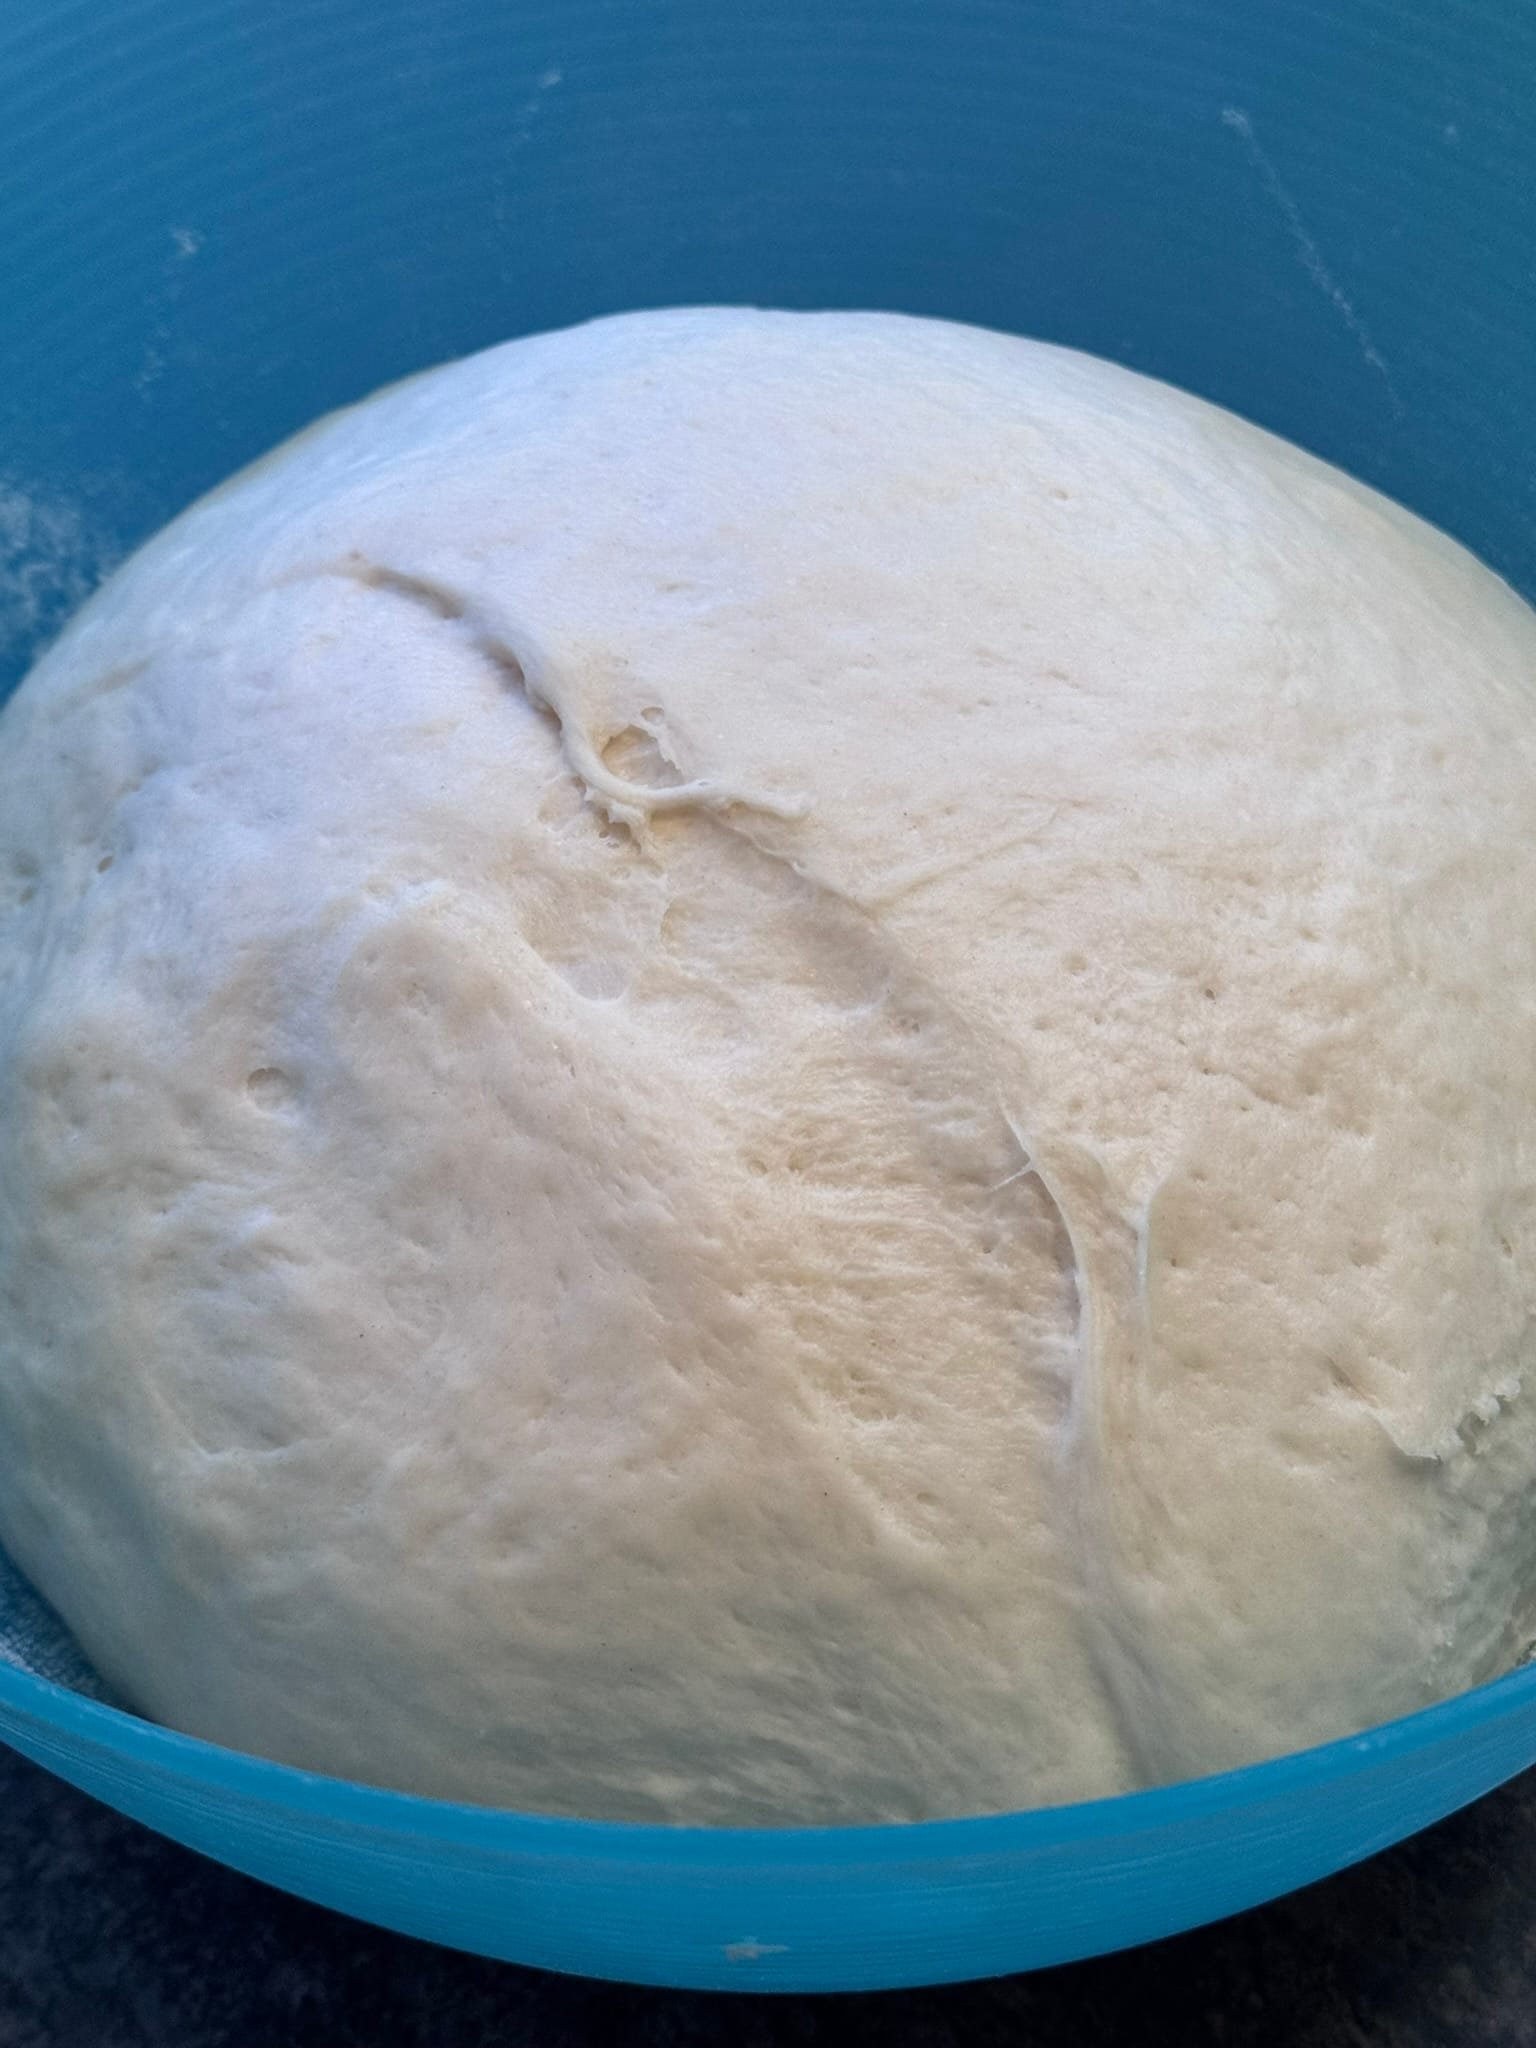
- Cover the bowl with a damp kitchen towel and let the dough rest in a warm spot for 30 minutes. By that time it should double in size.

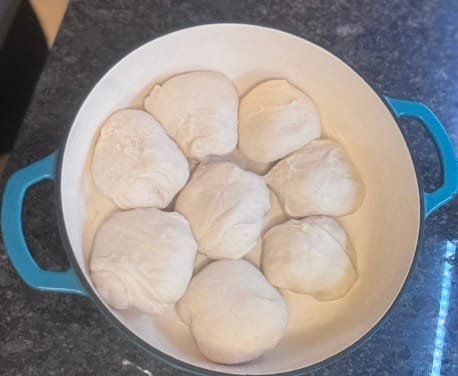
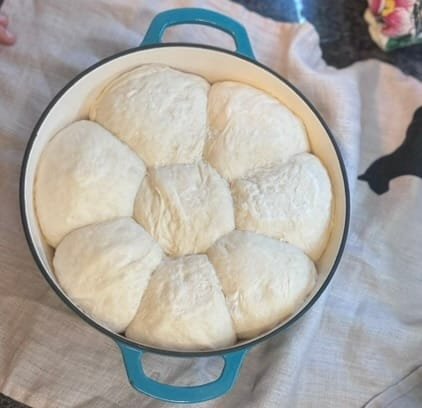
- Divide the dough into 8 equal balls (or more if you need) and place the rolls on a buttered surface inside your Dutch oven.

- Now cover with a damp towel and let them raise for about 1h.

- Bake the rolls
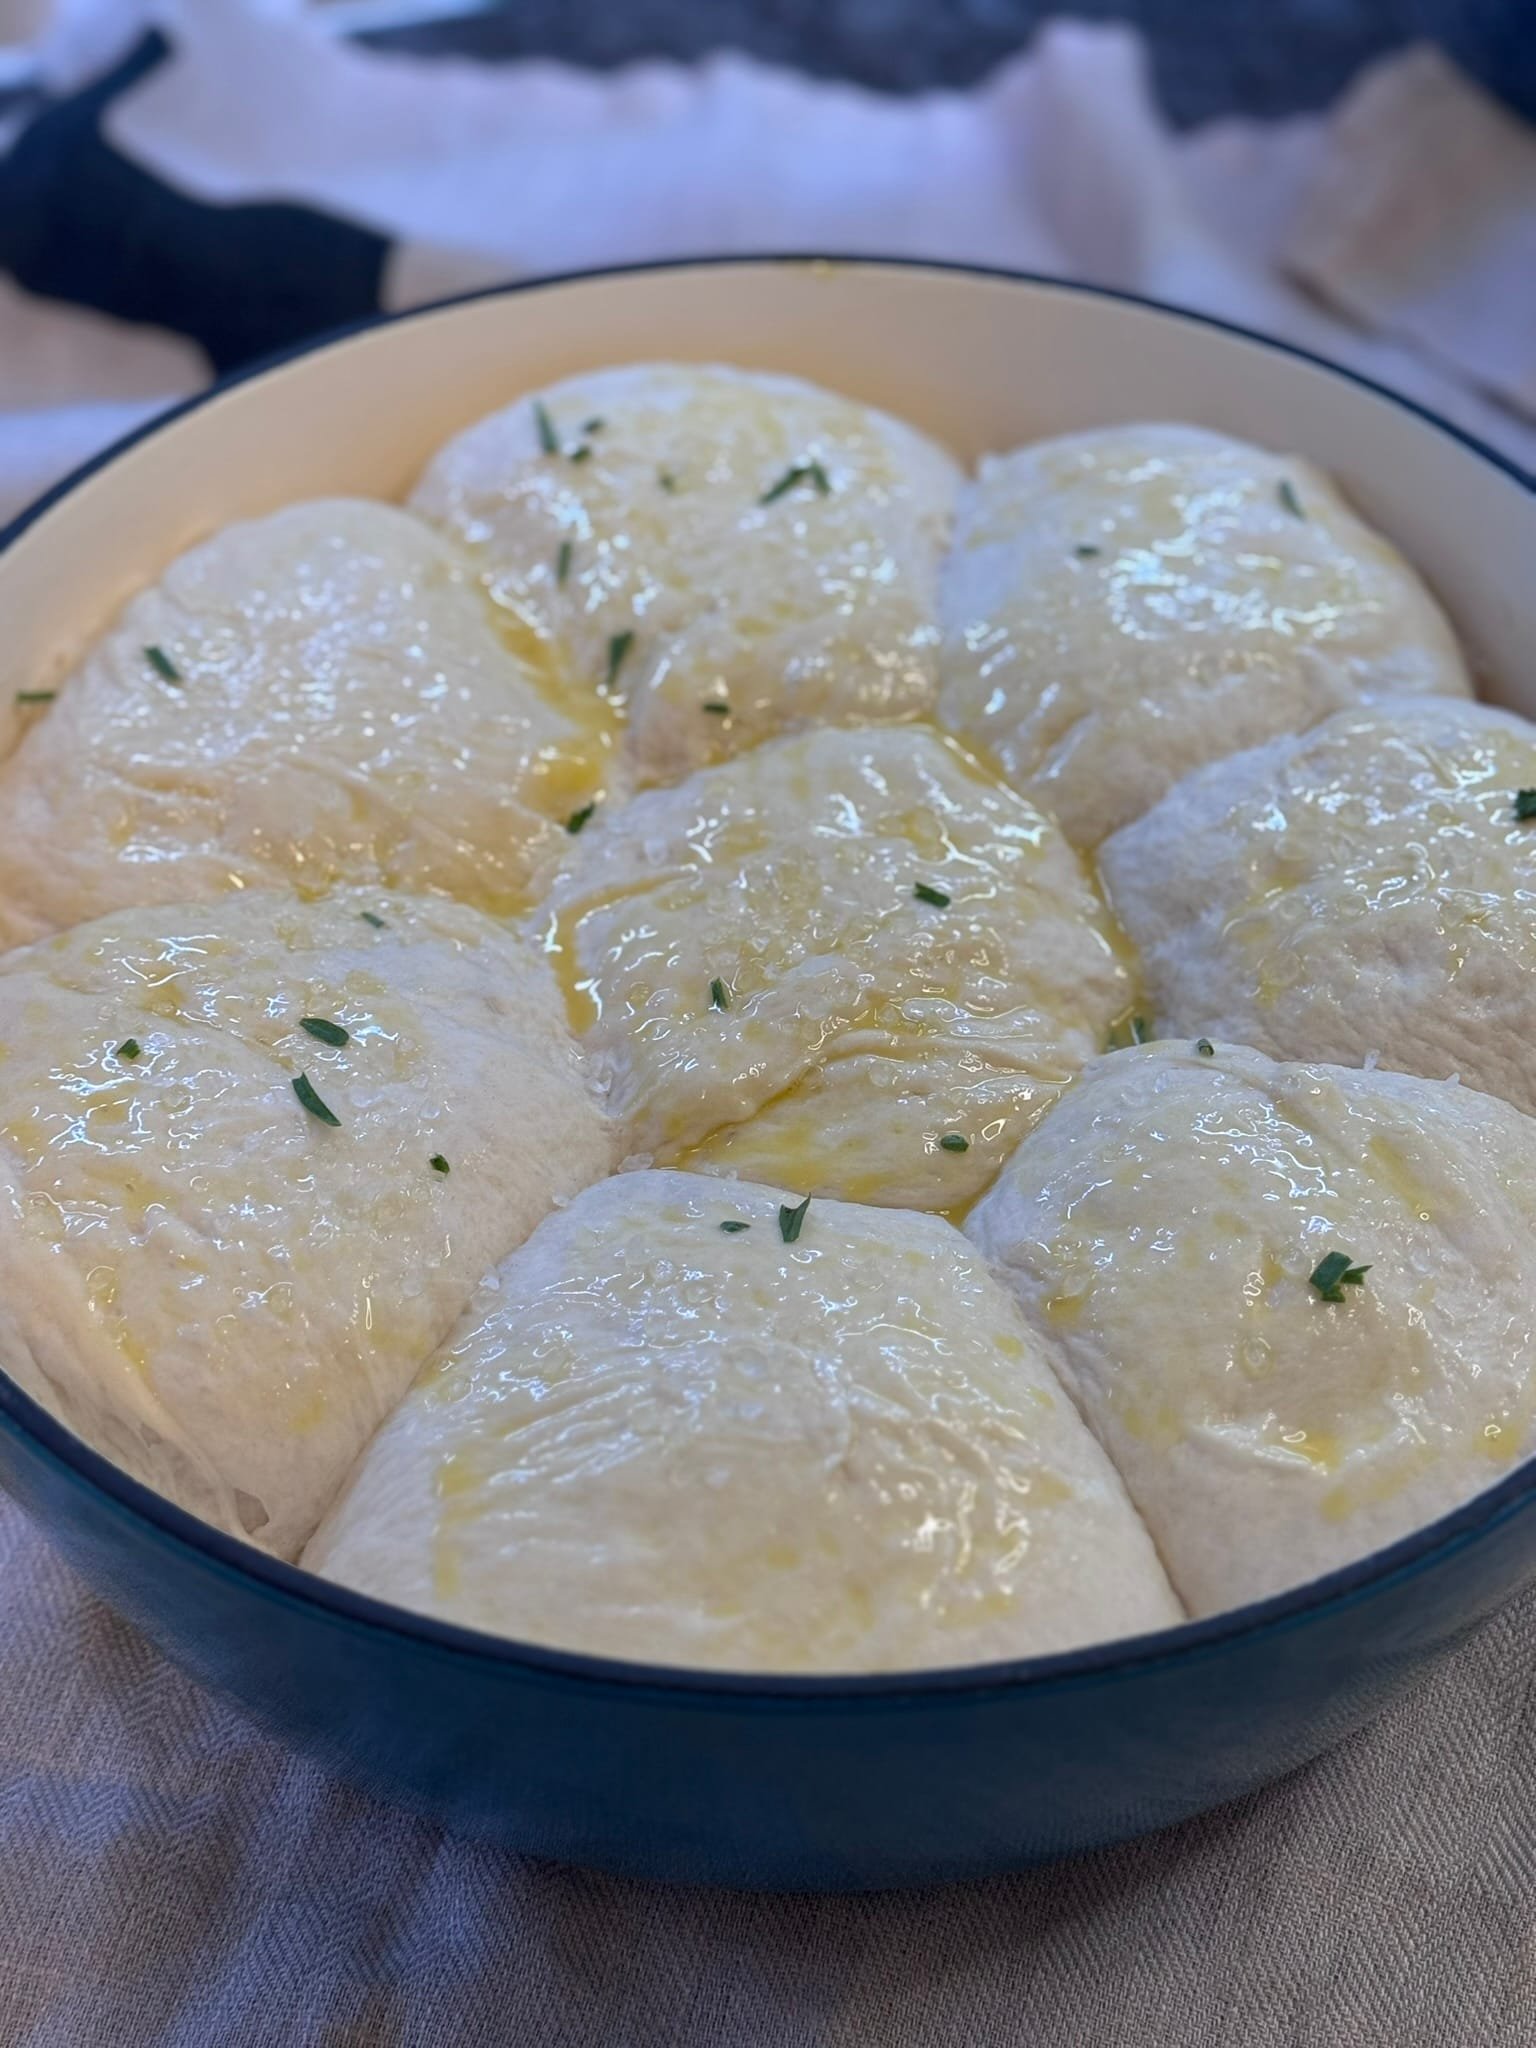
- Preheat your oven to 385°F. In a meantime, brush the rolls with whipped egg yolk for a golden finish. Sprinkle with coarse salt, rosemary, cornmeal, or any topping you love.

- Bake for 30-45 minutes, but keep a close eye on them. Once they are beautifully golden, remove them from the oven.

- Cover the rolls with a clean towel and let them rest for about 30-40 min. Right after, I recommend that you transfer them on big dry towel and cover fully until served.
Recipe Video
Did You Make This Recipe?
Love This Recipe? Try These Next
Hi, I’m Biba, the creator of Chick in Apron!
As a busy mom and food blogger, I am passionate about making cooking fun and stress-free. I share simple, delicious recipes that are quick and easy to prepare, along with helpful kitchen hacks to save you time.
So, let’s turn cooking into something you enjoy with tasty meals and handy tips to make kitchen tasks a breeze! ✨


