

How to Clean a Dutch Oven (For Light Food Bits)
Learn how to clean a Dutch oven properly with these easy tips. Keep your favourite pot in top shape with simple cleaning methods that save time and effort. Follow these steps for cleaning light food bits.
What You'll Need
A splash of a dish soap
Warm water
Soft silicone brush or dish sponge to scrub gently
Directions
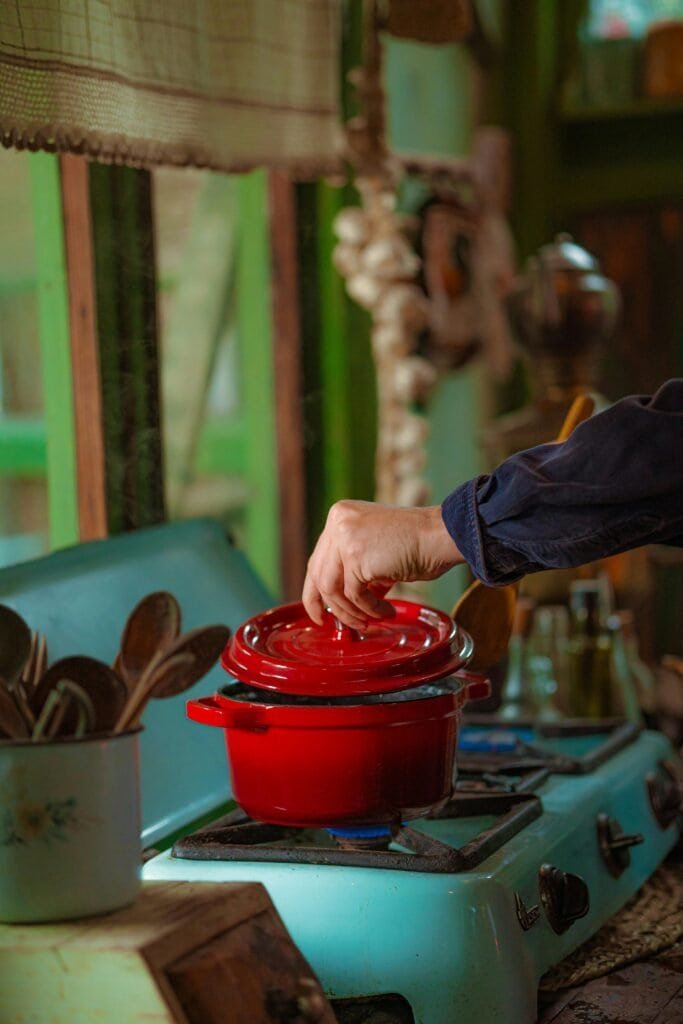
- Let the Dutch Oven cool completely, before you start the cleaning.

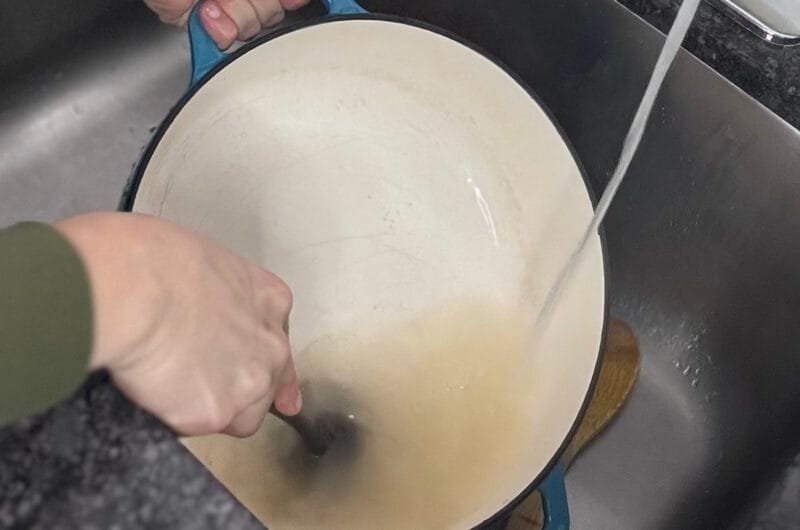
- Add a splash of dish soap and warm water to cover the stains.

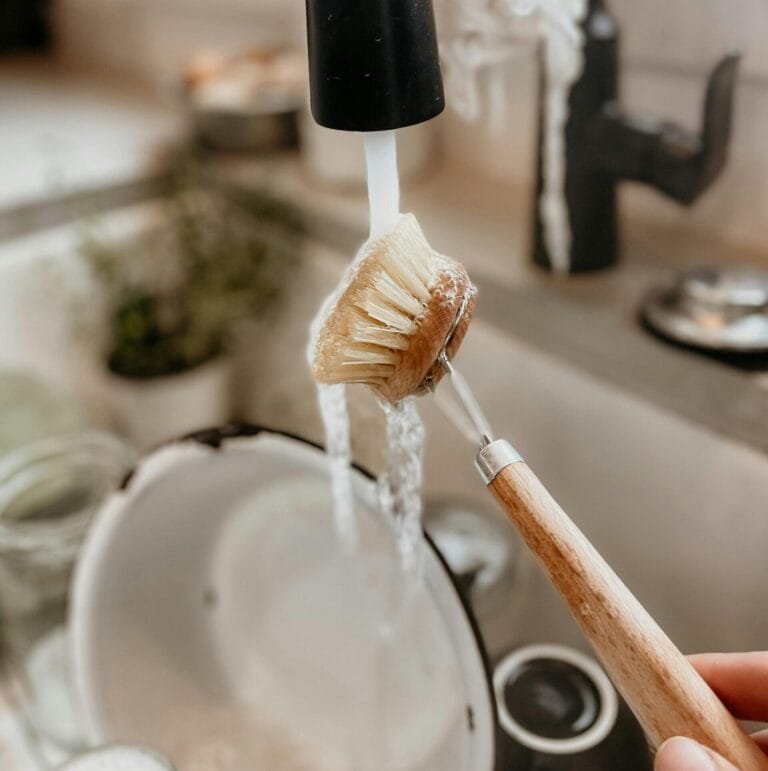
- Gently scrub with a silicone brush or soft sponge. It should be fairly easy to clean it. For stubborn bits, soak the Dutch oven in warm water for about an hour, then scrub again. Repeat, if needed.

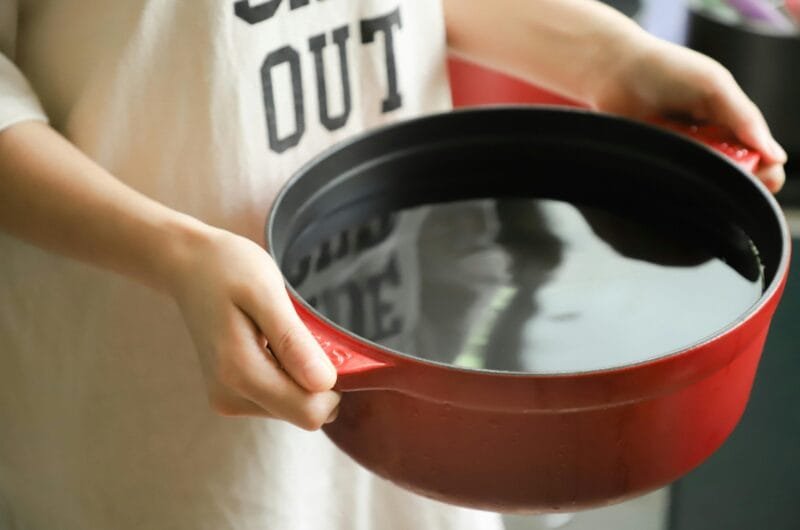
- Rinse with water and let it air dry on a dish rack or upside down on a kitchen towel.

- Before storing, ensure the Dutch oven is completely dry. Leave the lid slightly open overnight, then store.


How to Deep-Clean Your Dutch Oven (For Stubborn Food Bits or Burns)
Learn how to properly clean your Dutch oven with these easy tips. Keep your favourite pot in top shape with simple cleaning methods that save time and effort. Follow these steps for deep cleaning or stubborn bits.
What You Need
- For the paste
1 part water
2 parts baking soda
- For cleaning
Warm water
Soft silicone brush or dish sponge to scrub gently
Directions
- If the regular cleaning process (described above) does not work, follow these steps for deep cleaning instead.

- Make the paste
- Mix 1 part water and 2 parts baking soda (e.g., 1 tablespoon water + 2 tablespoons baking soda) into a paste.
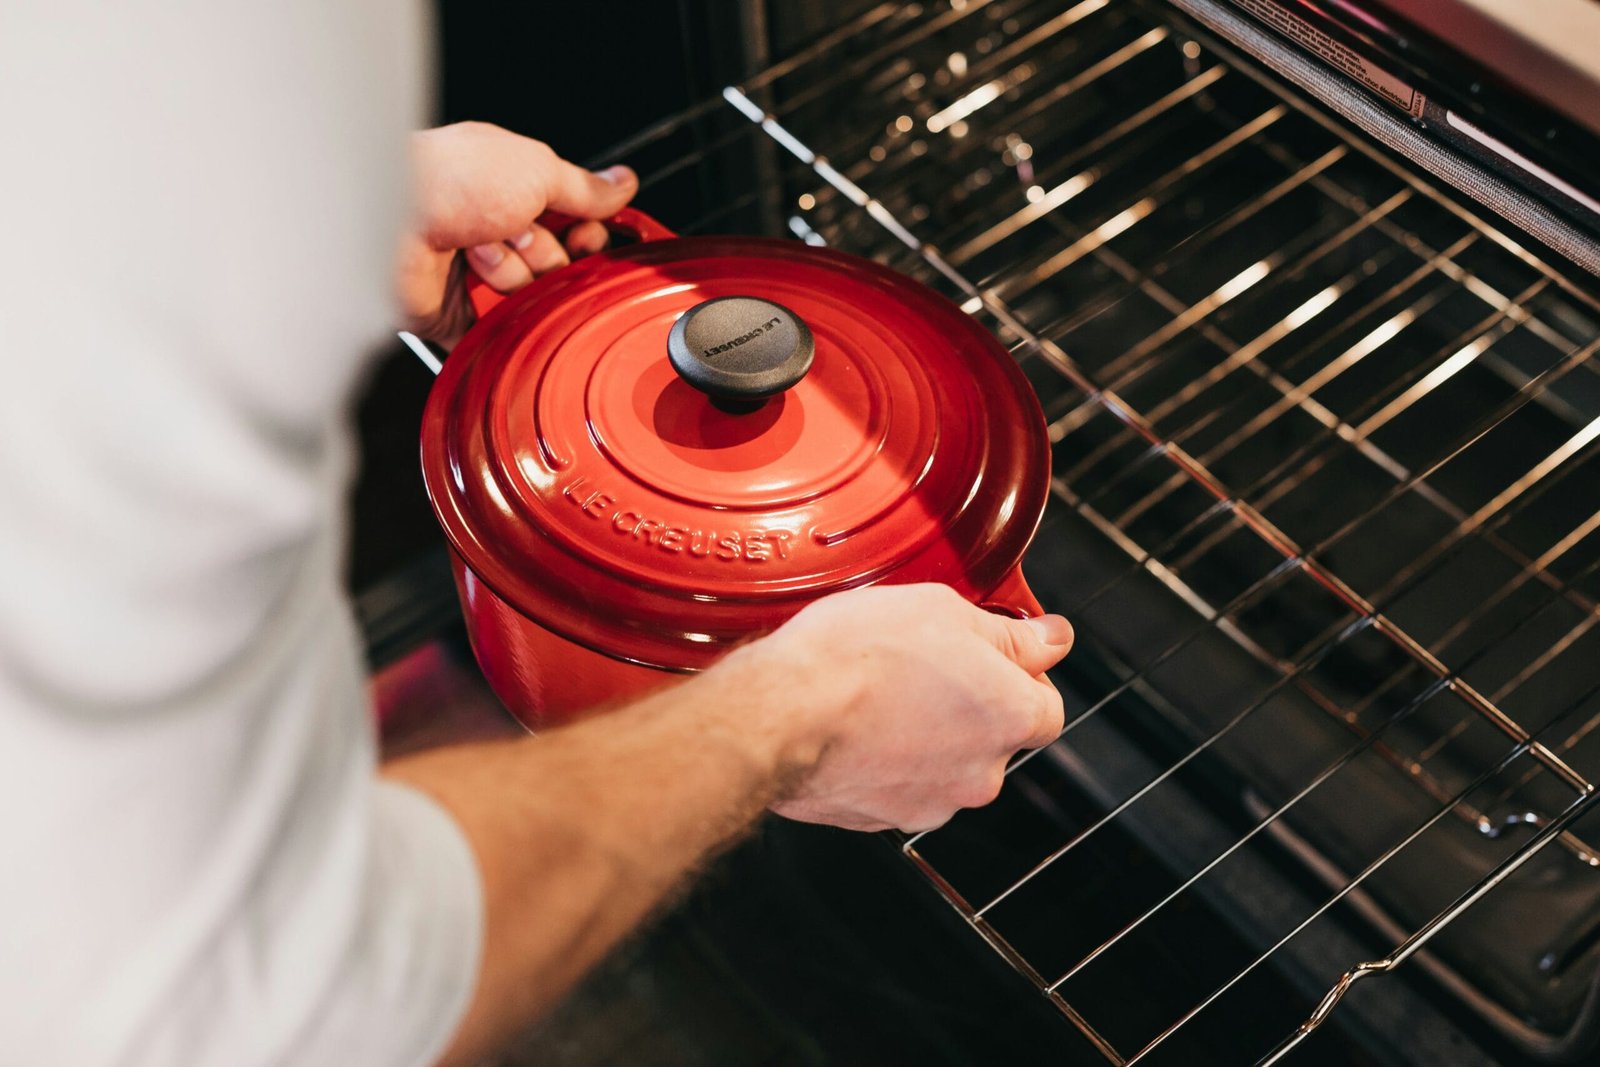
- Ensure your Dutch oven is cool before starting.
- For heavy stains, add a bit of dish soap and warm water. Gently scrub, rinse, and start the deep cleaning.

- Apply the paste to the stains and start gently scrubbing. Stains should come off fairly easily - repeat this step, if necessary.


- Rinse thoroughly and let it dry naturally for moisture to evaporate. Before storing, ensure it's completely dry by leaving the lid slightly open overnight.


Notes
- Deep cleaning your Dutch oven at least every 3 months will help keep it in great condition for years to come.