I have always loved the traditional pickled vegetable salad – every crunch, tangy, flavourful-packed bite. For me, though, it is more than just the taste. It is memories of grandmothers making big jars in the kitchen. Our family table in the middle of winter, brightened by this colourful salad mix. A precious tradition.
In Europe, where my roots are, pickling vegetables was not just for fun, it was survival. Fresh vegetables were not always available all year round, so families preserved what they could. Out of that need, recipes like this one were born, passed down through generations. And here it is today: still vibrant, still delicious, still connecting us to history.
Opening a jar of this salad is like opening a little time capsule of joy. And I think, as soon as you try it, you will start to cherish this salad as well. So let me show you how to pickle vegetables in a jar, the easy way.

As an Amazon affiliate, I earn from qualifying purchases, at no extra cost to you.
Why This Salad Is The Best
It is true that it takes some time to prepare and make it. You chop, you salt, you wait for the brine to do its thing. But trust me, it is so worth it and it is the best pickled vegetable salad recipe. I often sneak a bite while the veggies are still warm, because it is irresistible. That is my favourite bite!
This salad is a true rainbow of colours, crunchy, and flavourful. It is the quickest win when you need a salad, but have zero energy to chop. Just grab a jar, and you are ready to go.
And here is the truth – every guest who has ever tried it asked for the recipe. Every single one. That is proof enough, right?
What You’ll Need
For the Salad
Flat cabbage (or Korean cabbage) – This type of cabbage is perfect because it softens just enough during pickling without turning mushy. It soaks up all the flavours beautifully and becomes the base that ties all the veggies together.

Mini cucumbers – these mini vegetables are my absolute favourite part of the salad. They keep their snap even after pickling, which makes every bite extra satisfying.
Carrots – The carrots with their bright orange colour add cheer to the jar. They bring just the right sweetness and just the right crunch, balancing out the sharpness of the vinegar.
Cauliflower – tiny florets add texture and a bit fancier look. They add a fun and bumpy texture, making the salad feel a little fancier that already is.


Optional – celery and green tomatoes are traditional addition. I like to swap add them often for variety, if I can find them around.
For the Pickling Liquid
White wine vinegar – clean and sharp flavour, that brings that sourness and preservation powers.
Sugar and salt – they bring a balance of flavours.
Vegetable oil – just enough to carry all the flavours.
Other equipment
4–5 large mason jars to collect the salad and safely store it.
Traditional Pickled Vegetable Salad
Recipe by BibaCourse: Salads, condimentsCuisine: MacedonianDifficulty: Medium30
minutes10
minutes24
minutesA traditional pickled vegetable salad recipe with easy steps showing you how to pickle vegetables at home.
Ingredients
- For the salad
3 kg red peppers, clean and sliced
1 medium cauliflower, separated in mini florets
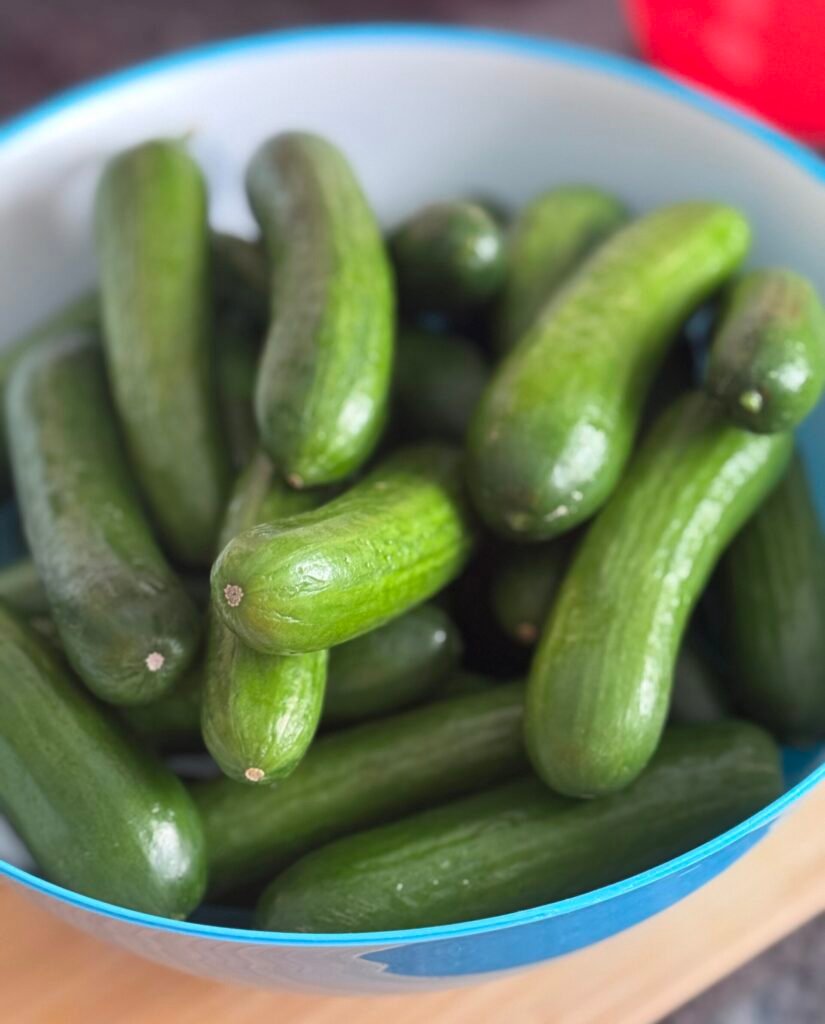
1 kg mini cucumbers, thinly sliced
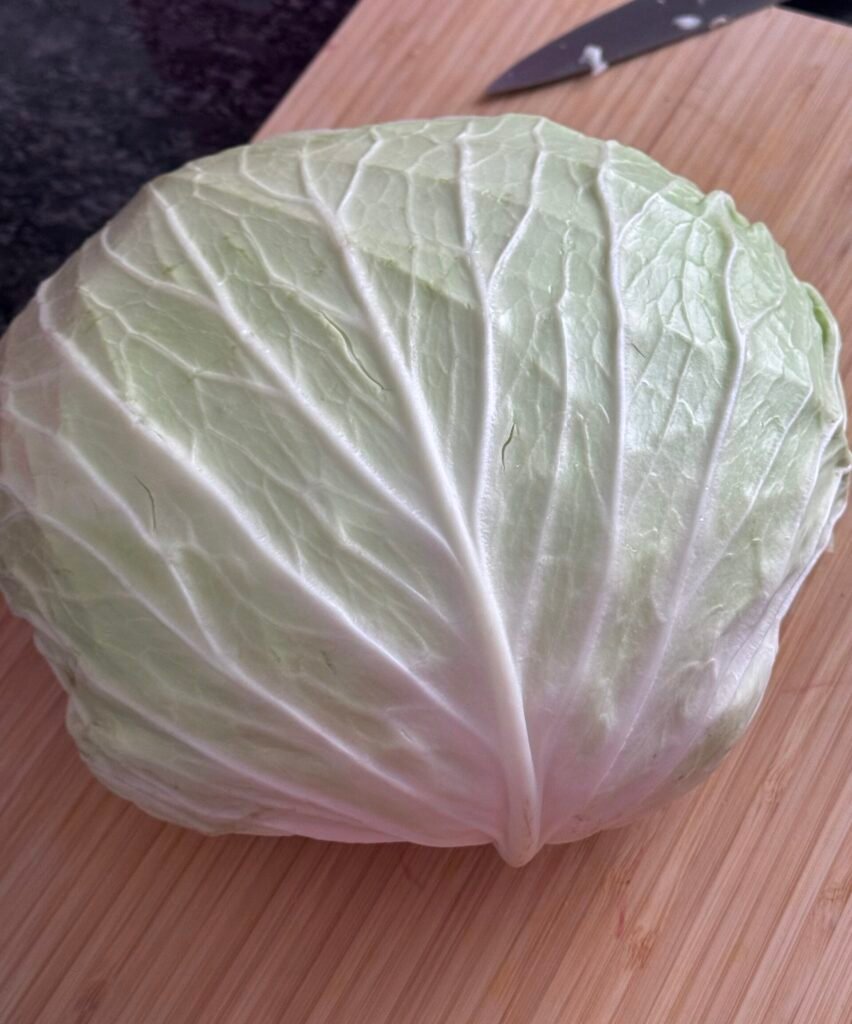
1 large flat cabbage, chopped finely
2–3 large carrots, sliced
2-3 celery sticks, sliced
- For the brine
2 cups sugar
3/4 cup salt
1 ¼ cup vegetable oil
4 cups white wine vinegar
How to Make the Pickled Vegetable Salad
- Prepare the vegetables
- Start with a good wash. I usually fill a big bowl with water, toss in the peppers, cucumbers, cauliflower, celery and carrots, and give them a gentle wash. It is worth taking the time here, because you want every veggie spotless before they go into jars.
- Let them dry well, because extra water can mess with the pickling brine.
- Prepare the brine
- Now the chopping begins. Slice the bell peppers into thin strips and place them in a large bowl or pot. They are the stars of this recipe, so give them the space they deserve.
- Sprinkle the sugar and salt over the sliced peppers, then mix gently to coat evenly. It might not look like much at first, but be patient.
- Over the next three hours, those peppers will release a sweet juice. That liquid will become the secret brine that carries all the flavours of the salad.
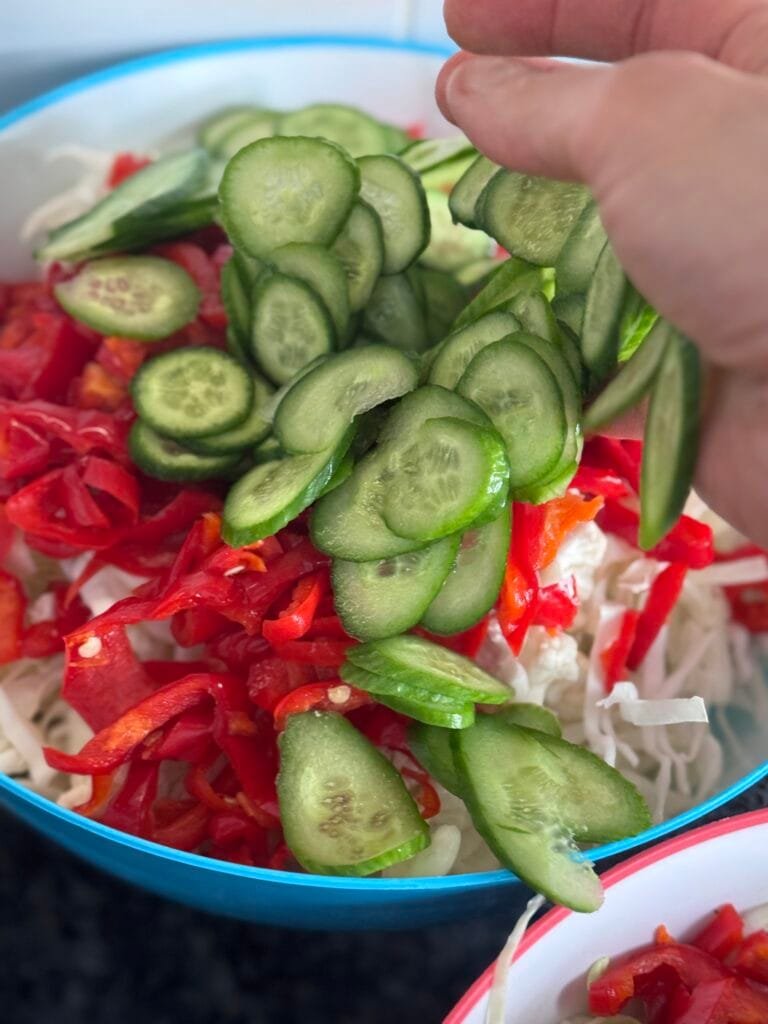
- While you wait, work on the rest of the veggies. Slice the cabbage very thin, almost like ribbons.
- Cut the cucumbers into thin rounds, they should still have a nice crunch. I use mandolin slicer, one of my favourite tools.
- Break the cauliflower into small florets. You can cut them with a knife or simple break them with your hands.
- Slice the carrots into thin rounds or strips, whichever you prefer.
- Cook the brine
- After three hours, strain the peppers and save the liquid.
- Transfer the juice into a large pot. Add the oil and vinegar, and bring it to a boil over medium-high heat. The smell will be sharp at first, but that is how you know it is working. Let it bubble for five minutes, then take it off the heat.
- Finish by slicing the celery into thin slices.
- Transfer all the sliced vegetables into a large pot, or multiple large bowls.
- Finish the salad
- While the brine is still hot, pour it over the mixed vegetables. Be careful, not to burn yourself. Stir well, cover, and let the mixture sit for 24 hours. This resting time allows every piece to soak up flavour. I usually give it a stir once or twice, just to make sure no veggie feels left out.
- Jar it up
- The next day, it is time to collect the salad.
- Pack the salad into clean sterilized jars, pressing down gently, and pour the brine on top until everything is fully covered. Seal tightly with lids.
- For long-term storage, do few more steps. Preheat the oven to 200°F and place the jars on a baking sheet. Slide them in, turn off the oven, and walk away. Do not open the oven door - it needs to cool gradually inside the oven to avoid cracks.
- After a couple of hours, take the jars out and let them finish cooling on the counter.
And there you have it. Your favourite pickled vegetable salad, ready be lined up your pantry shelves or chill in the fridge. It is a tradition, waiting to rescue any meal.
Notes
- Feel free to play with the shapes and size of the vegetables - you can slice, chop, dice.... Your choice!
How to Store the Pickled Salad
For a short term storage, fill mason jars with the cooled salad, cover with liquid, and store in the fridge for up to one month.
For long-term (traditional way), sterilize the jars in the oven before filling, then heat-seal them again after closing (same 200°F oven method). Properly preserved, they will keep up to 3 months in a cool pantry or fridge.
Did You Make This Recipe?
Love This Recipe? Try These Next
NO IDEA WHAT TO COOK?
Hi, I’m Biba, the creator of Chick in Apron! As a busy mom and food blogger, I am passionate about making cooking fun and stress-free. I share simple, delicious recipes that are quick and easy to prepare, along with helpful kitchen hacks to save you time.
So, let’s turn cooking into something you enjoy with tasty meals and handy tips to make kitchen tasks a breeze! ✨