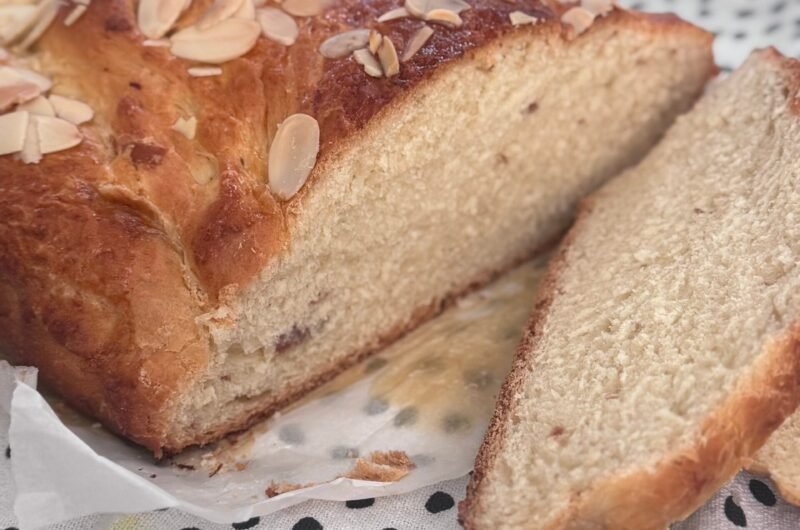
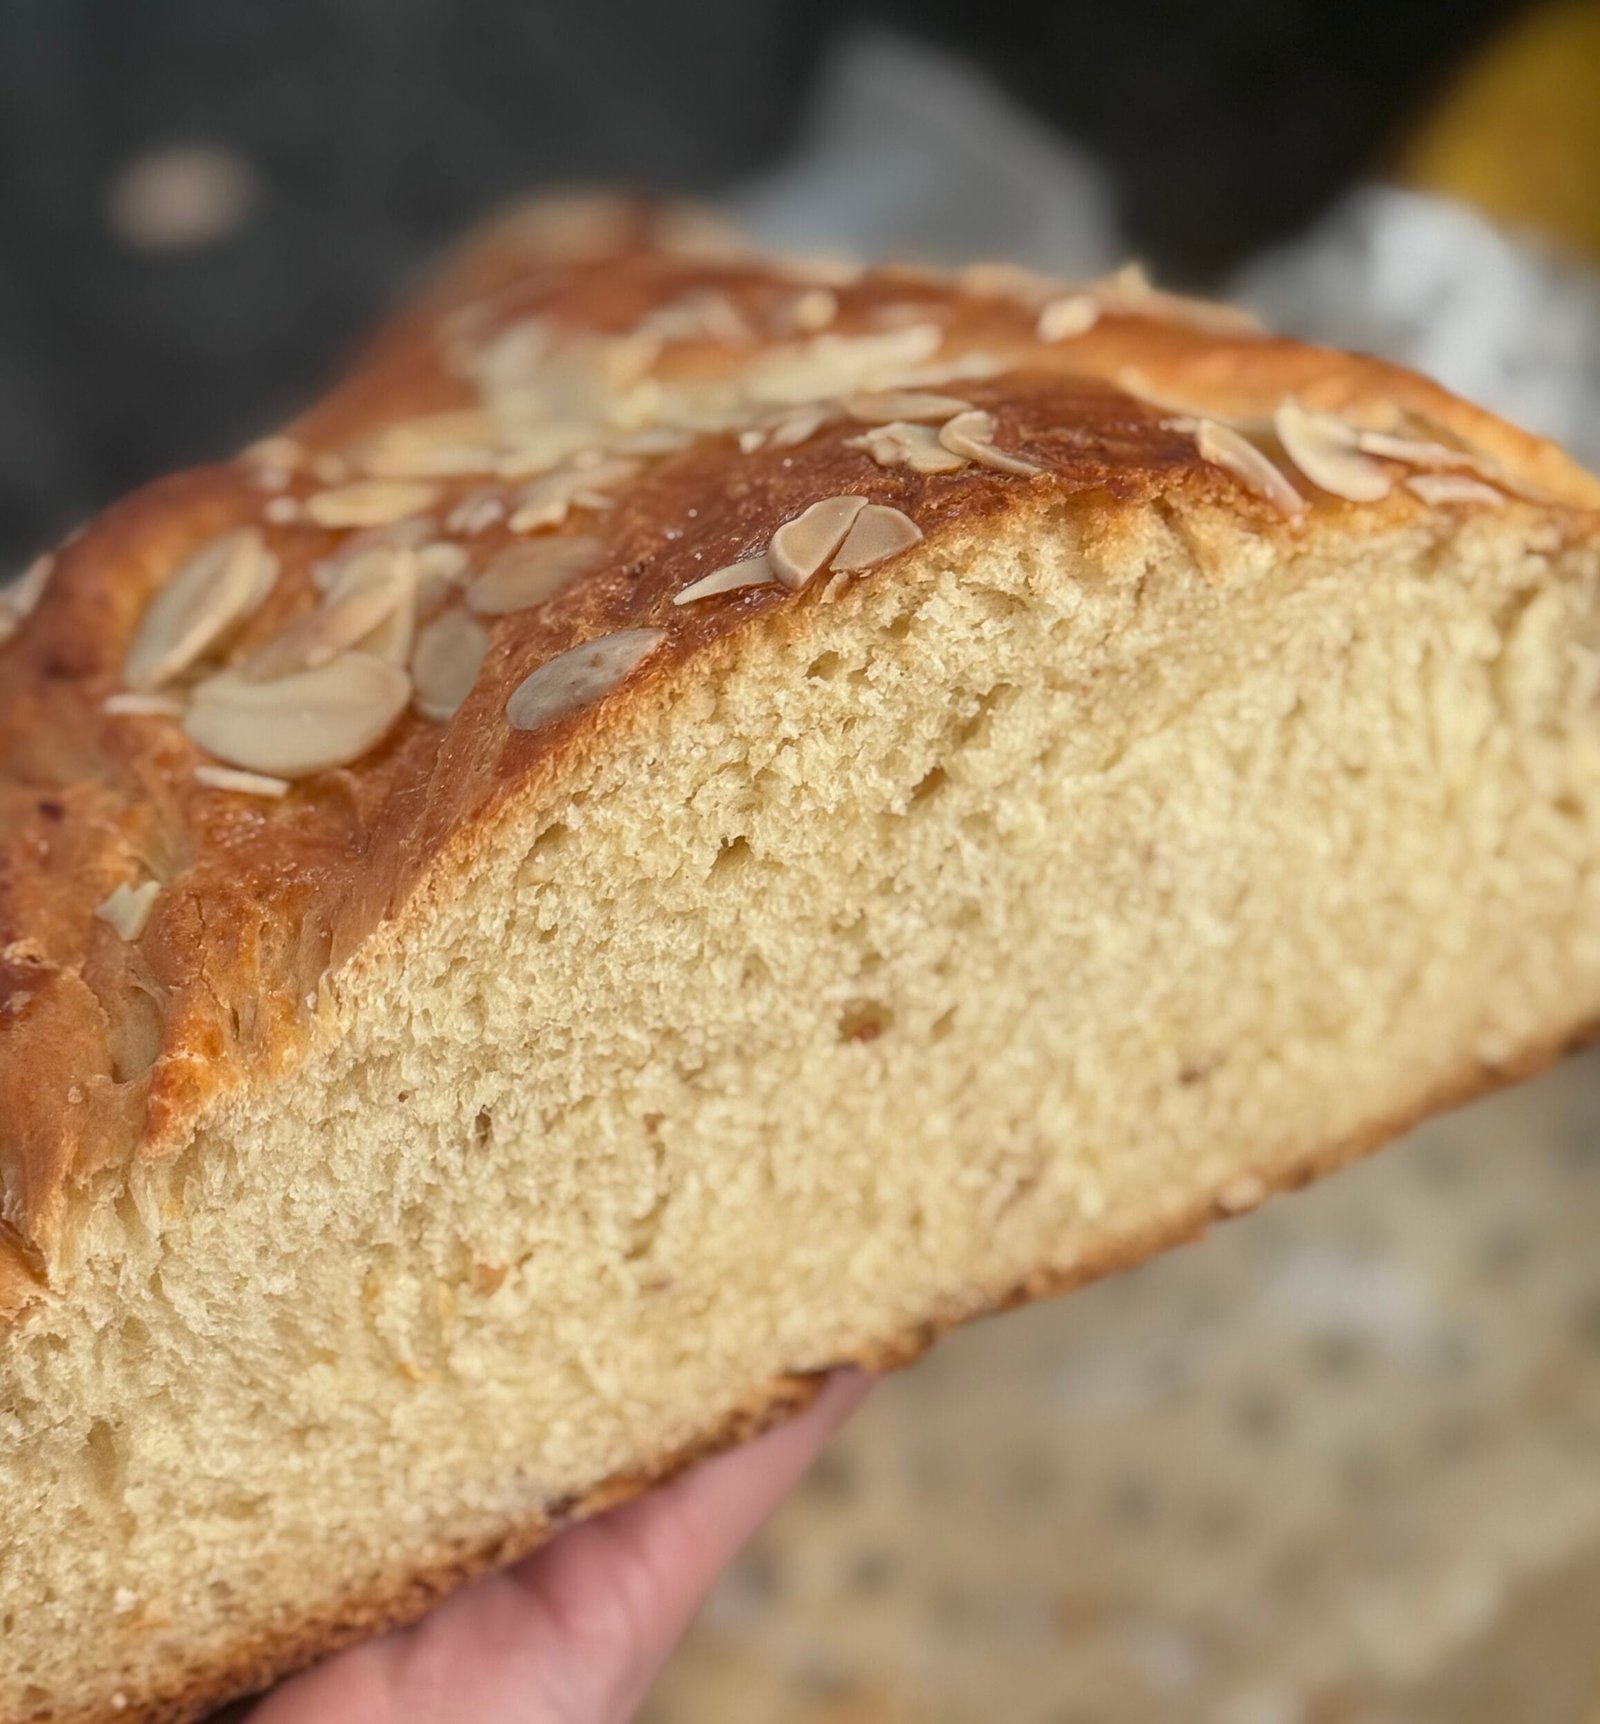
Traditional braided Easter bread (kozinjak or milibrod) is an absolute must on our Easter table. If you ask me, it is one of the most anticipated (and devoured) Easter treats. It is simple (deceptively so), but that’s exactly what makes it special. It is soft, perfectly sweetened, and has that irresistible golden crust that just begs to be torn apart and enjoyed.
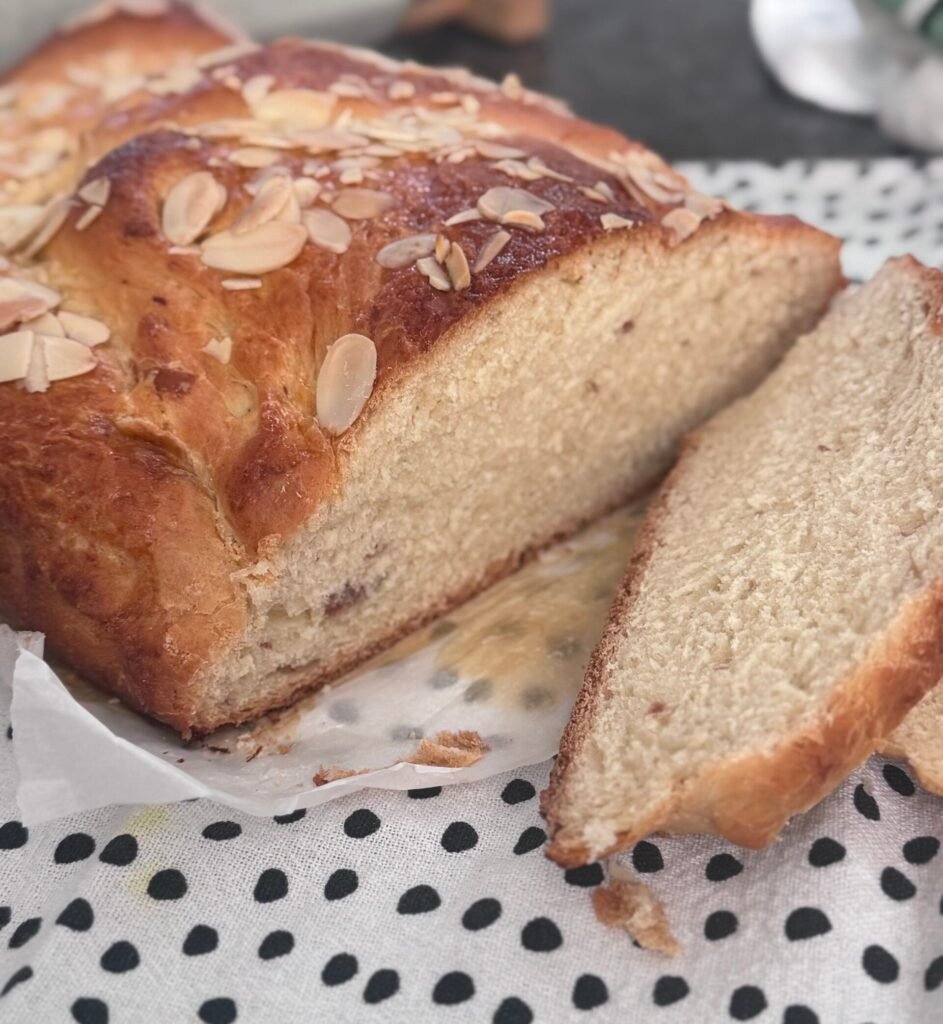

Honestly, I can’t imagine Easter without this sweet bread. I can skip a lot of things, but never this. There are countless recipes and variations out there, and truth be told, they all taste amazing. But before we get fancy with different twists and add-ins, I want to share the traditional version, just like my mom makes it. It is incredibly simple in both ingredients and process, yet that’s exactly why I love it the most. Sometimes (or often), the best things in life are the simplest ones.
So follow me now, to learn how to make Easter bread, the easy way.
What is Easter Bread
Easter bread is a delicious sweet bread, often enriched with raisins, nuts, Nutella, chocolate, poppy seeds – you name it. Depending on where you are, you might hear it called milibrod, kozinjak, or simply sweet bread. No matter the name, one thing is universal, and that is – it’s incredibly flavourful and a must-have on many Easter tables.
My version is a slight twist on my mom’s original recipe. Instead of raisins, I use dates and that is such a great decision. Dates are also sweet and have this slightly chewy texture that makes this bread even more irresistible.
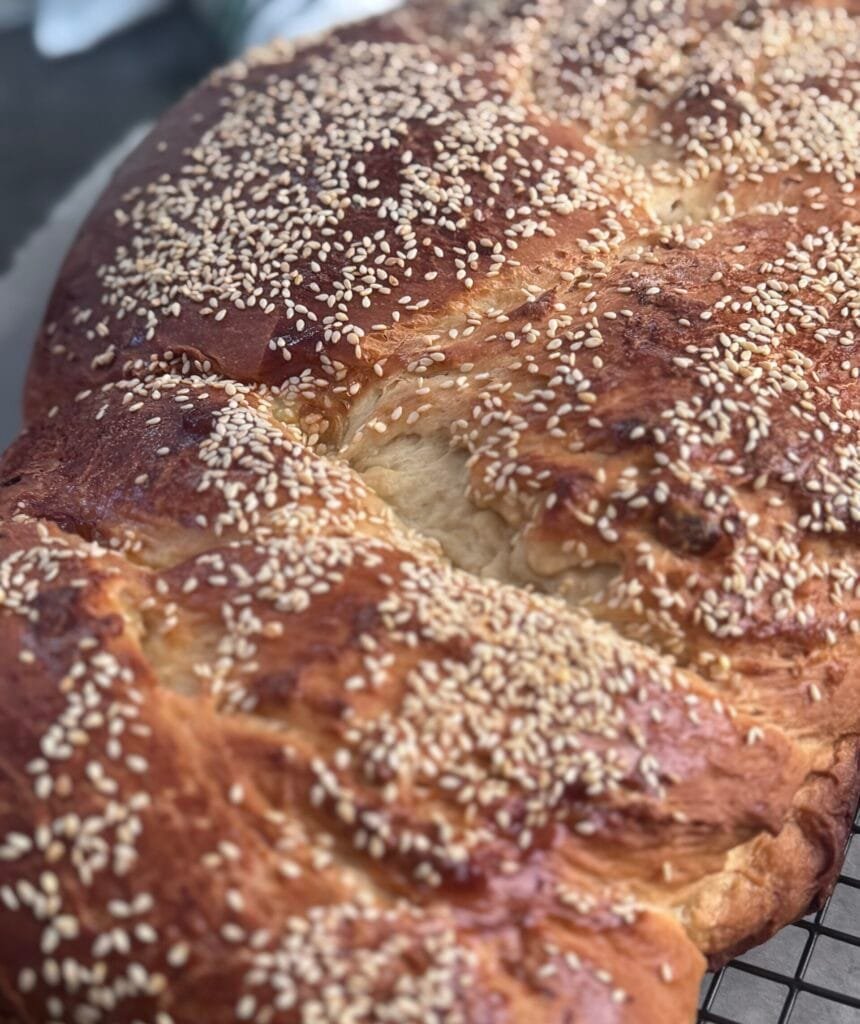
Many people think it is complex to make, but actually it’s very simple! The only “hard” part is waiting for dough to rise, and honestly, that’s not even work – it’s just patience.
You do nothing in the rising process, just monitoring dough not to escape the bowl. Ok, so you occasionally reed to extract the air with a punch to raise again to desired state. So your effort is really in the beginning just to bring all ingredients together and prep the dough.
I’ll be honest, I’ve made the mistake of rushing this process more times than I can count, but mostly because of my impatience to get it ready to eat it ASAP. But trust me, don’t force it. The sweet easter bread needs time. That slow rise is the secret to its fluffy, soft texture. So take a deep breath, distract yourself with a cup of tea, a good book or a movie, and let the dough work its magic.
As an Amazon affiliate, I earn from qualifying purchases, at no extra cost to you.
What You’ll Need
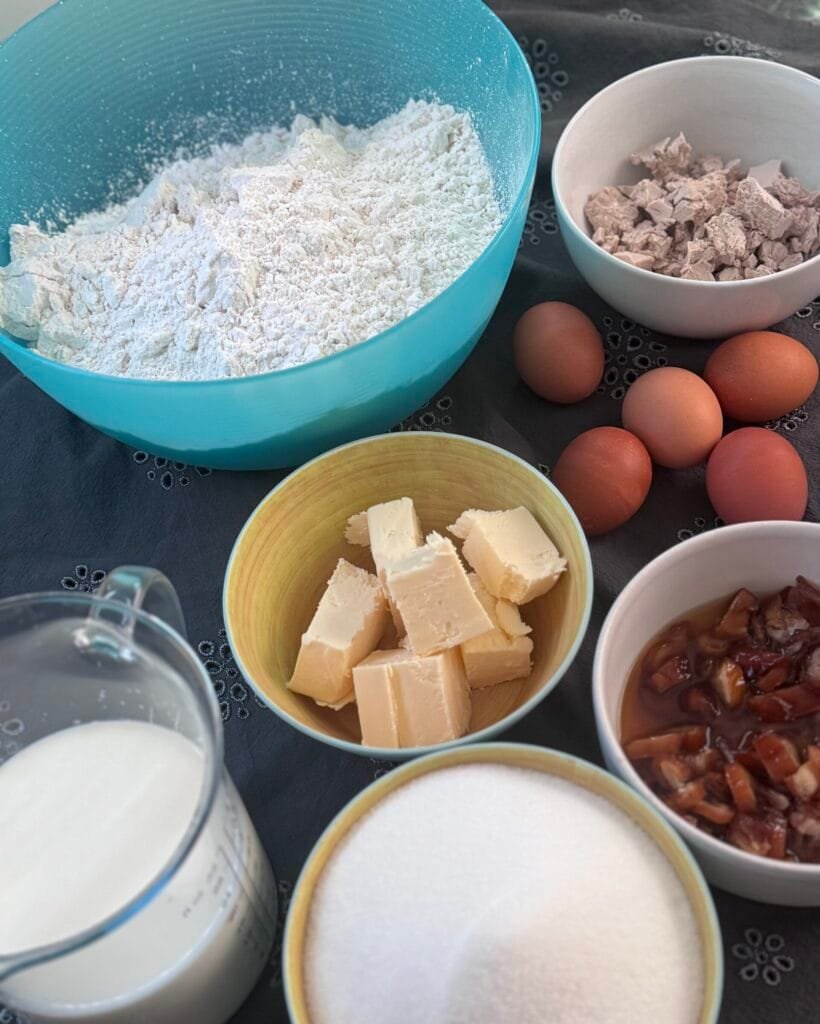
Eggs – Few eggs will give the dough a perfect yellow colour and soft texture. Be sure to set one egg aside for brushing the top before baking, this will give your milibrod that beautiful golden finish.
Milk – I use whole fat milk to get perfect texture and flavour.
Fresh yeast – While dry yeast works just fine, fresh yeast takes things up a notch. It gives the bread a beautiful rise and fills your kitchen with that beautiful fresh-baked aroma. If you can get your hands on it, go for fresh yeast.
Sugar – I use fine white sugar because I love the light, fluffy inside of the traditional bread. If you prefer a deeper sweetness, you can swap in demerara sugar, honey, or maple syrup, but don’t be surprised that your bread will take on a darker shade. For the classic look, stick with white sugar.
Butter – This is where I add my own little twist. The original recipe calls for vegetable oil, but butter brings a richer flavour and a lovely flakiness. So, I opt for butter. Just make sure you either melt the butter (not too warm to cook the eggs), or wish it at room temperature before you add to the mix.
Dates – Another twist here. The original recipe uses raisins, but I’ve replaced them for pitted dates. Just chop them up, soak them in warm water with vanilla, and let them soften up. Don’t discard that sweet, syrupy water, because it adds extra flavour and moisture to the dough.
Vanilla – I use pure vanilla extract to soak the dates for extra flavour. The original recipe calls for rum (which is amazing), but since my kids will be eating this, I opt for the alcohol-free route. If you want another option, maple syrup works great too.
Lemon zest – Oh, please don’t skip this! If you don’t have a lemon, I’d honestly say… don’t even start. The fresh citrus zest is essential for that amazing flavour of the bread. You can use orange zest – it is equally good, however my preference is the lemon.
Flour – I stick to good old all-purpose flour, just like in the traditional recipe. There’ve been times where I used a half-half mix of whole wheat and white flour, and it is good, but let’s reserve that once you perfect this original traditional method, first.
Optional add-ins – If you want to get creative, go for it! You can mix in chopped nuts, chocolate chips, raisins… whatever makes you happy. But this time, I’m keeping it simple with just some chopped dates.
To finish – A sprinkle of sliced almonds or sesame seeds on top adds a nice crunch and makes the bread look extra beautiful. So, I highly recommend the toppings.
Traditional Easter Bread
Recipe by BibaCourse: Dessert, BreakfastCuisine: Macedonian, Serbian, Bulgarian, GreekDifficulty: Medium30
pieces30
minutes5
hours1
hourLearn how to make traditional Easter bread - a sweet, delicious treat perfect for your Easter traditional table. Simple, easy, and totally irresistible.
Ingredients
5 eggs
1 cup butter
600 ml milk, lukewarm
400 grams sugar
100 grams fresh yeast ( or 2 tablespoons dry yeast)
1 cup pitted dates, chopped
1 lemon, zested
1 tablespoon baking powder
approximately 5-6 cups all-purpose flour
- For finishing
1 egg, whisked
toasted sesame seeds or sliced almonds
How to make traditional Easter Bread
- Activate the yeast
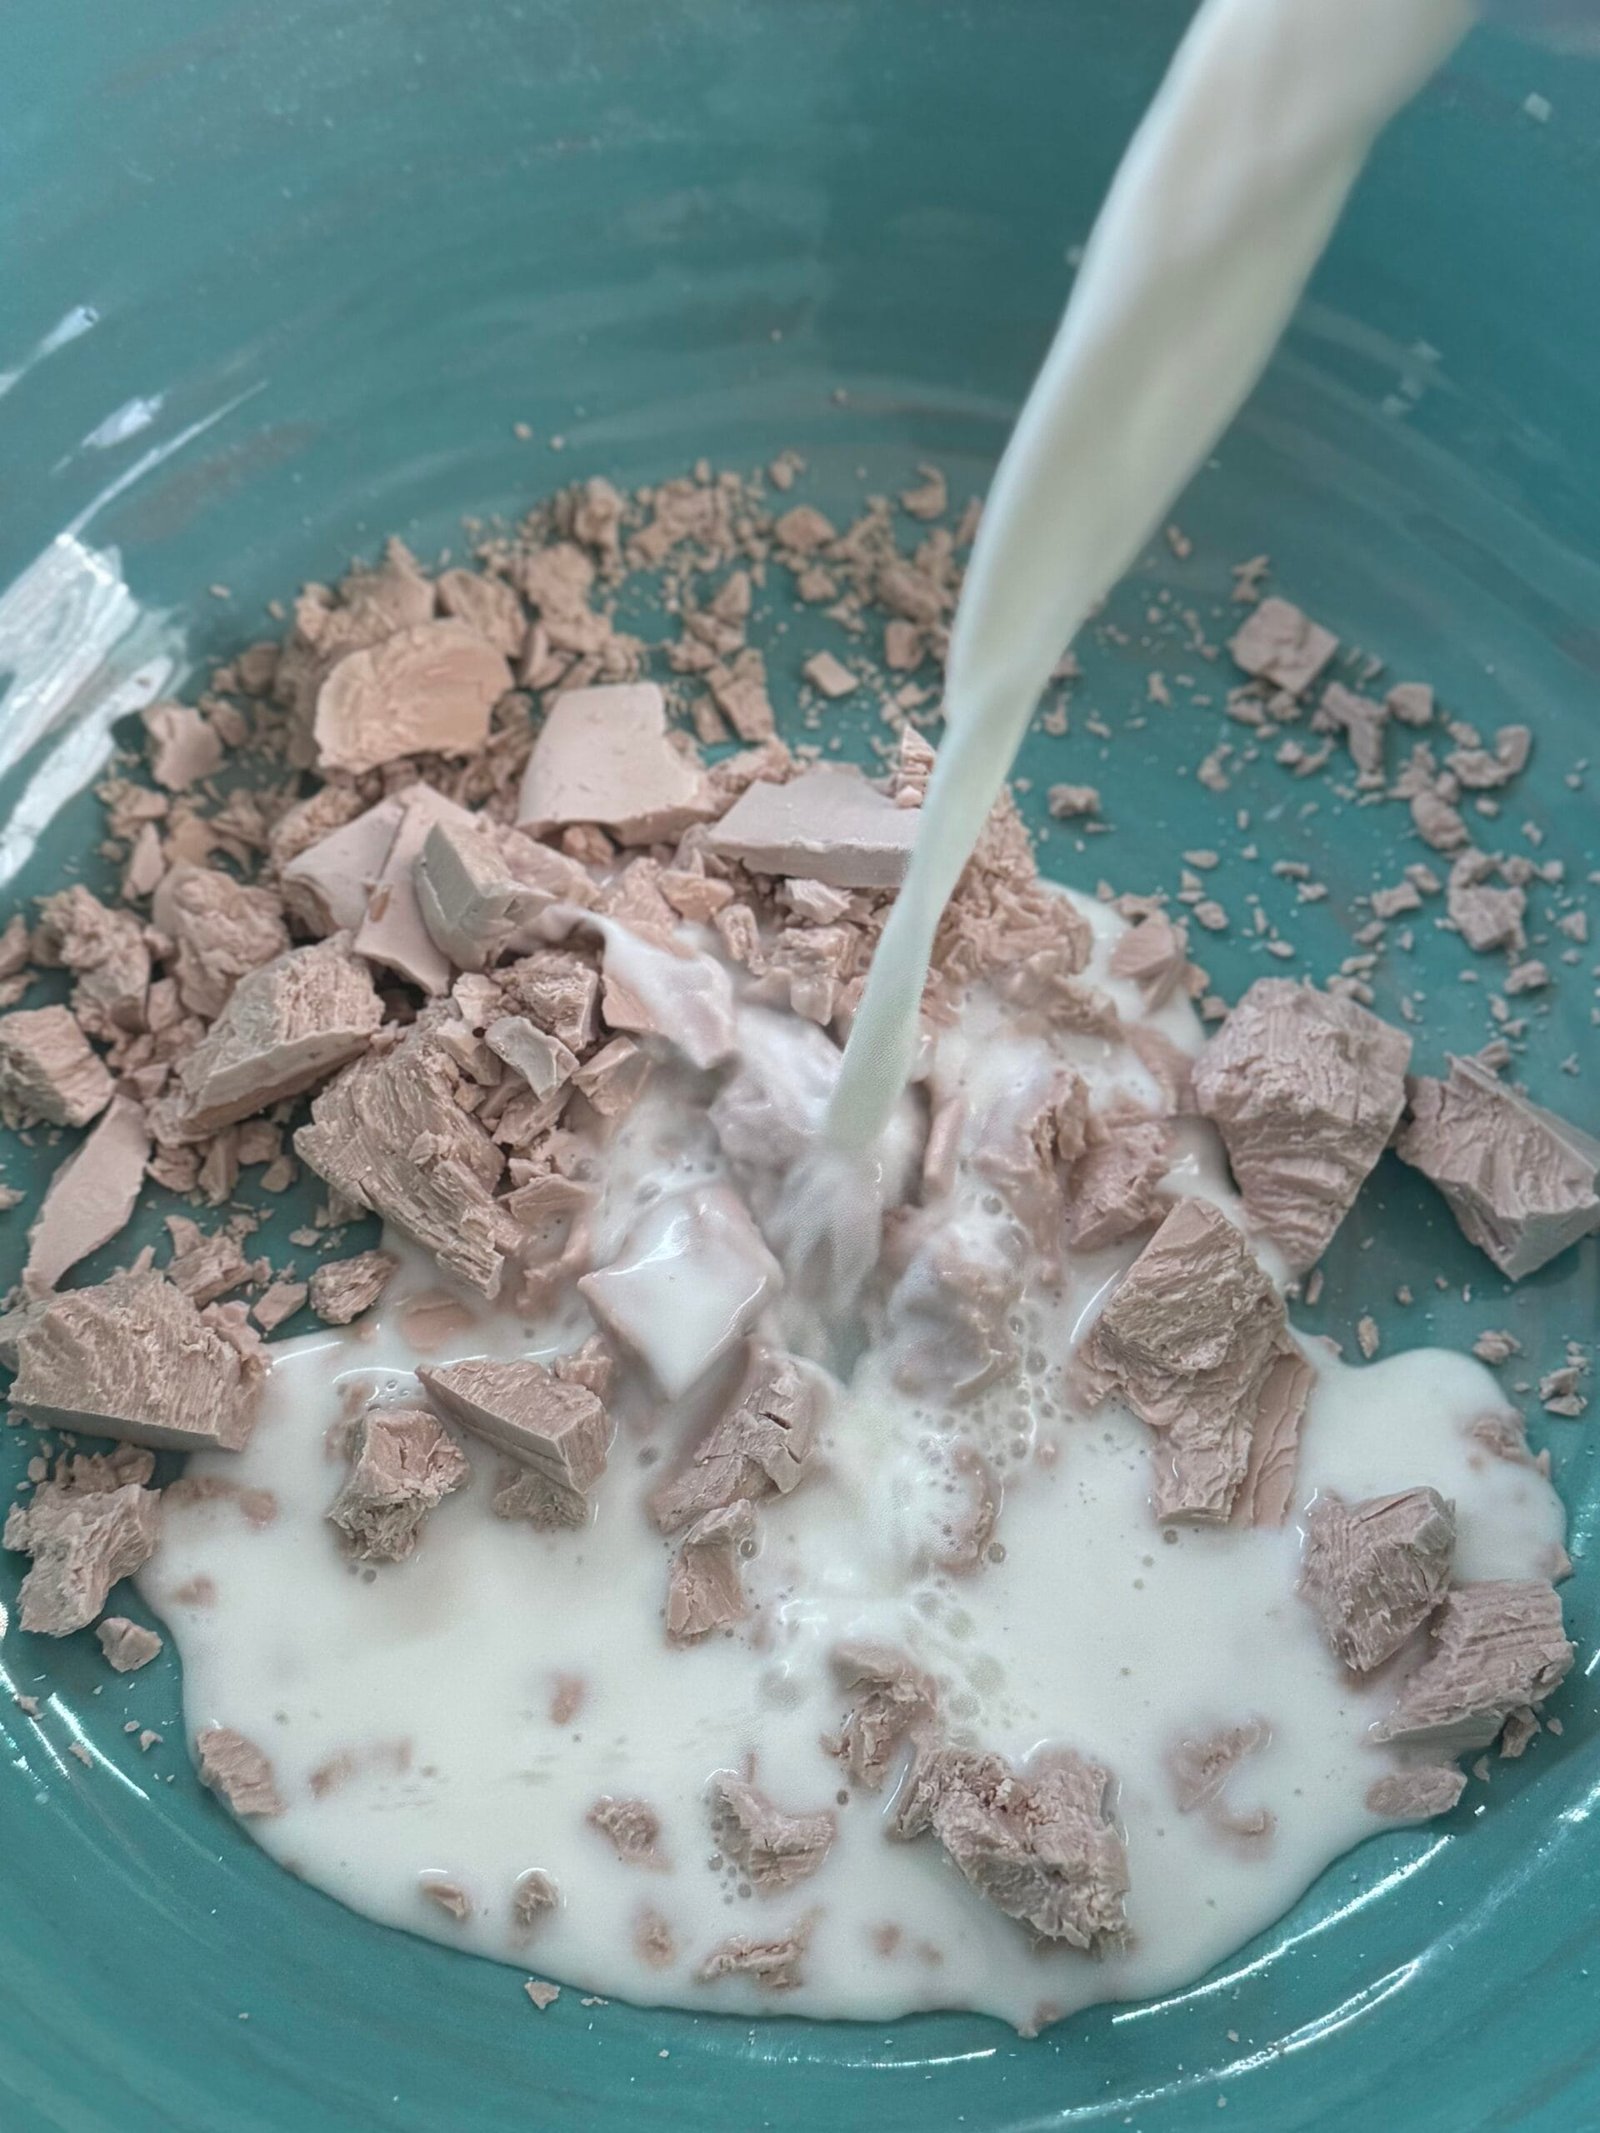
- In a small bowl, warm ½ cup of milk until it’s lukewarm (not too hot, just warm to the touch). Stir in 1 tablespoon of sugar, then crumble in the fresh yeast and mix well. Sprinkle a it of flour over the top and let it sit in a warm spot for about 20 minutes until it becomes bubbly and foamy.
- While the yeast activates, chop the dates and soak them in warm milk or water with a tablespoon of vanilla (or rum for adults-only batch). This helps soften the dates and release their natural sweetness. Set them aside.
- Prepare the dough
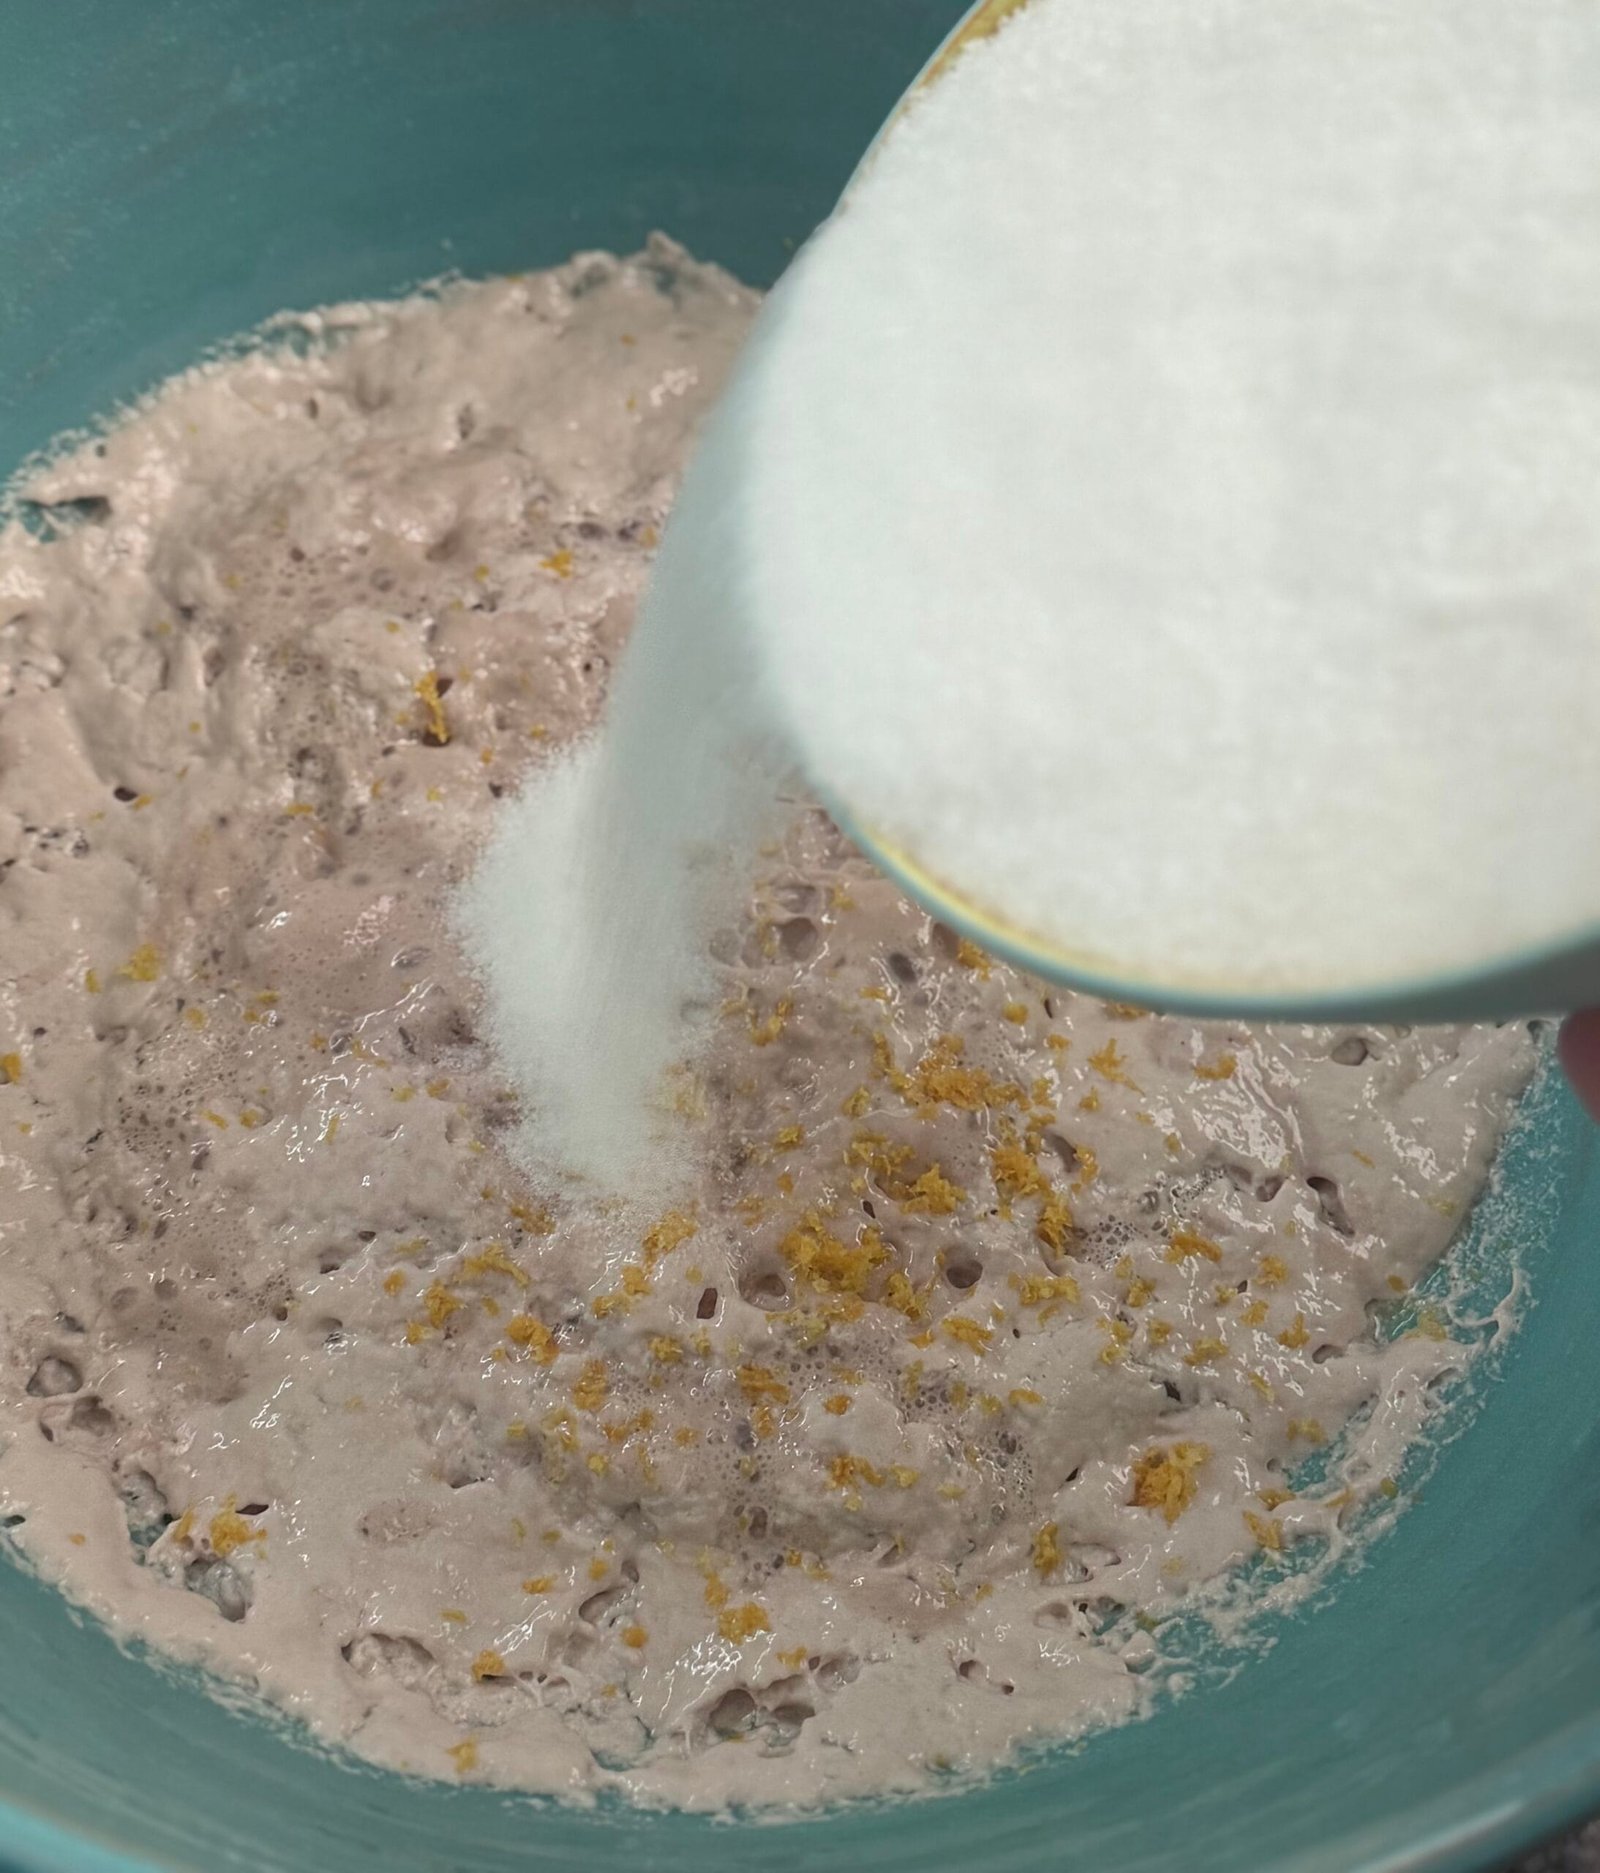
- In a large mixing bowl, transfer the activated yeast mixture. Warm up the remaining milk until lukewarm, stir in the sugar, and mix everything well.
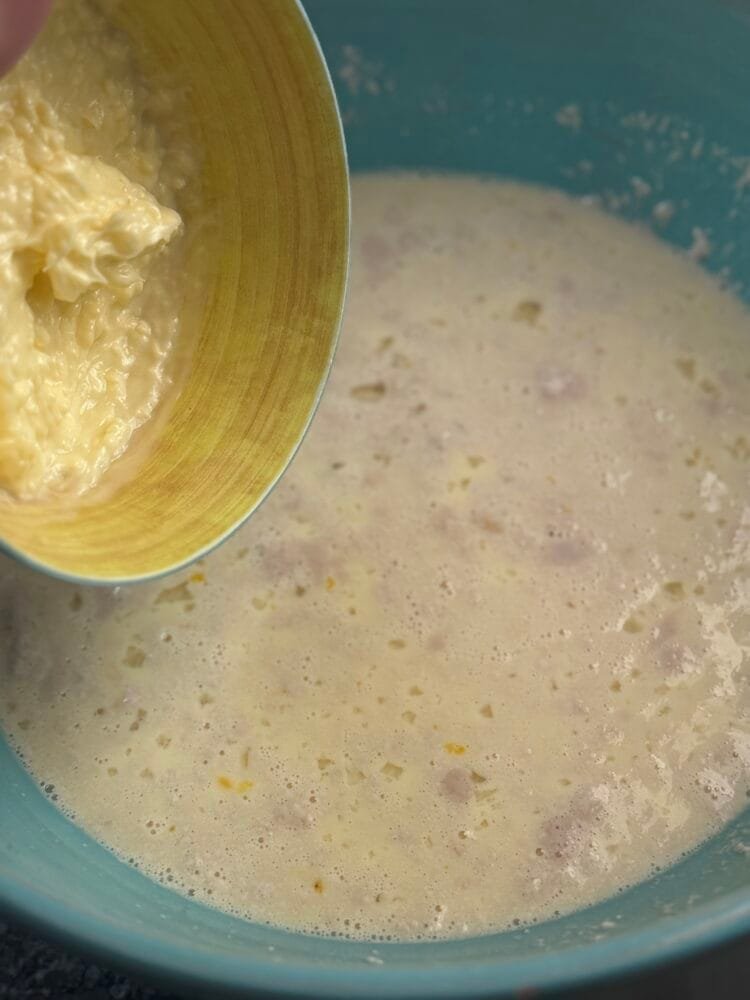
- Start adding the eggs, one by one, whisking in between to combine. Next, pour in the melted butter, and the lemon zest and give it a good mix.
- In a separate bowl, combine the flour, baking powder and a pinch of salt. Gradually add half of the dry ingredients to the wet mixture, stirring as you go.
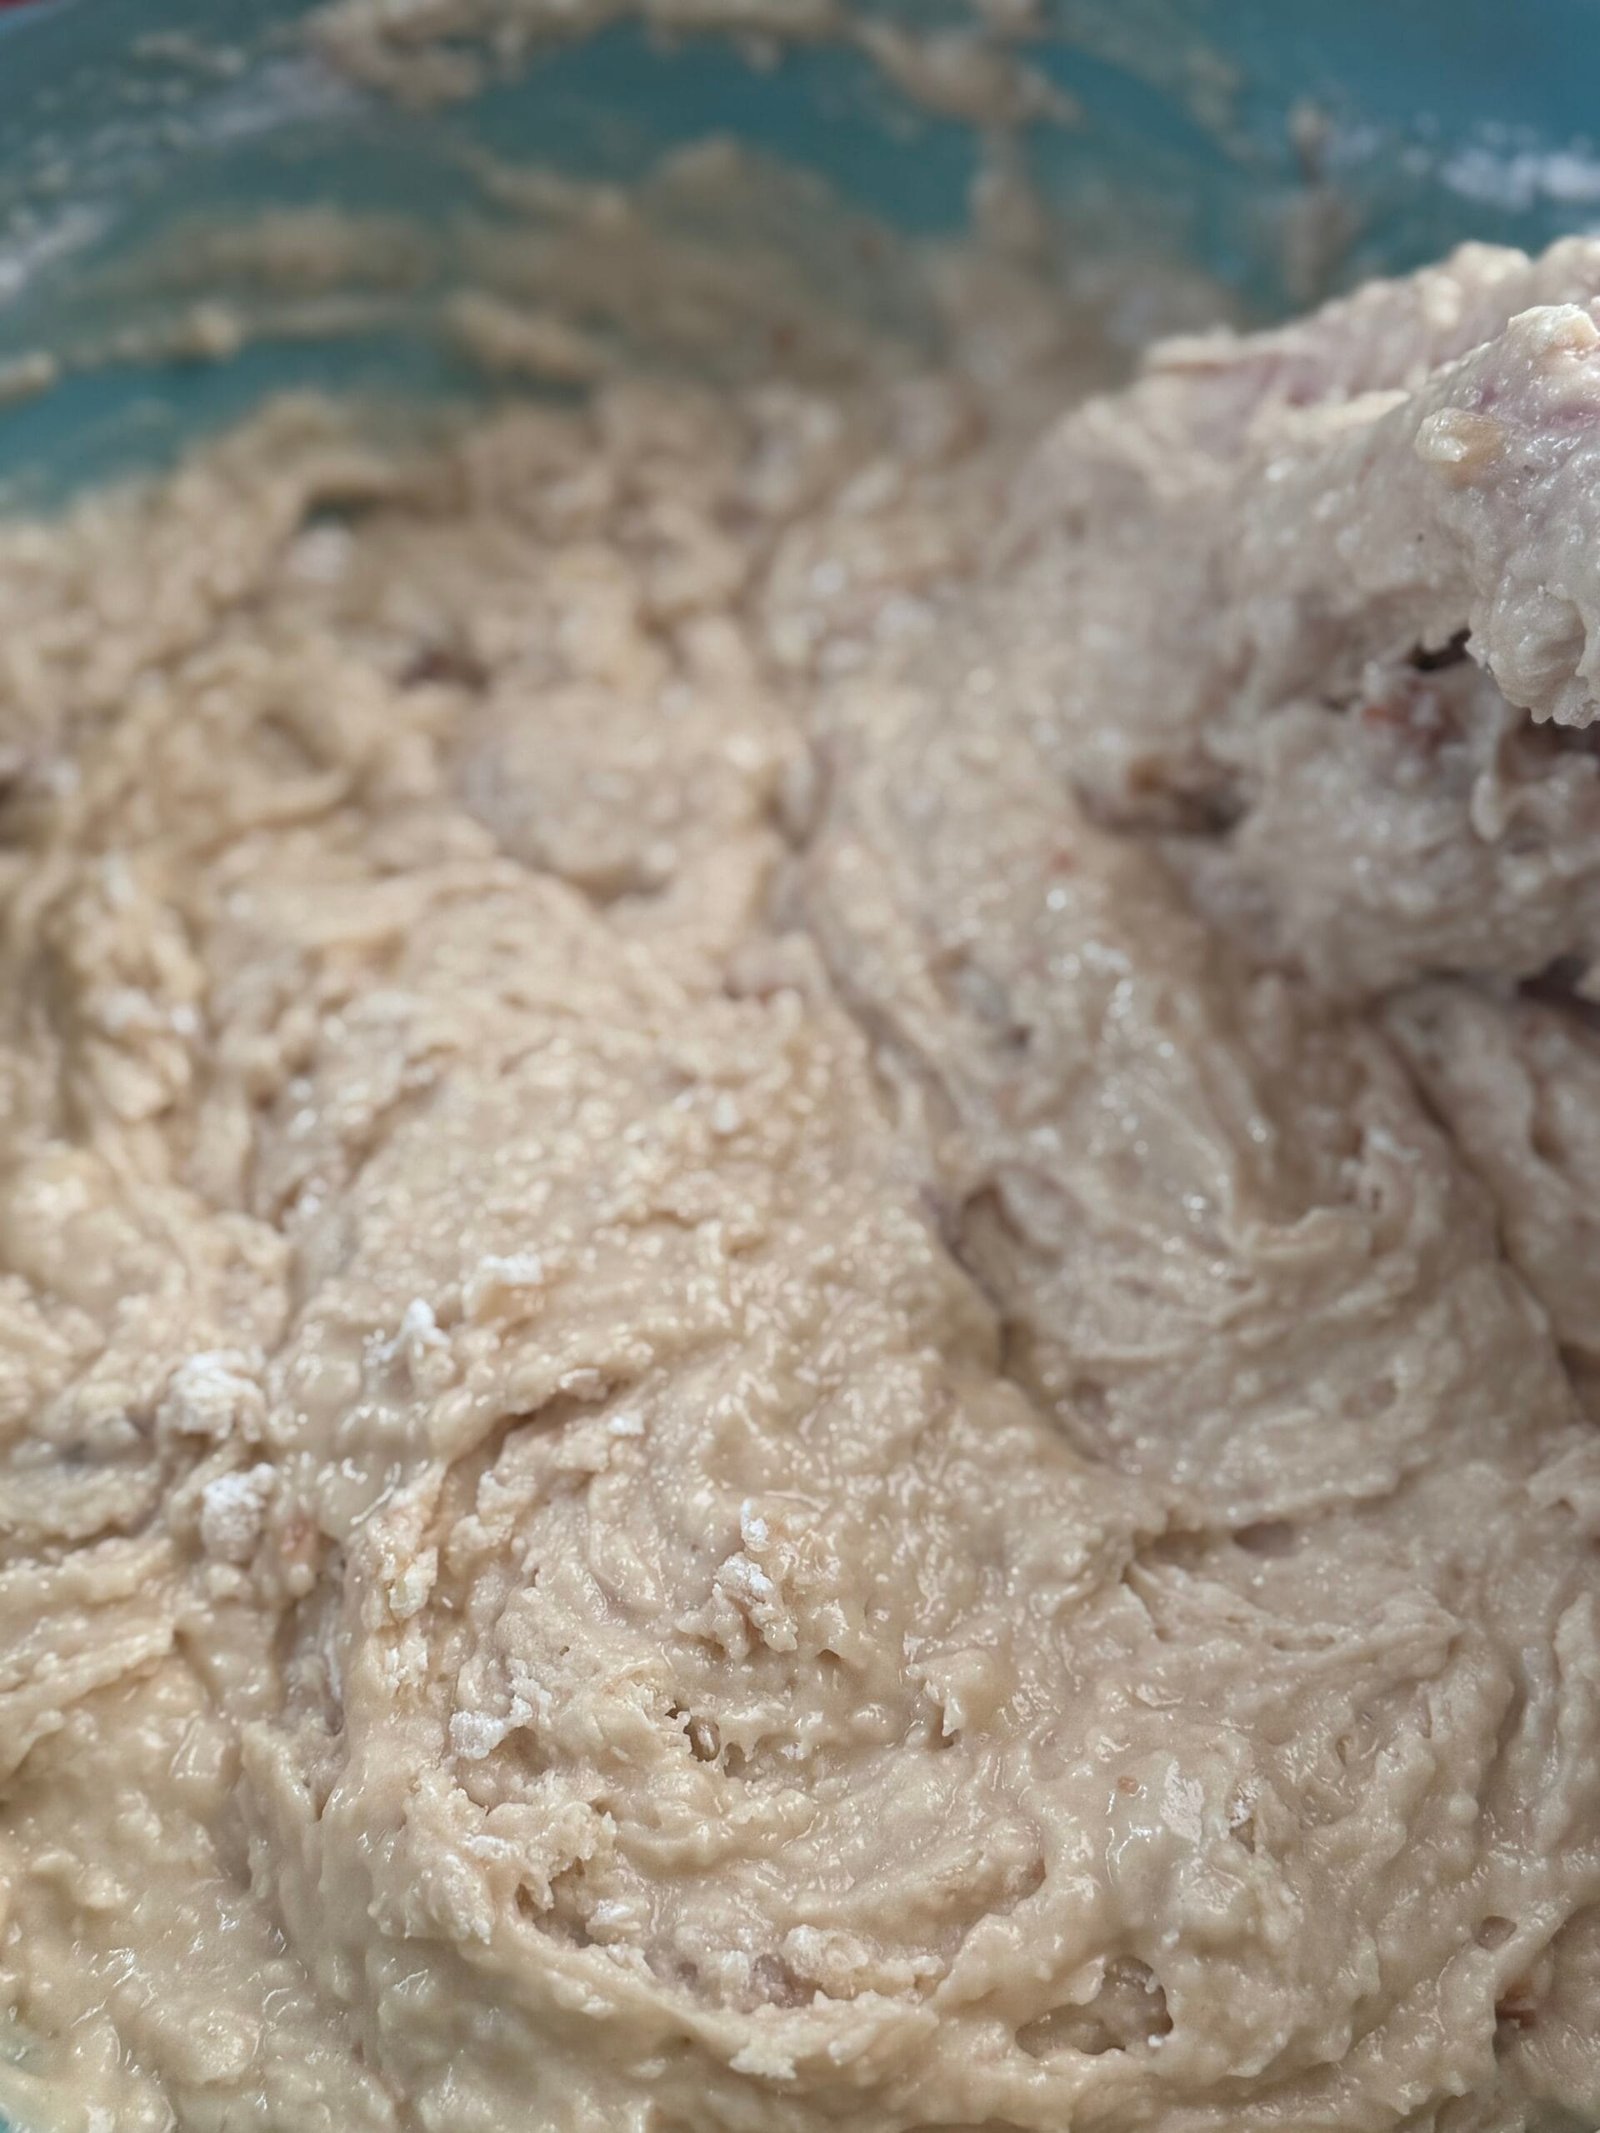
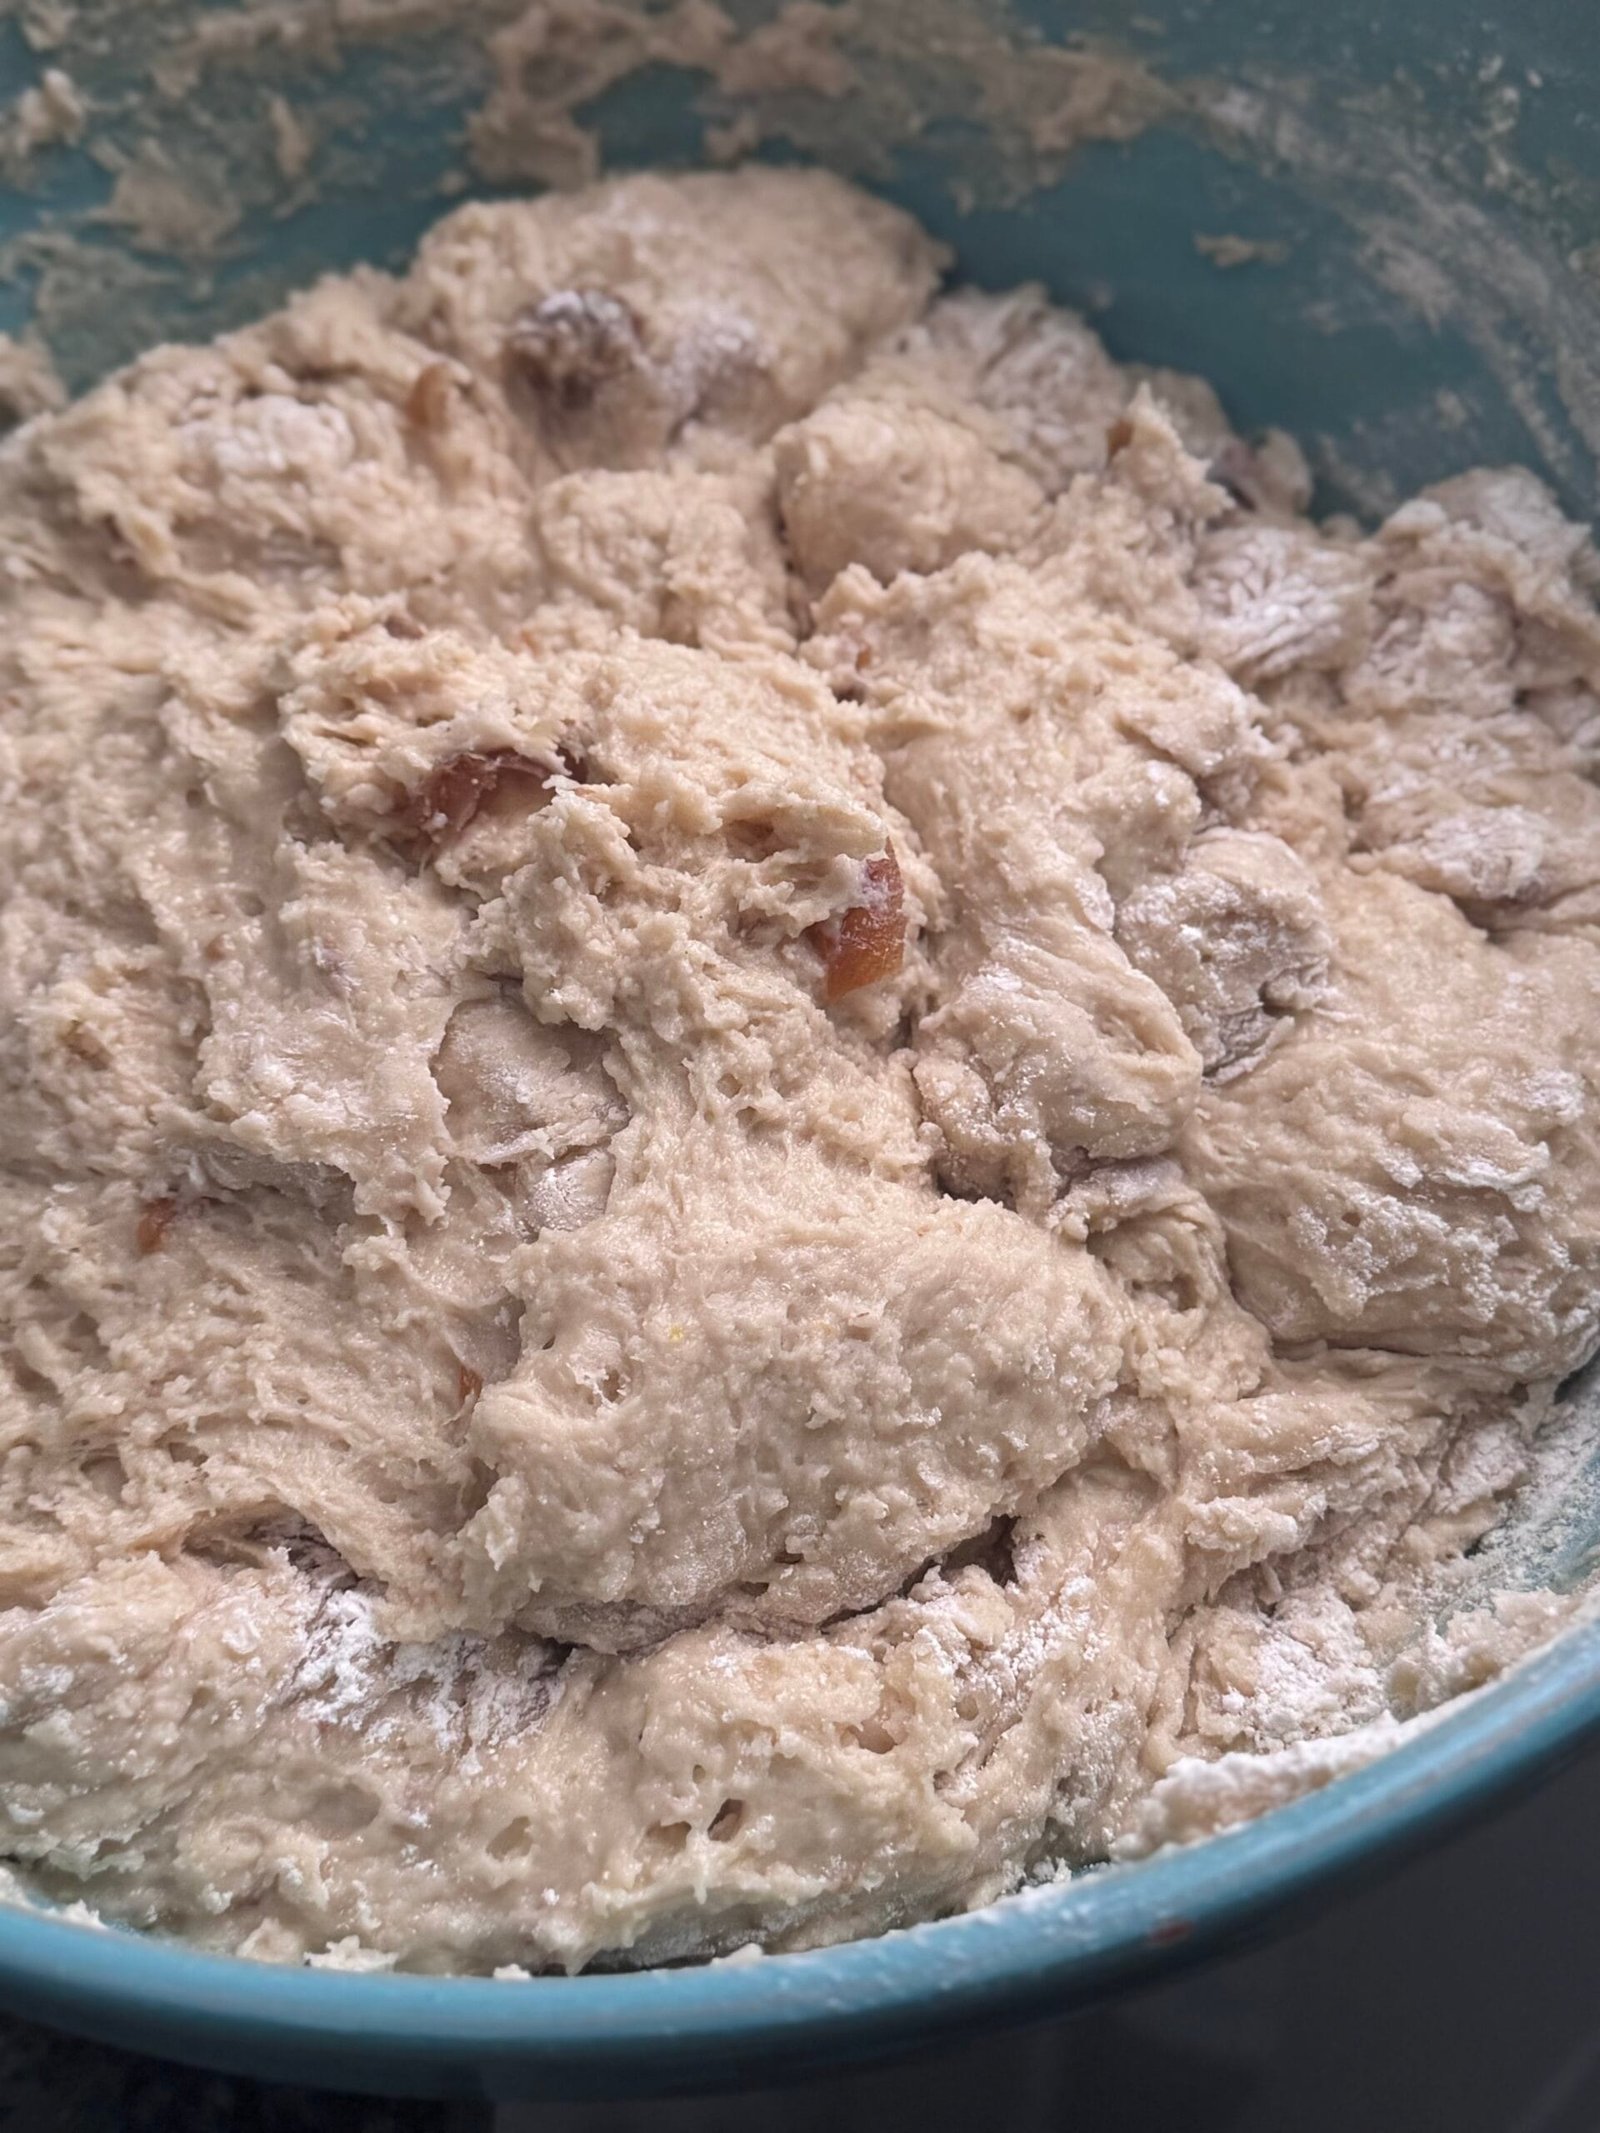
- Add in the softened dates along with the sweet syrup they’ve released, and continue adding the remaining dry ingredients. Once the dough thickens, switch to a spatula or your hands. The dough should feel soft but not too sticky. If it’s sticking to your hands, keep adding small amounts of flour until it reaches the right consistency.
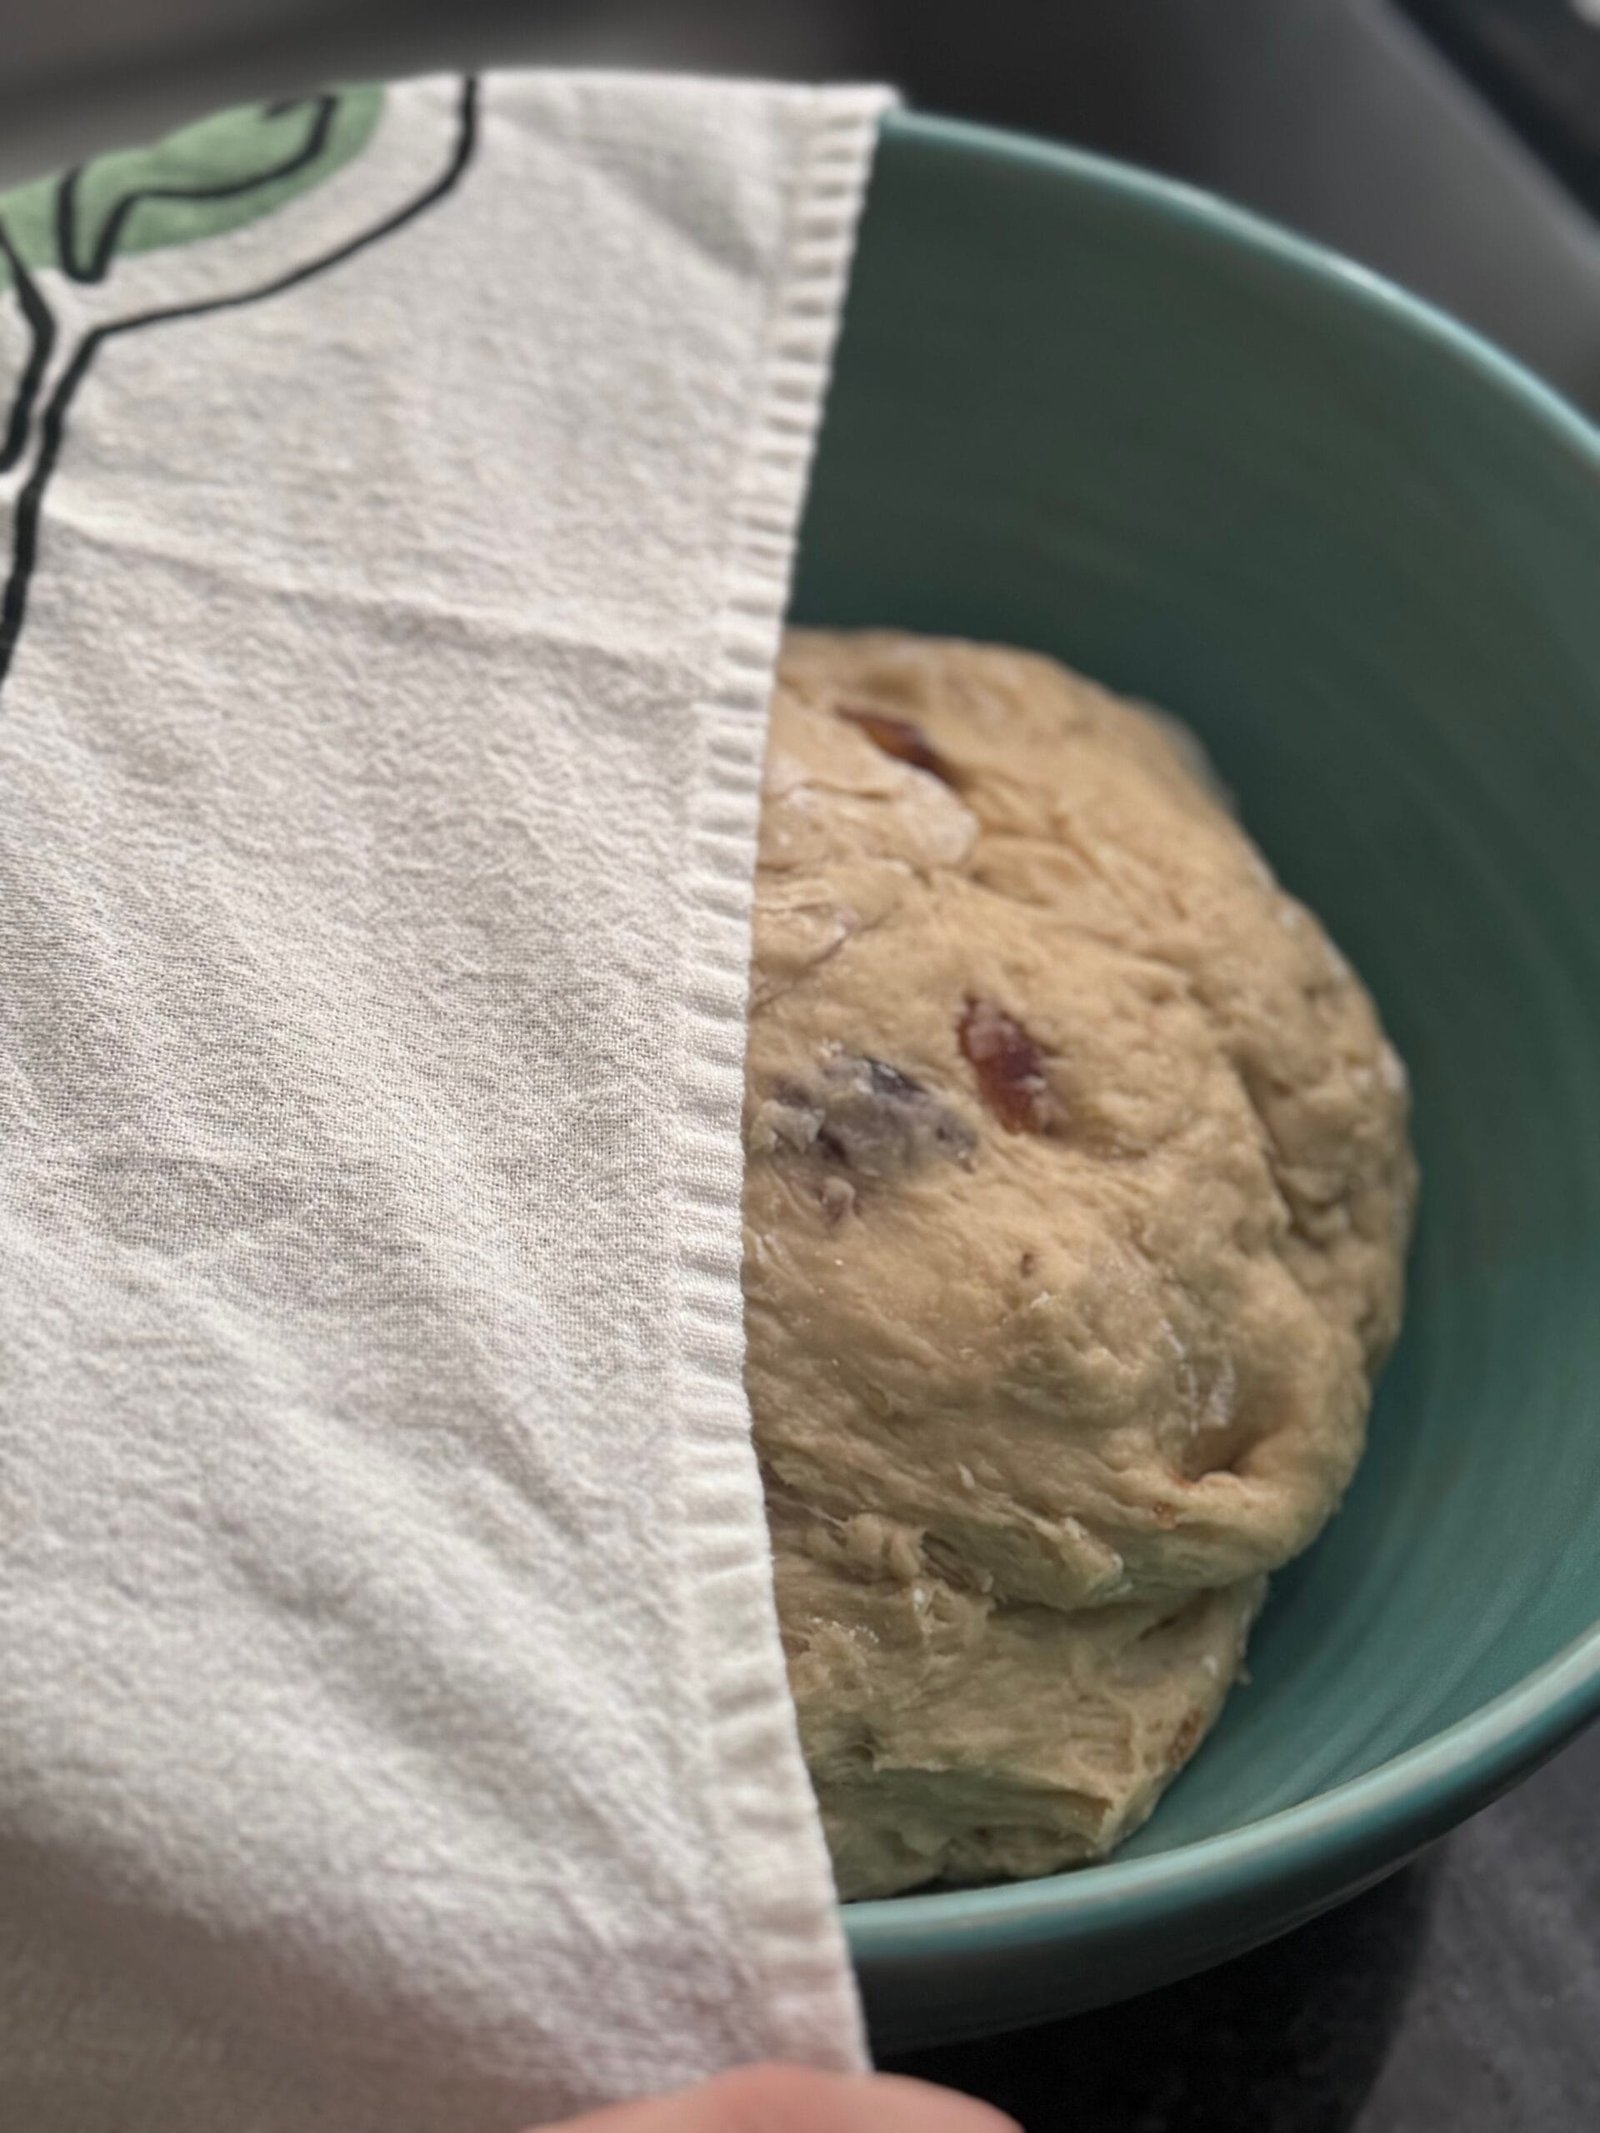
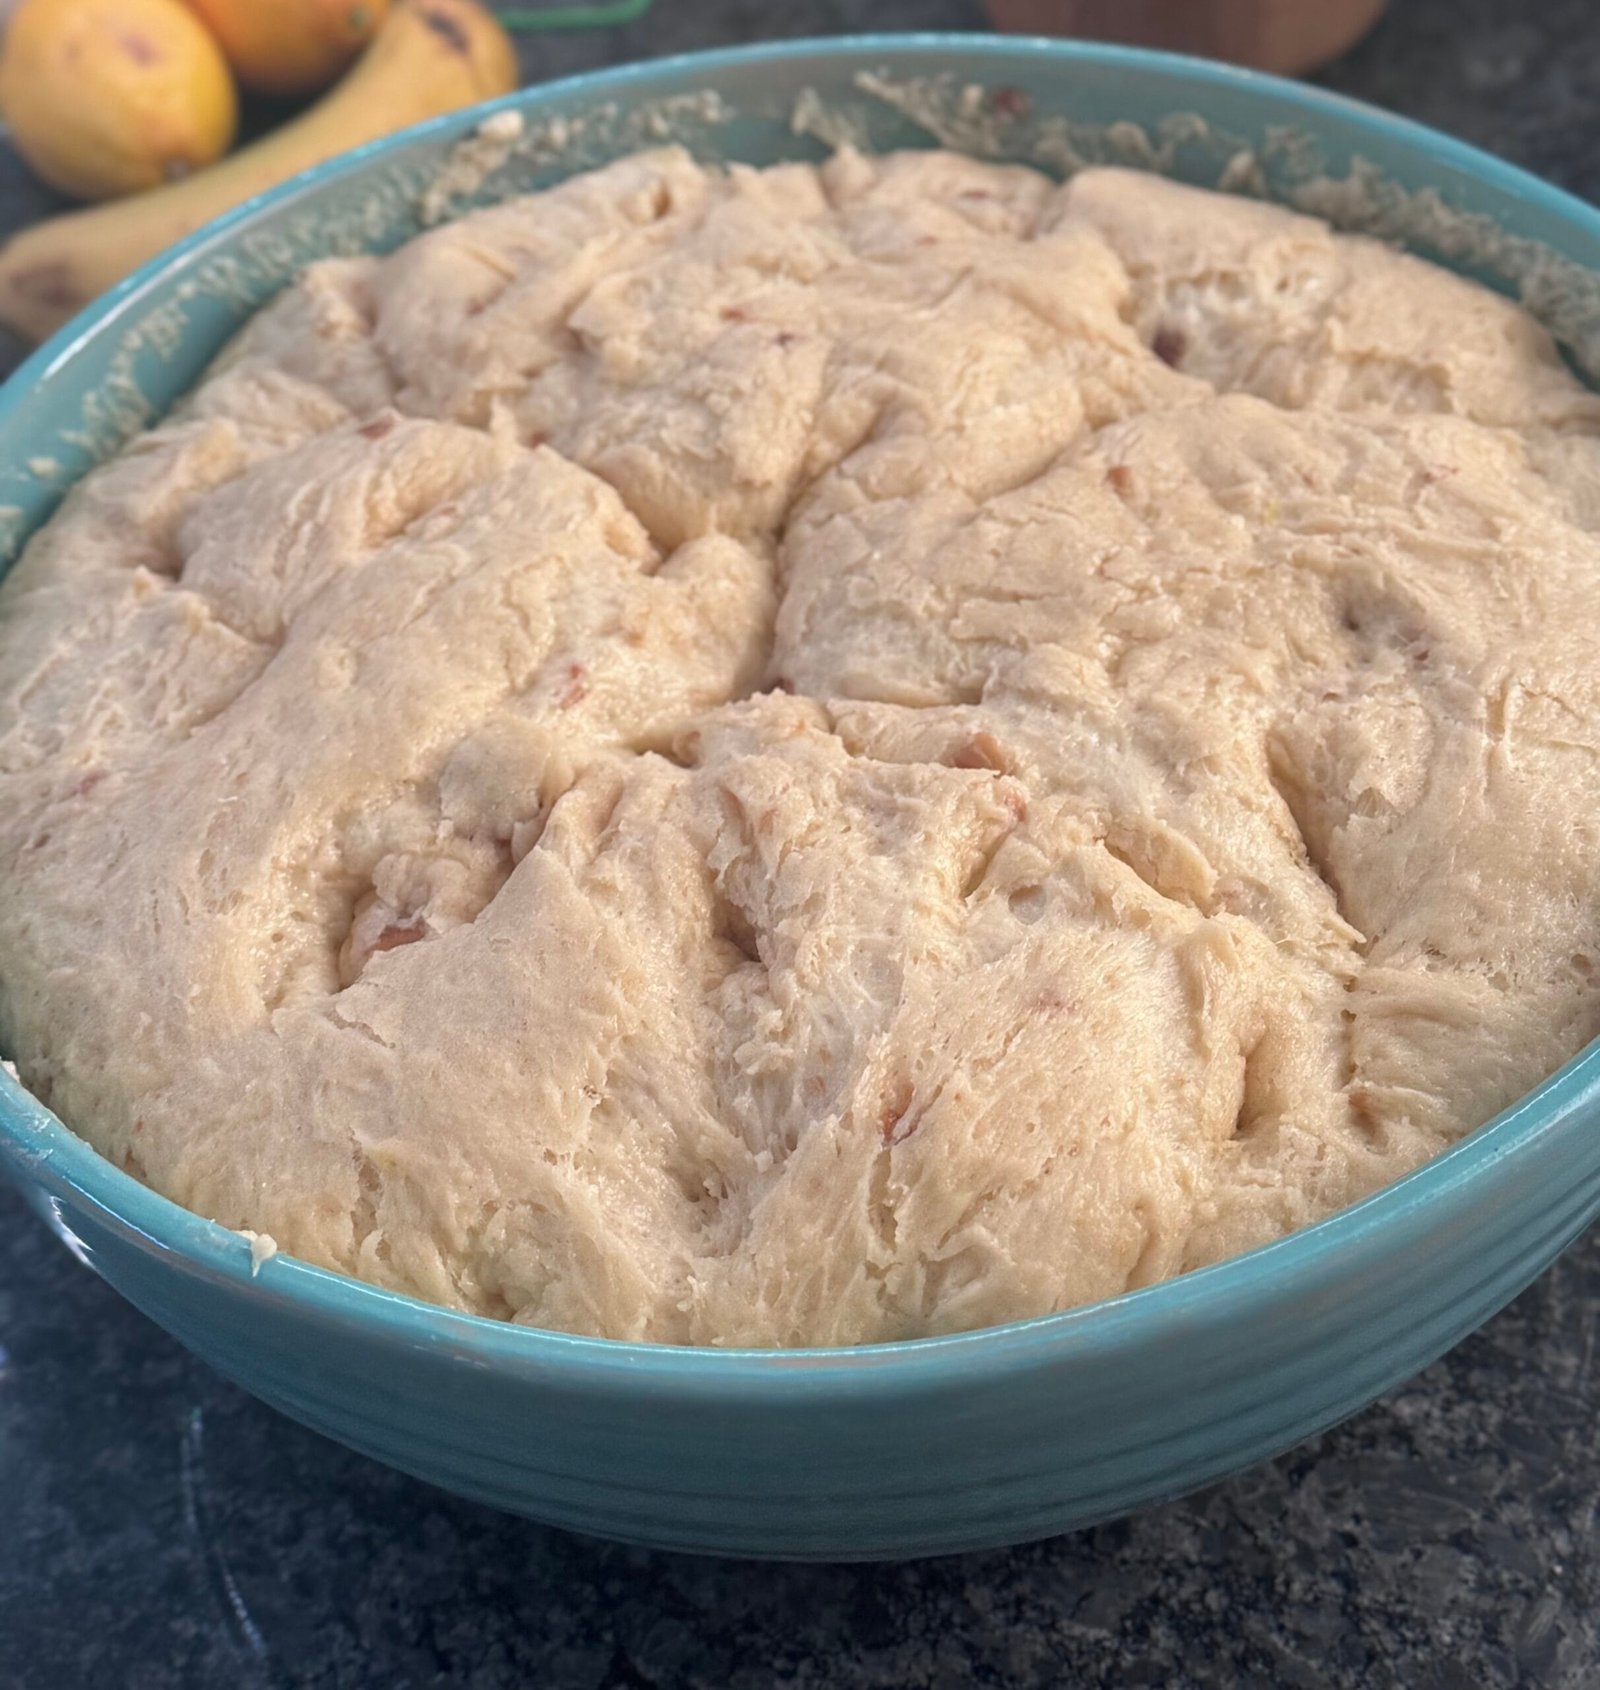
- Shape the dough into a smooth ball, cover it with a damp towel, and let it rest in a warm place for 1 hour.
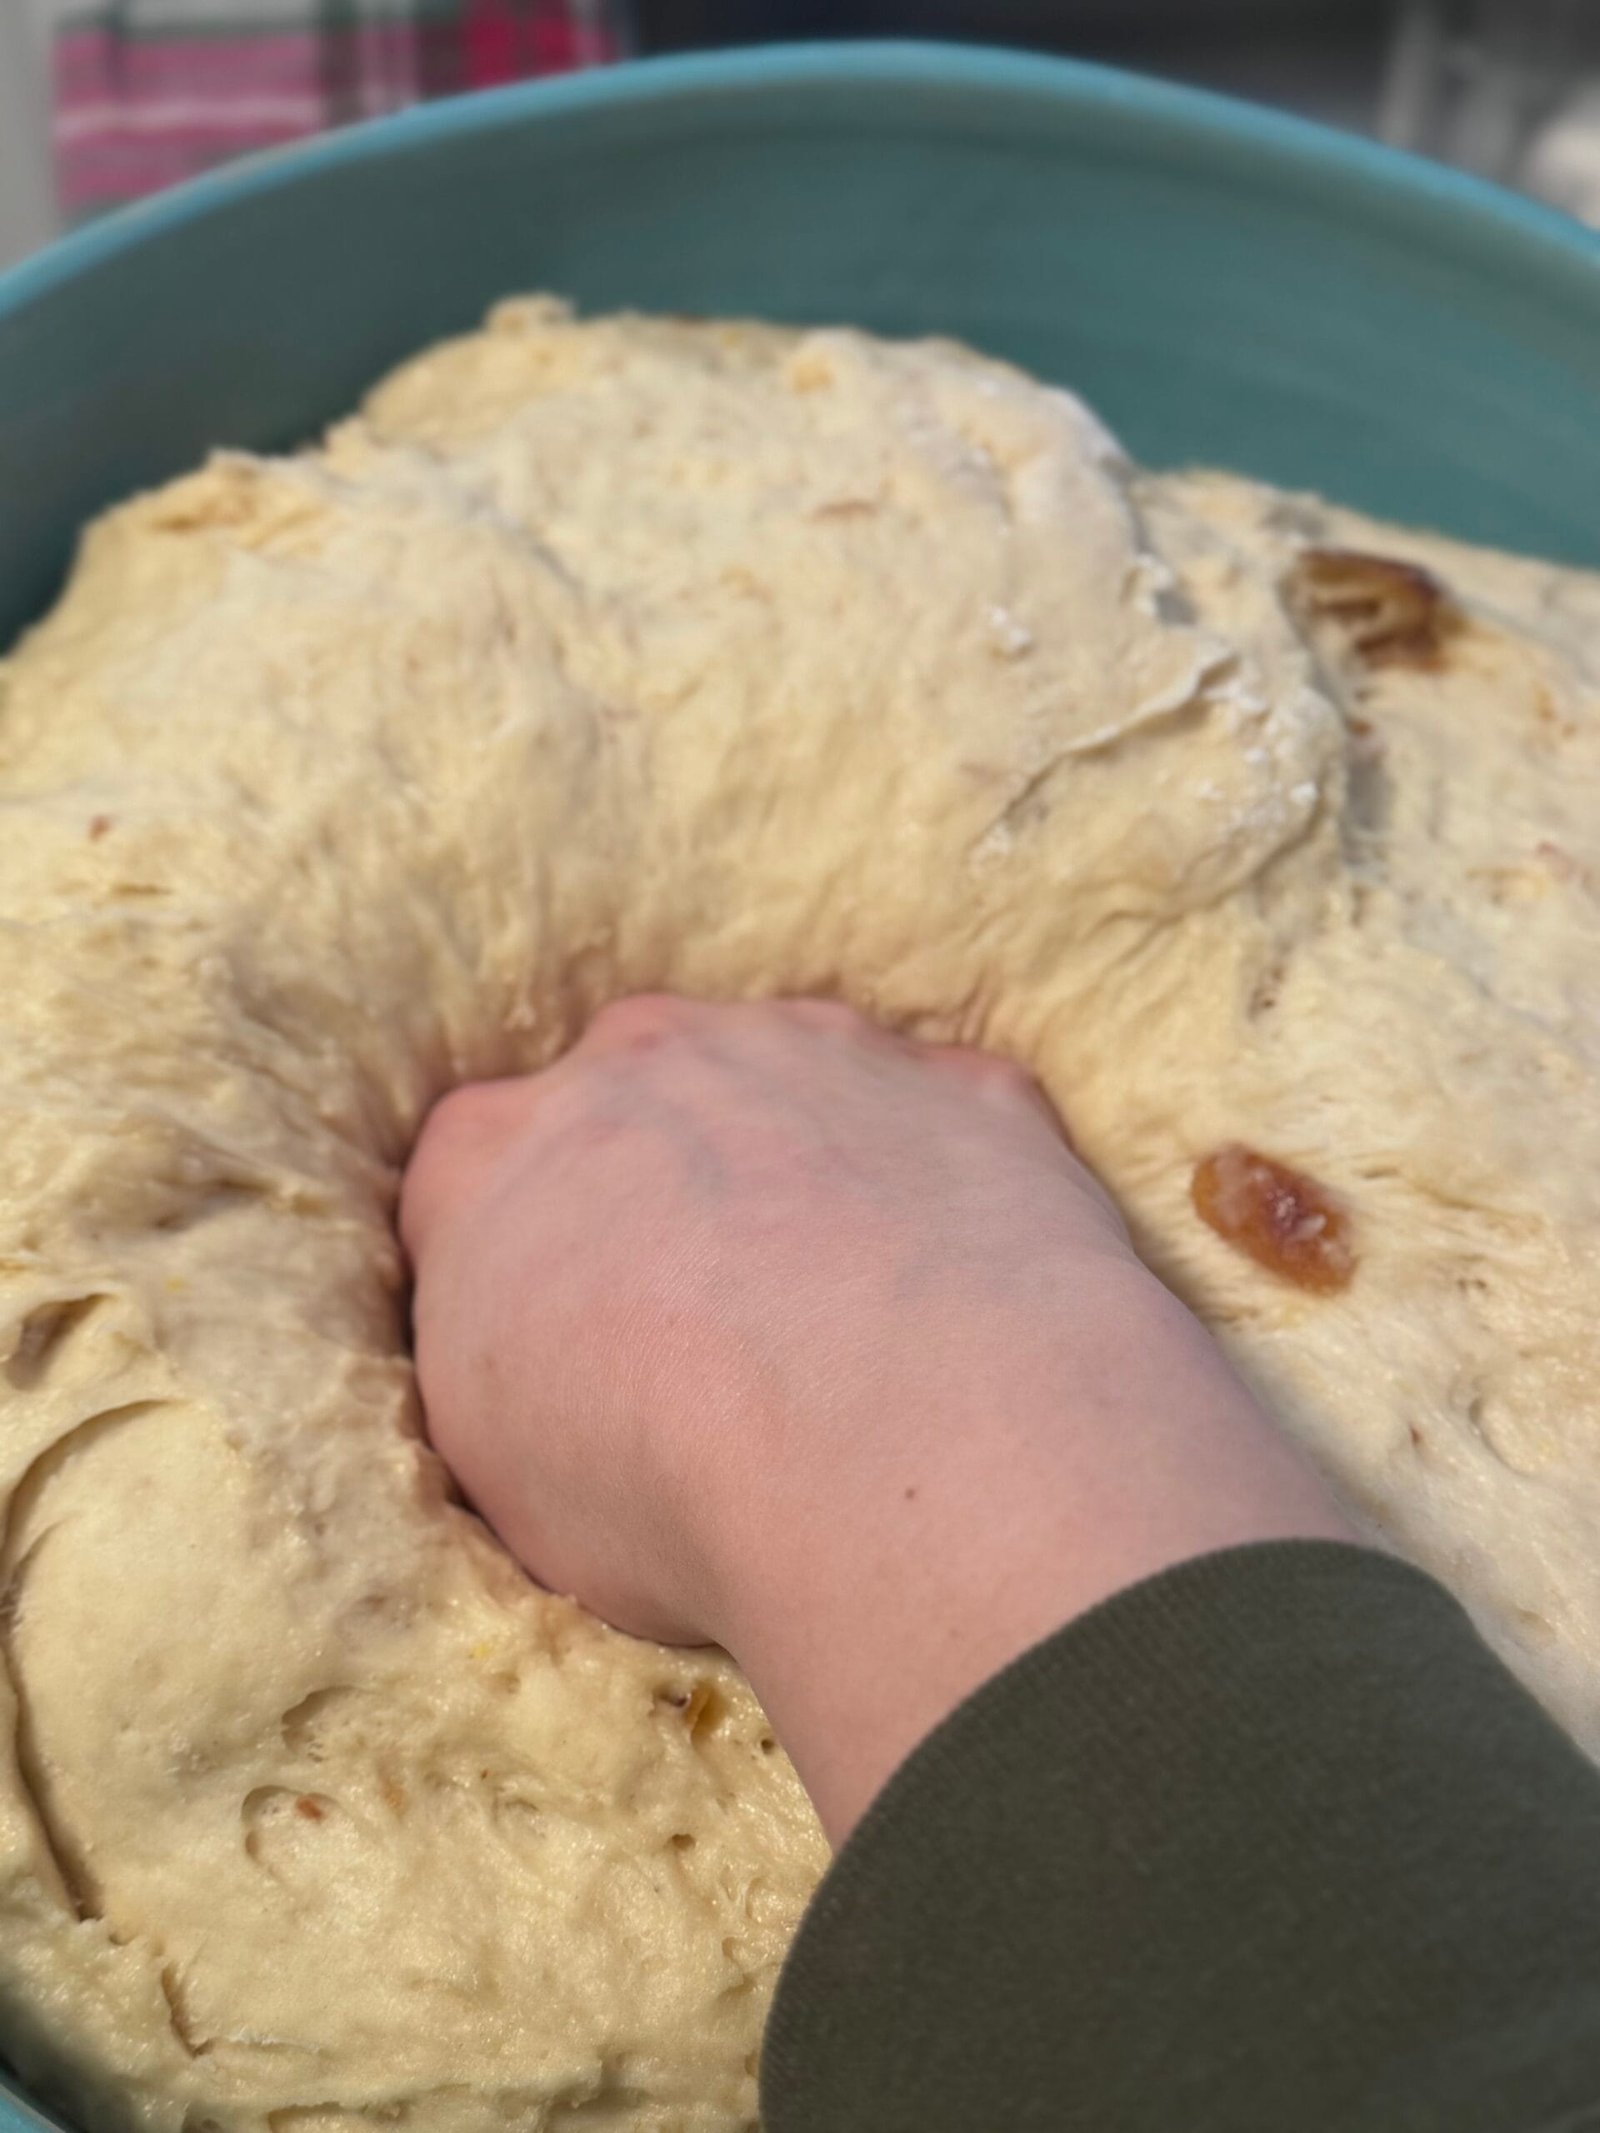
- After 1 hour, your dough should have doubled in size. Gently punch it down to release the air, cover it back up, and let it rest for another 5-6 hours. I recommend checking on it every 2 hours, and giving it a gentle punch to keep the rising process in check. I usually let mine rise overnight, just check on it before bed and do the final steps in the morning. (Make sure your bowl is big enough to handle the dough doubling in size).
- Shape the dough
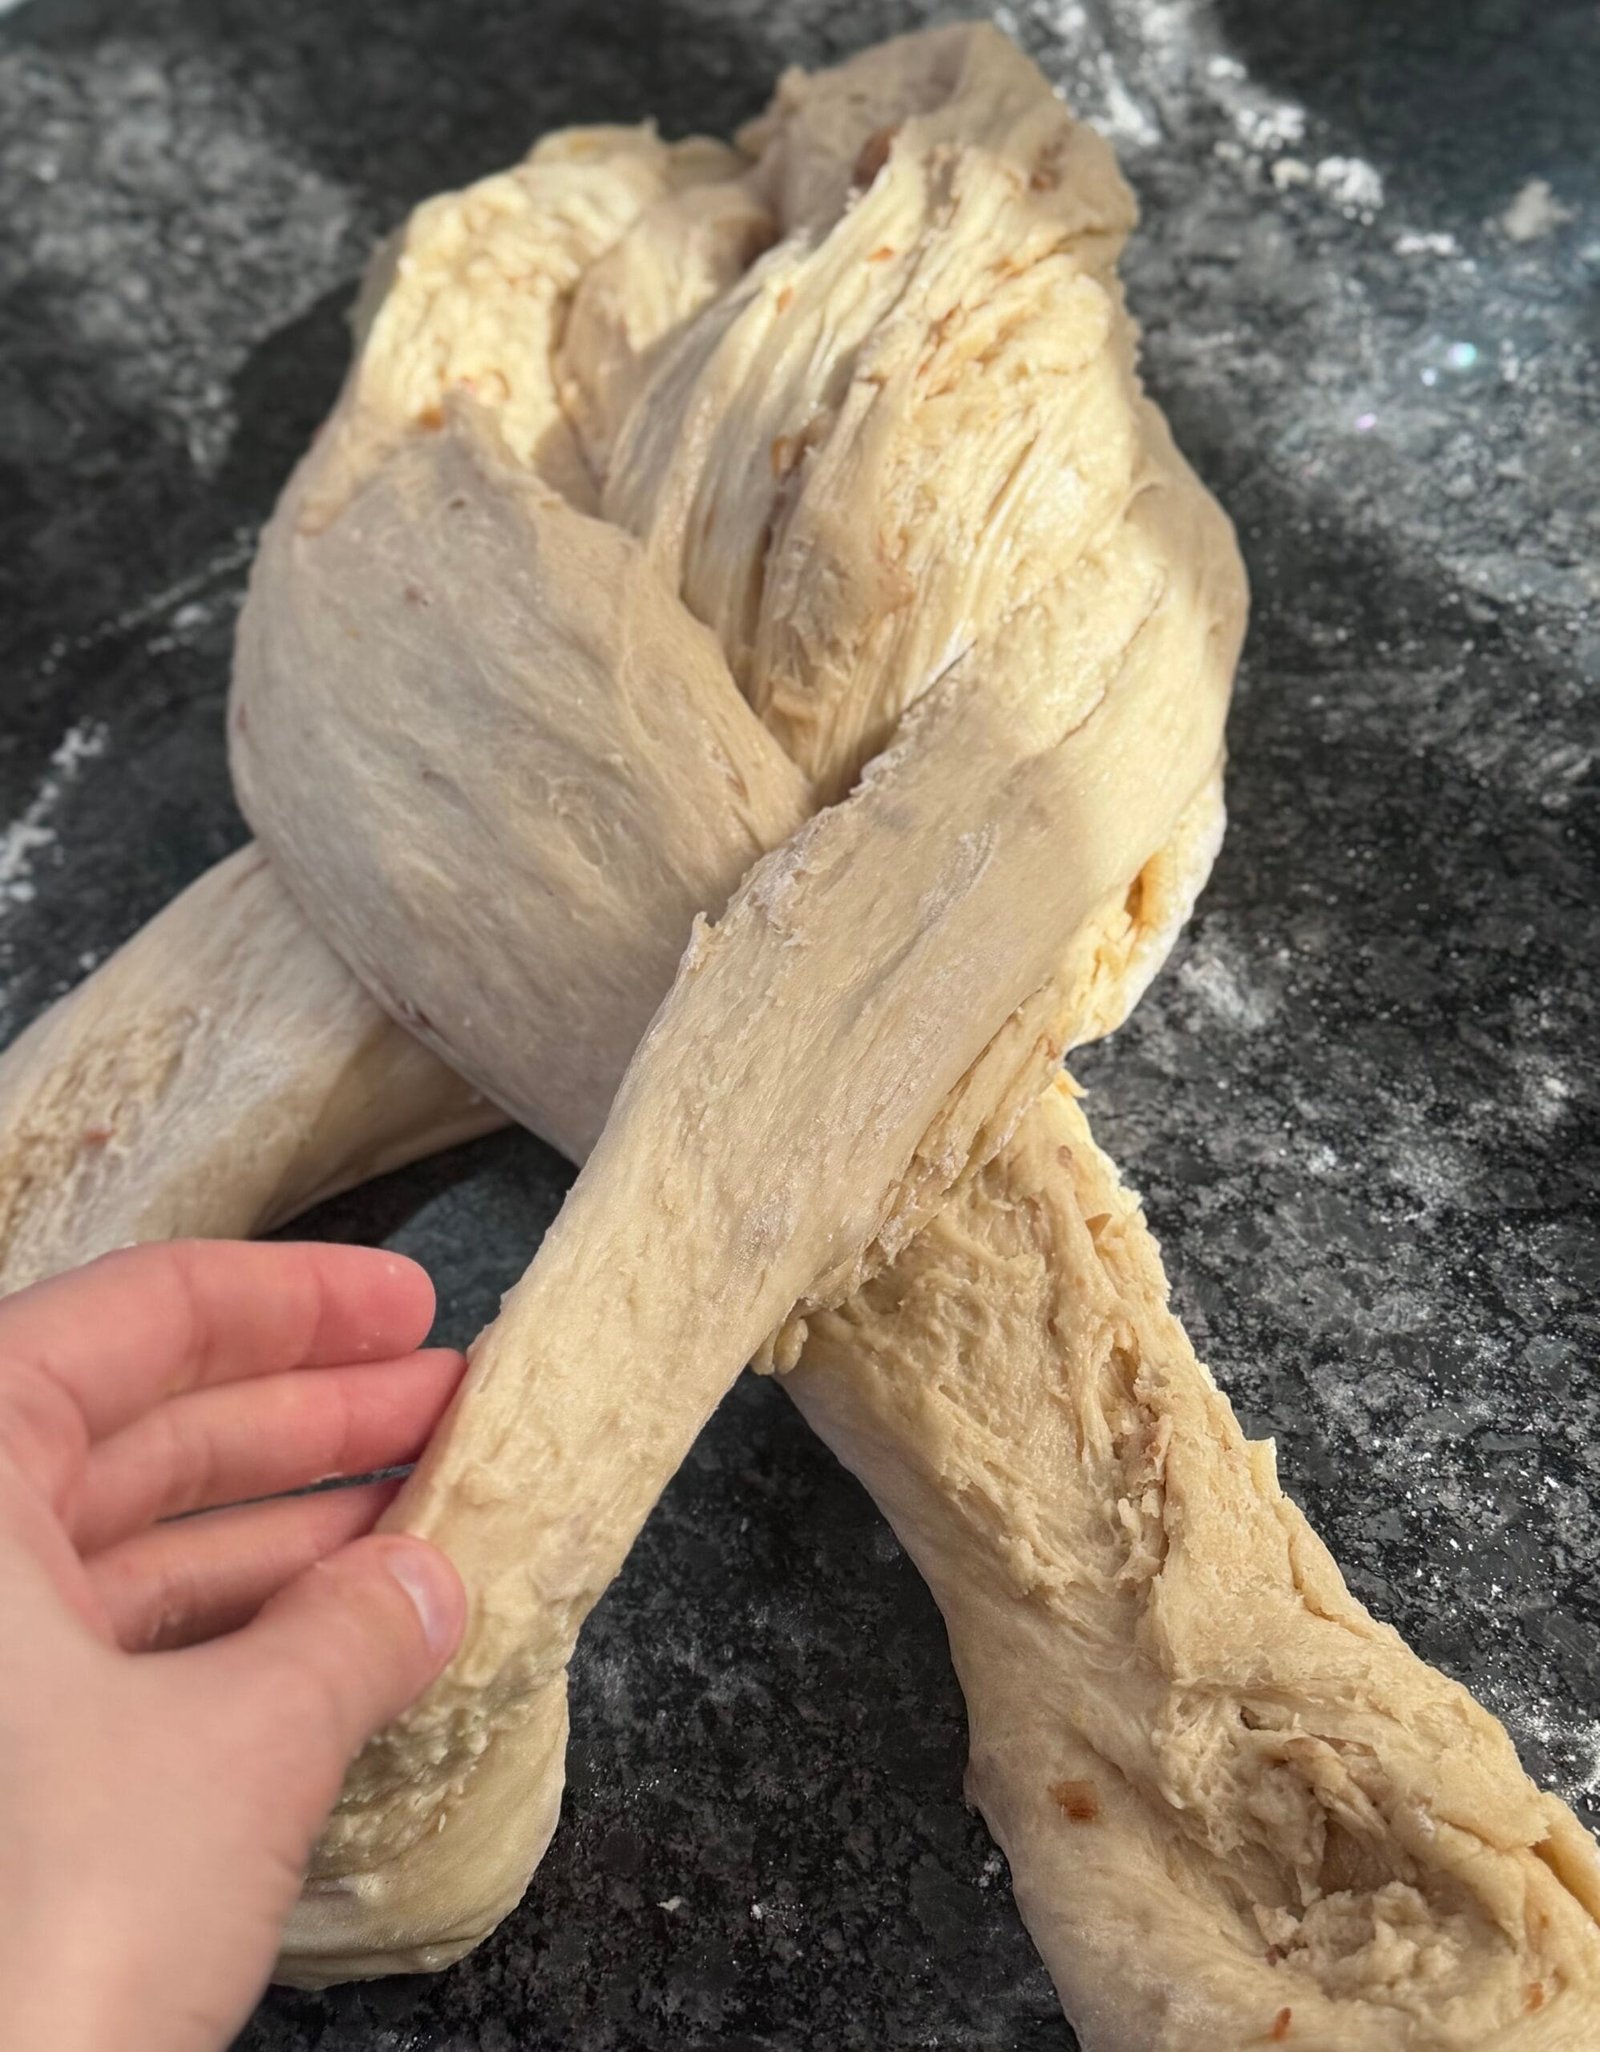
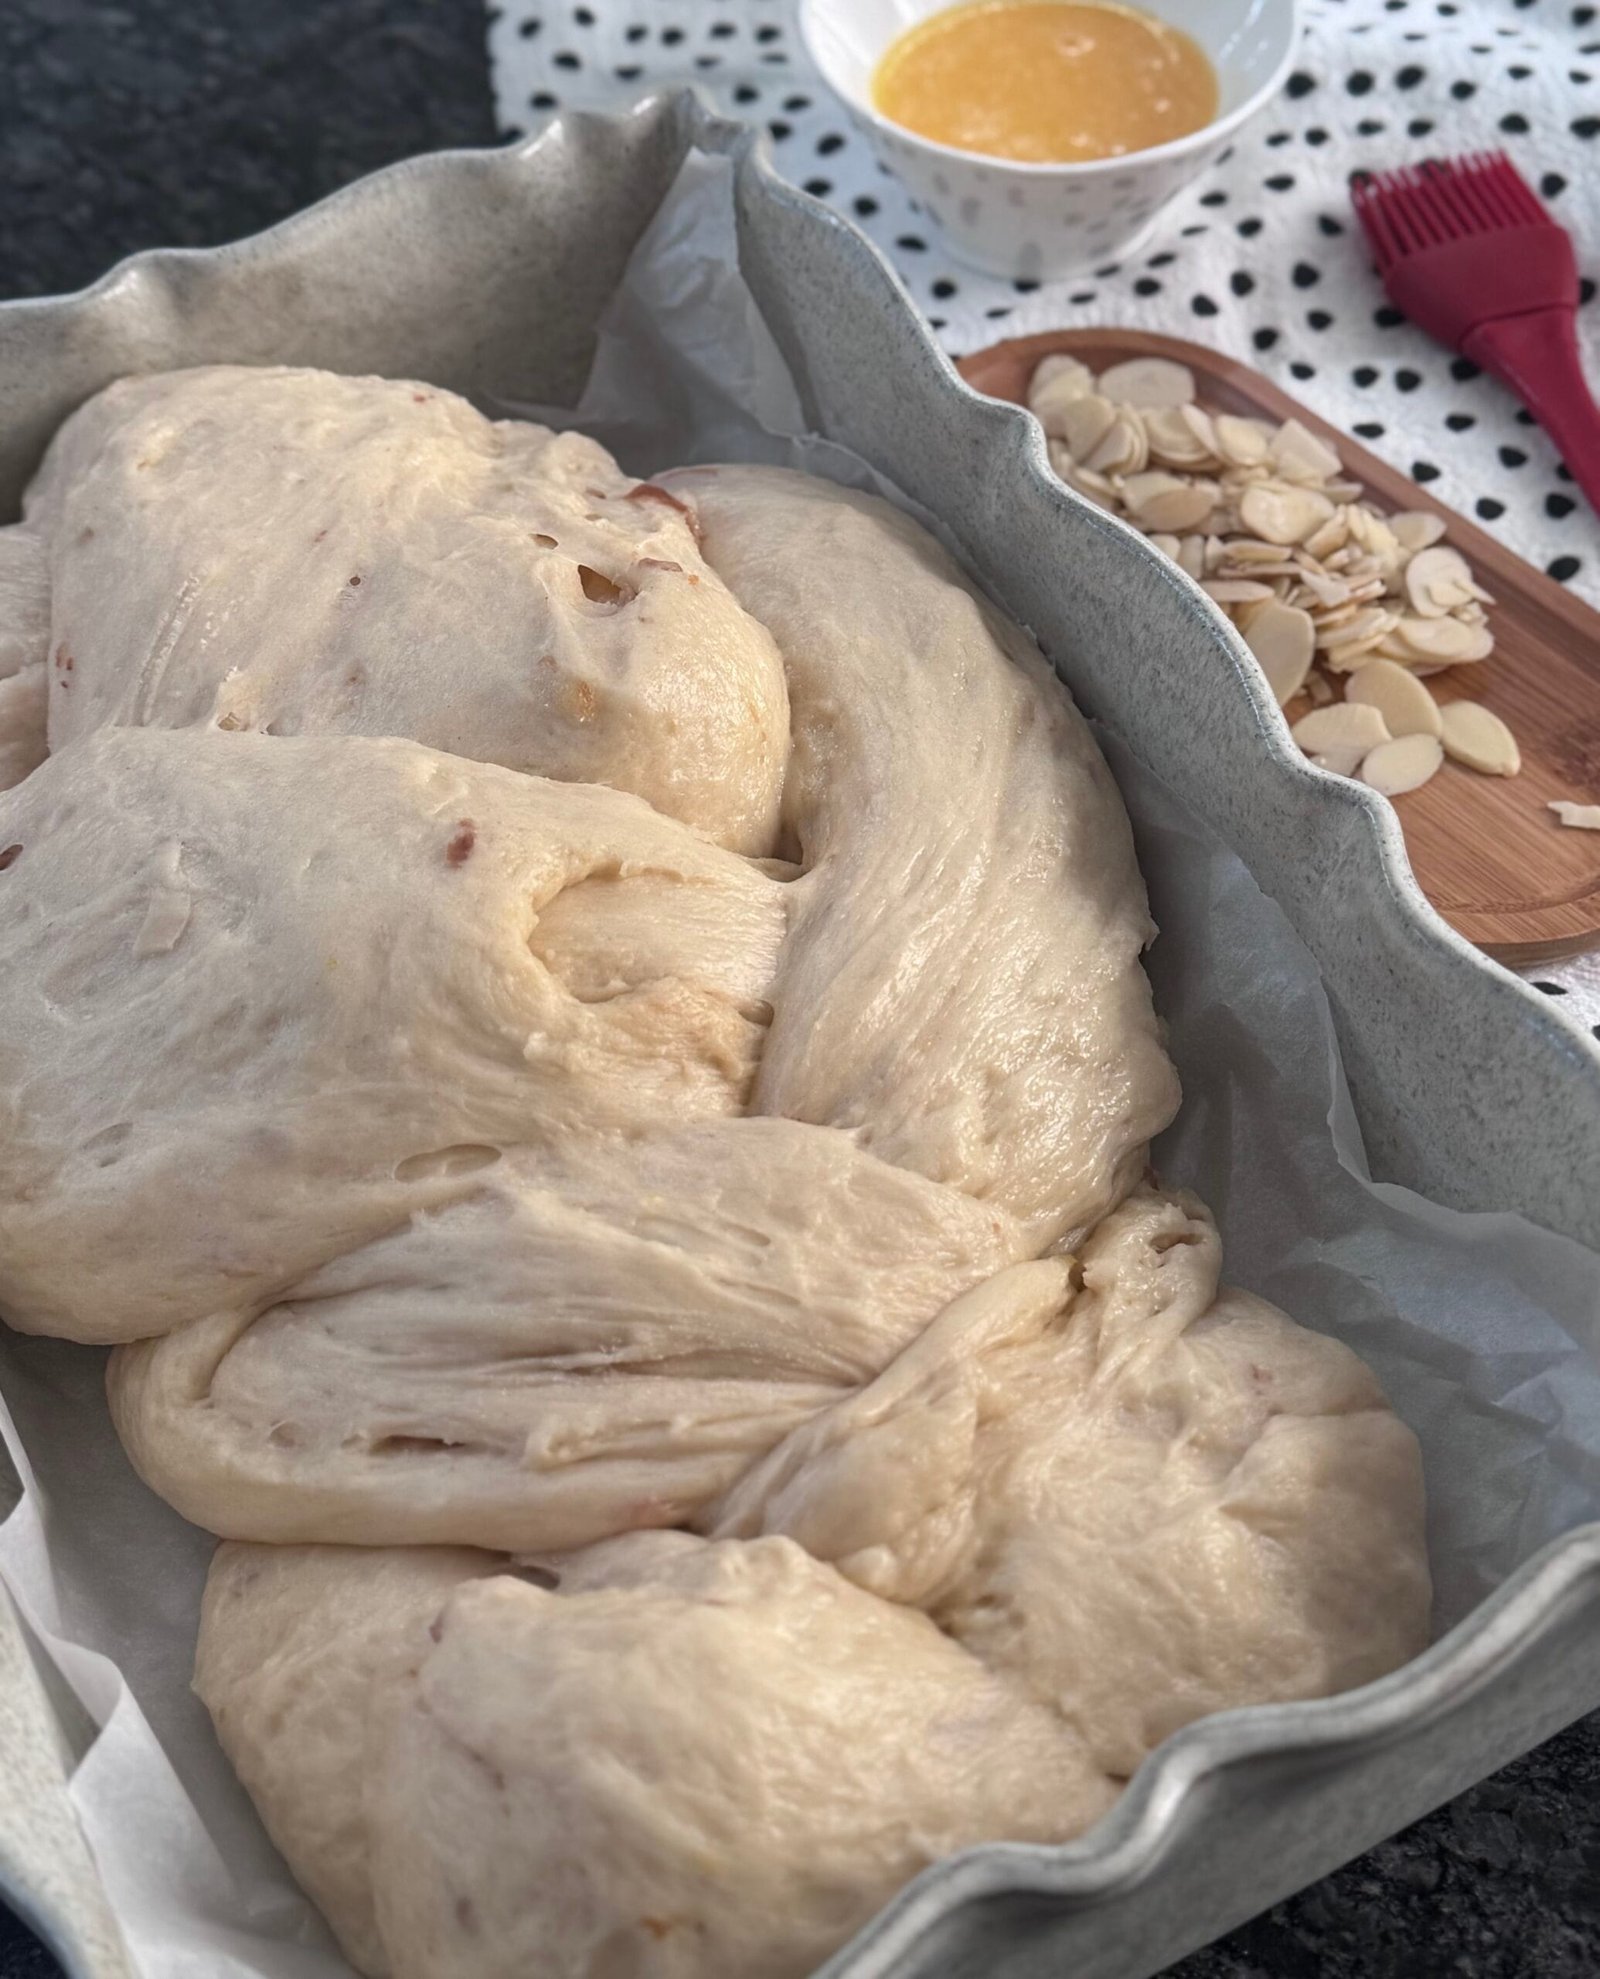
- I usually braid the dough for a classic, beautiful look. If you have a large baking pan, you can braid it into one big loaf. If not, divide the dough in half and make two smaller loaves.
- Once shaped, let the dough rest again for at least 1 hour before baking. This final rise is key to getting a soft, fluffy texture.
- Bake the bread
- Preheat your oven to 350°F (175°C).
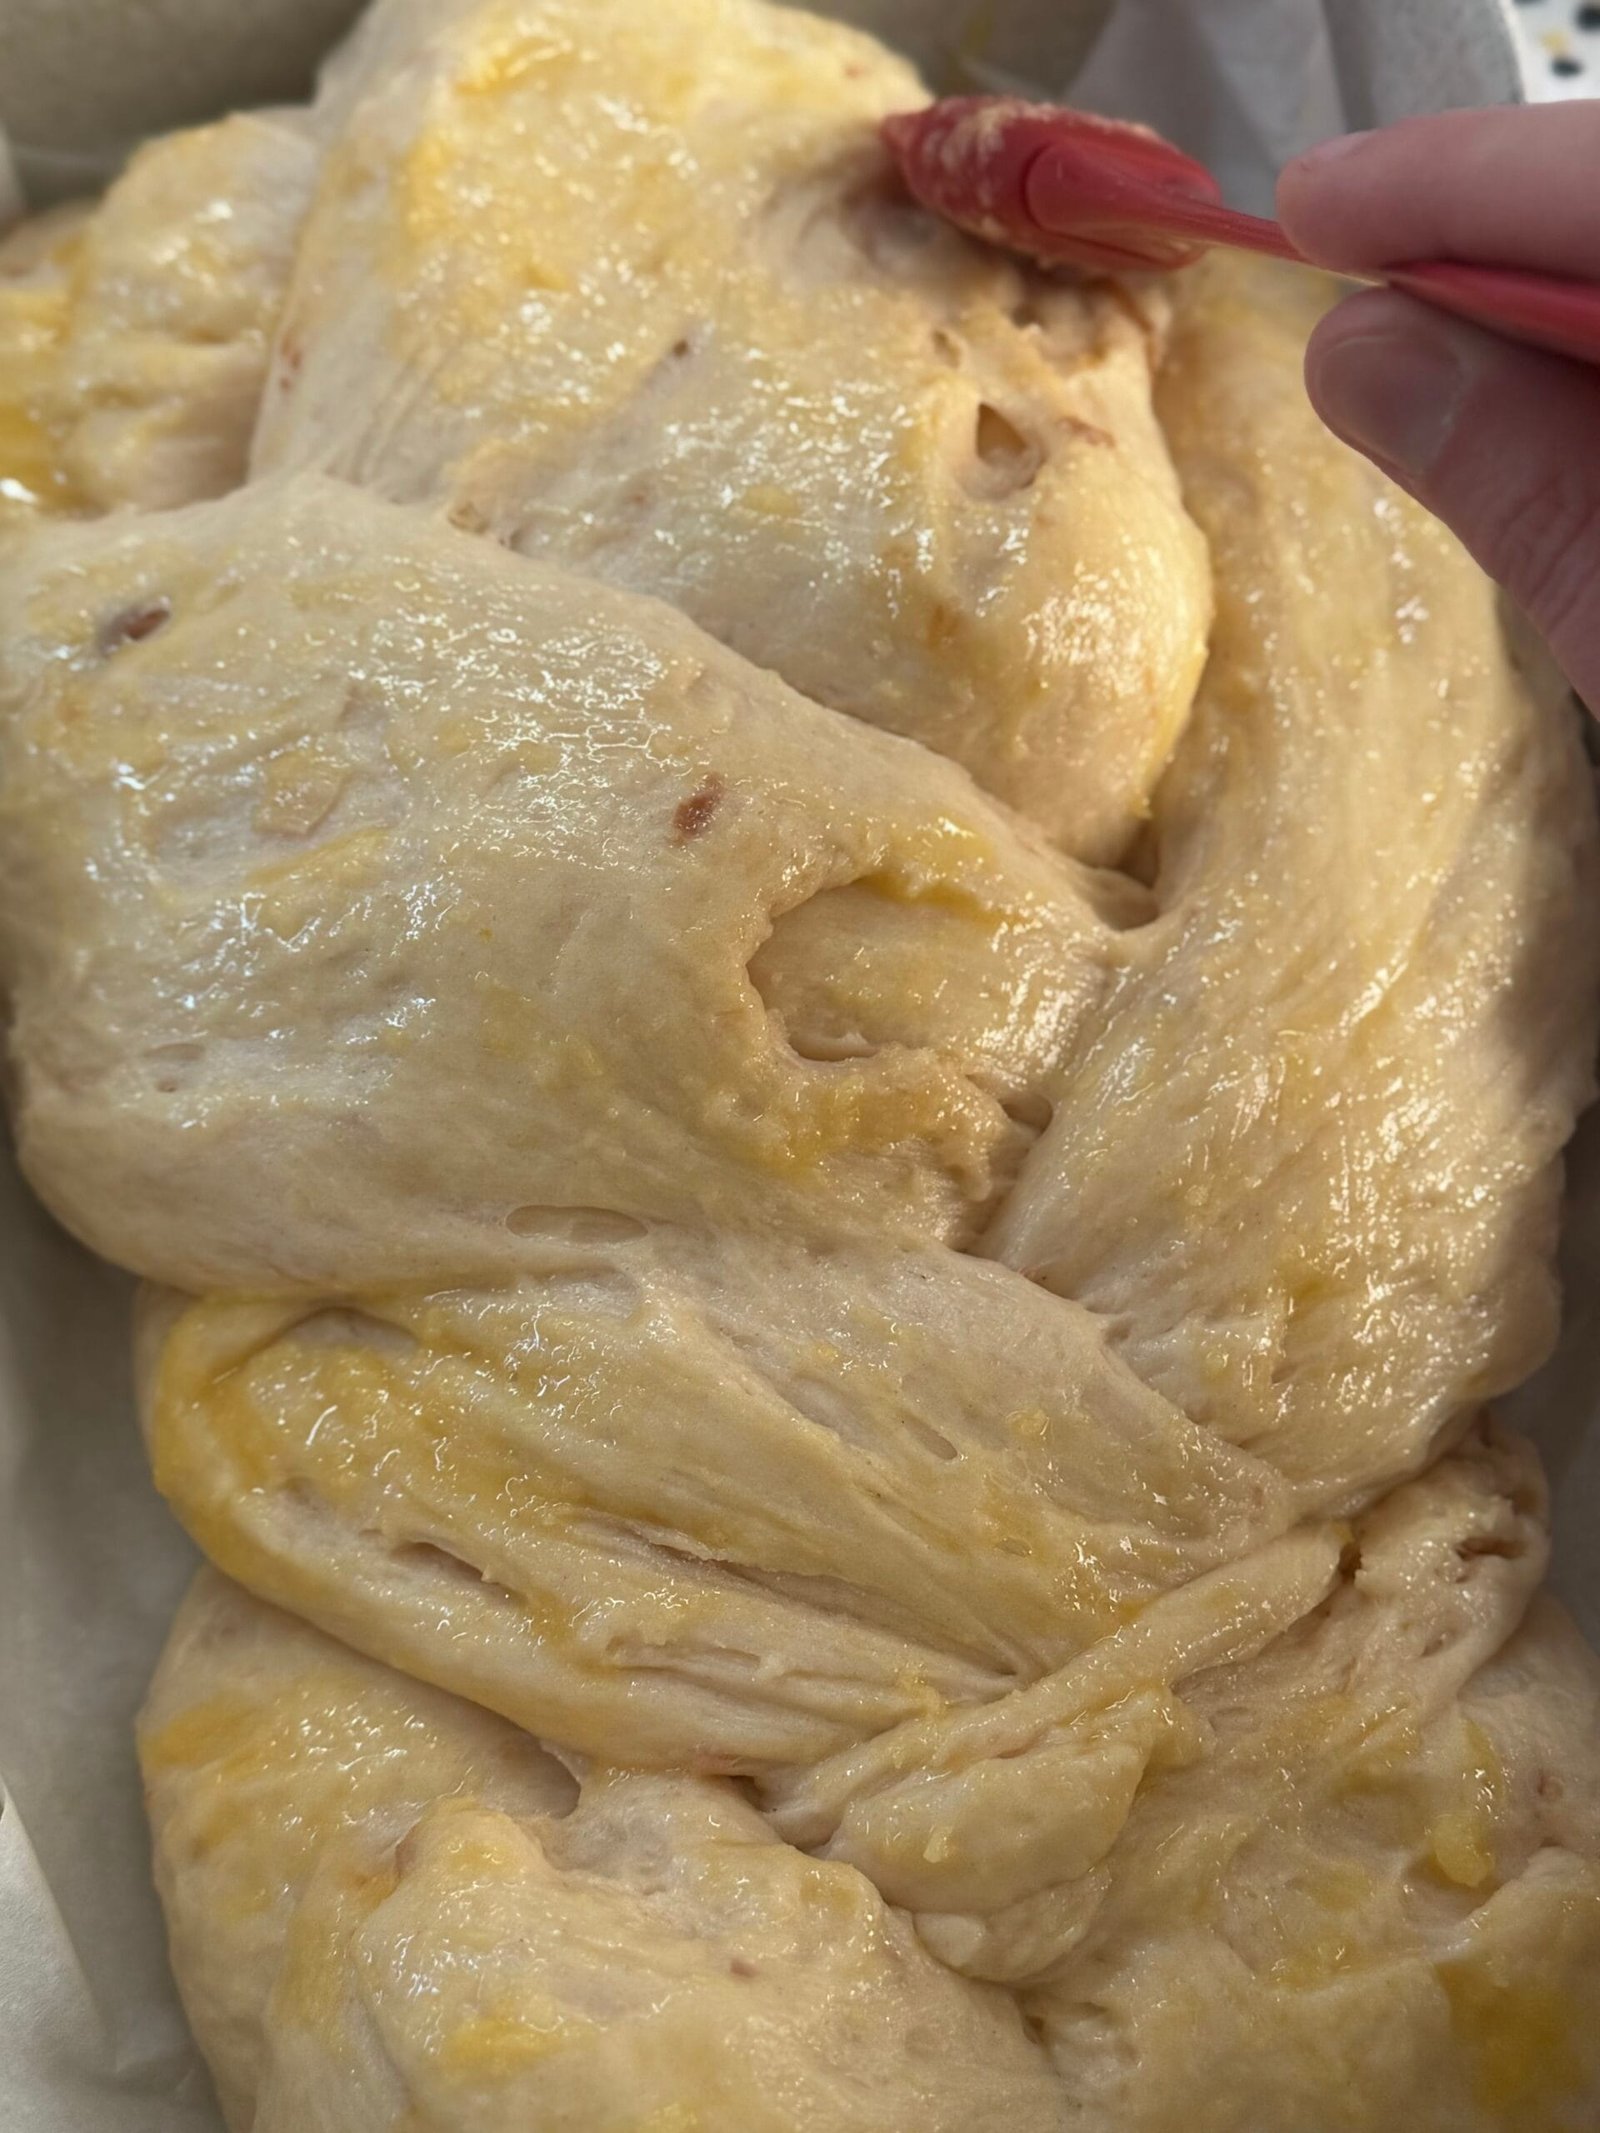
- Whisk 1 egg with a little oil or melted butter, then gently brush it over the top of the dough.
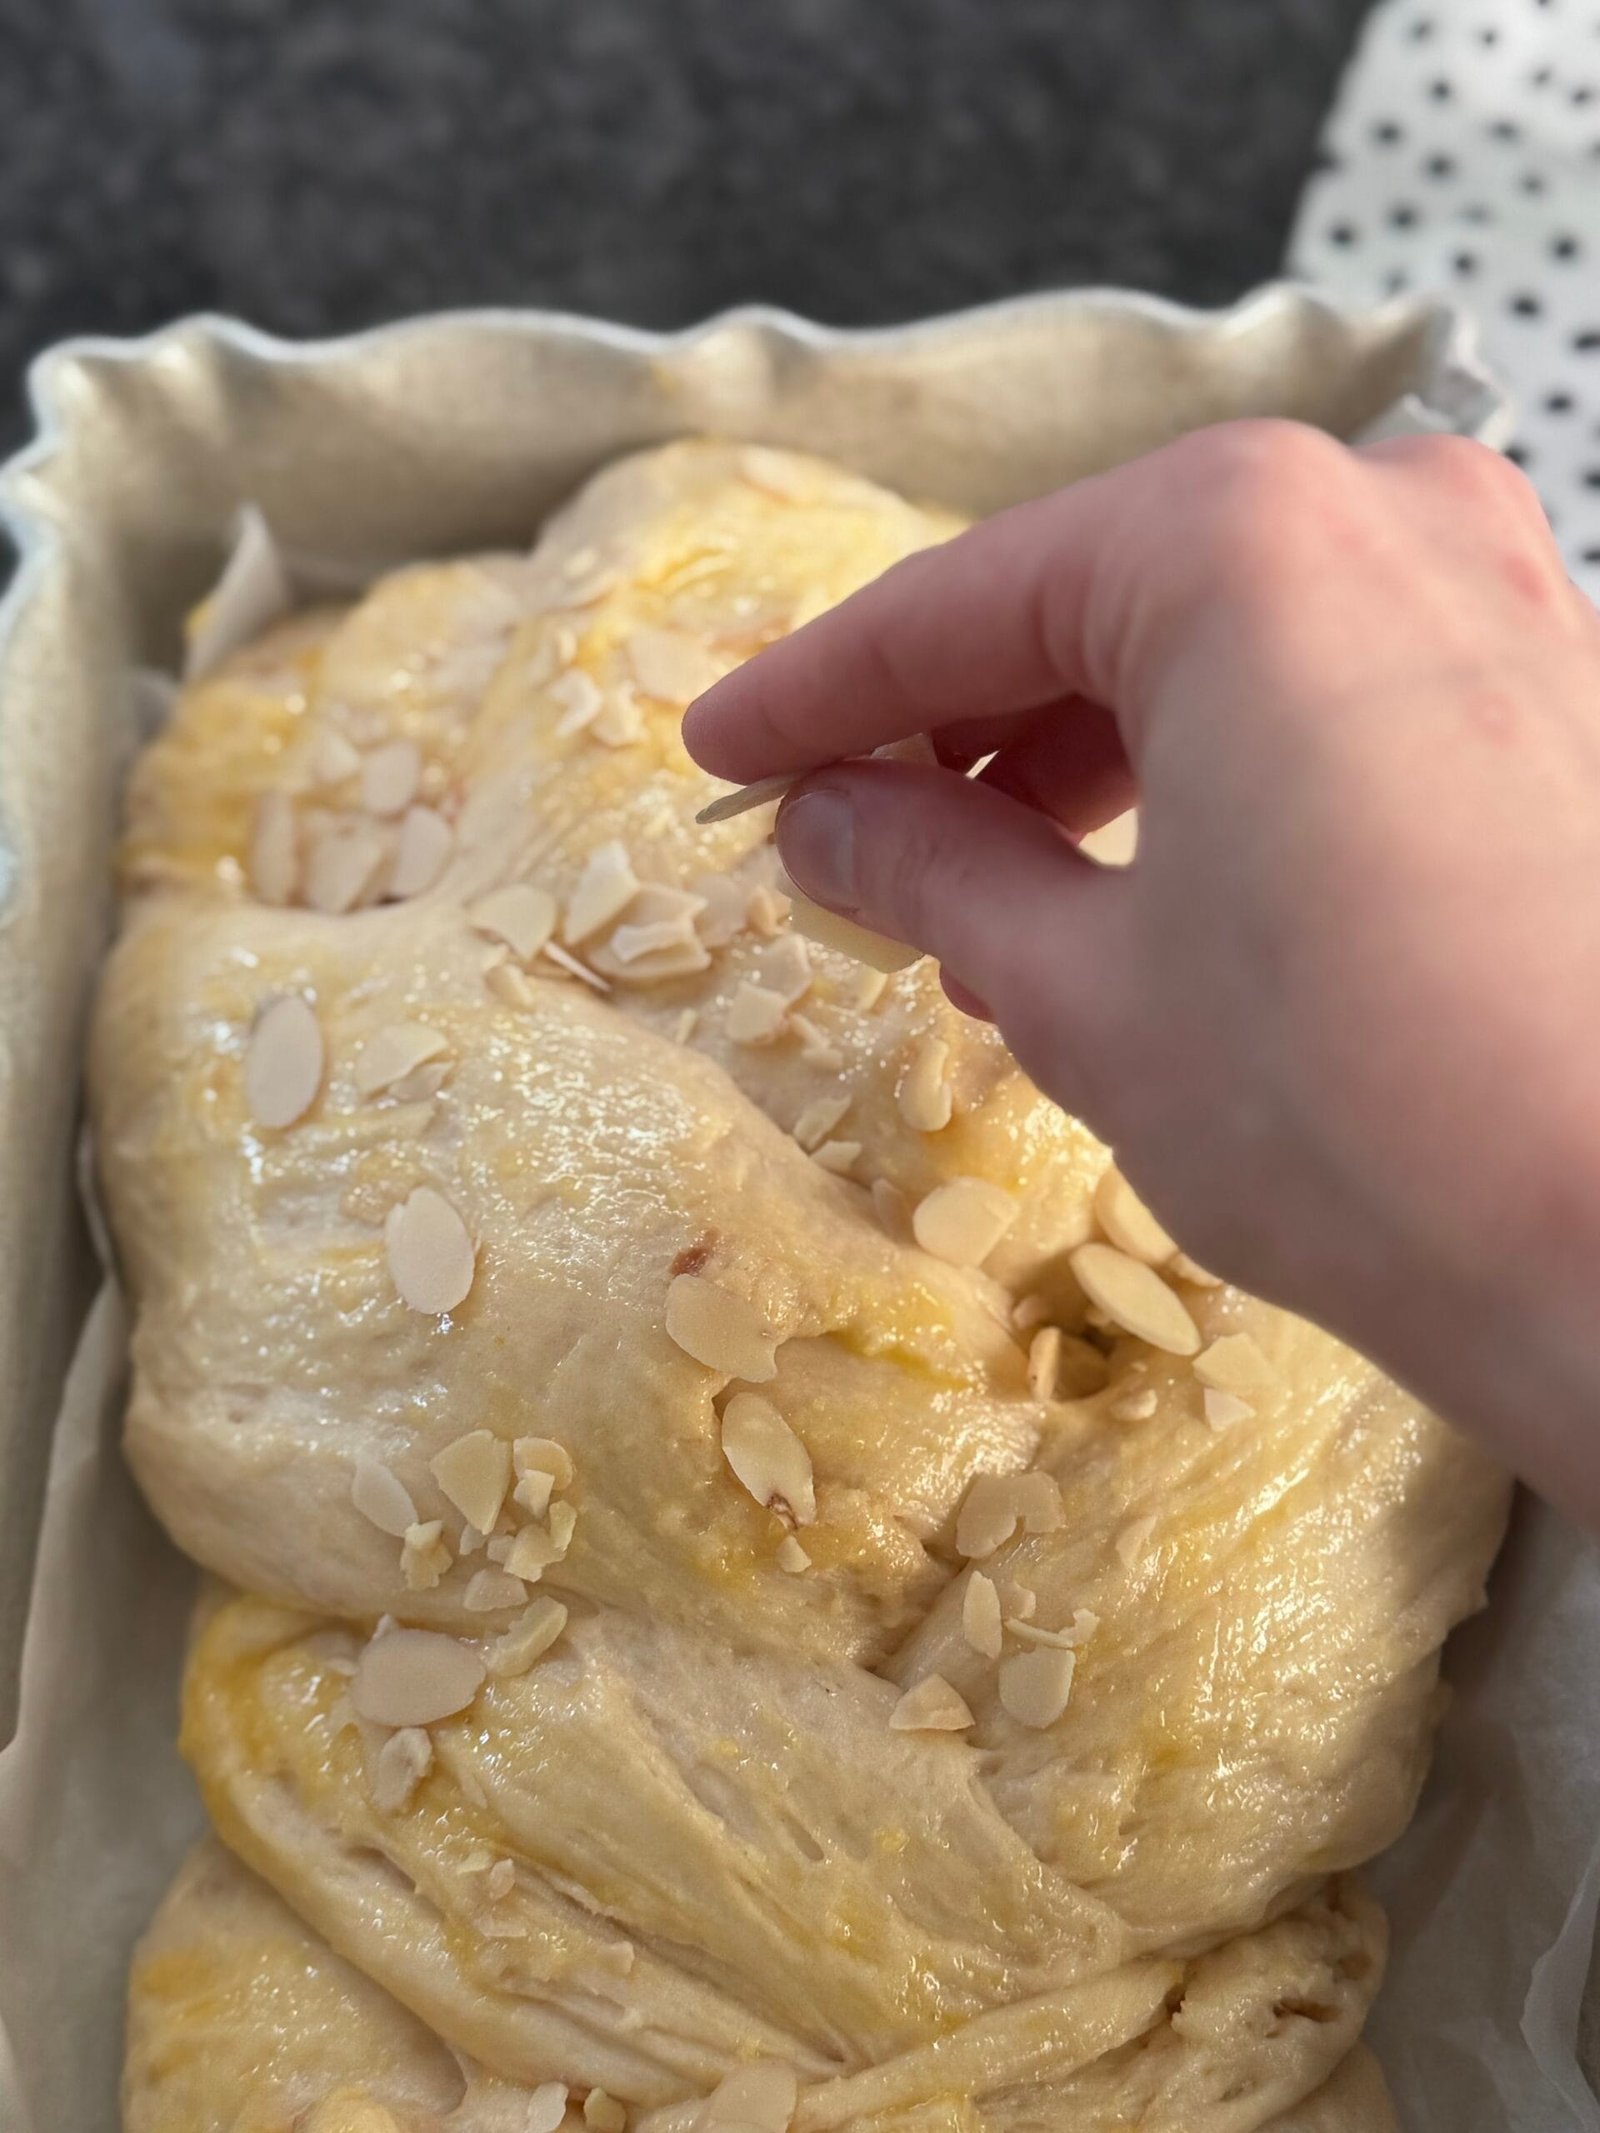
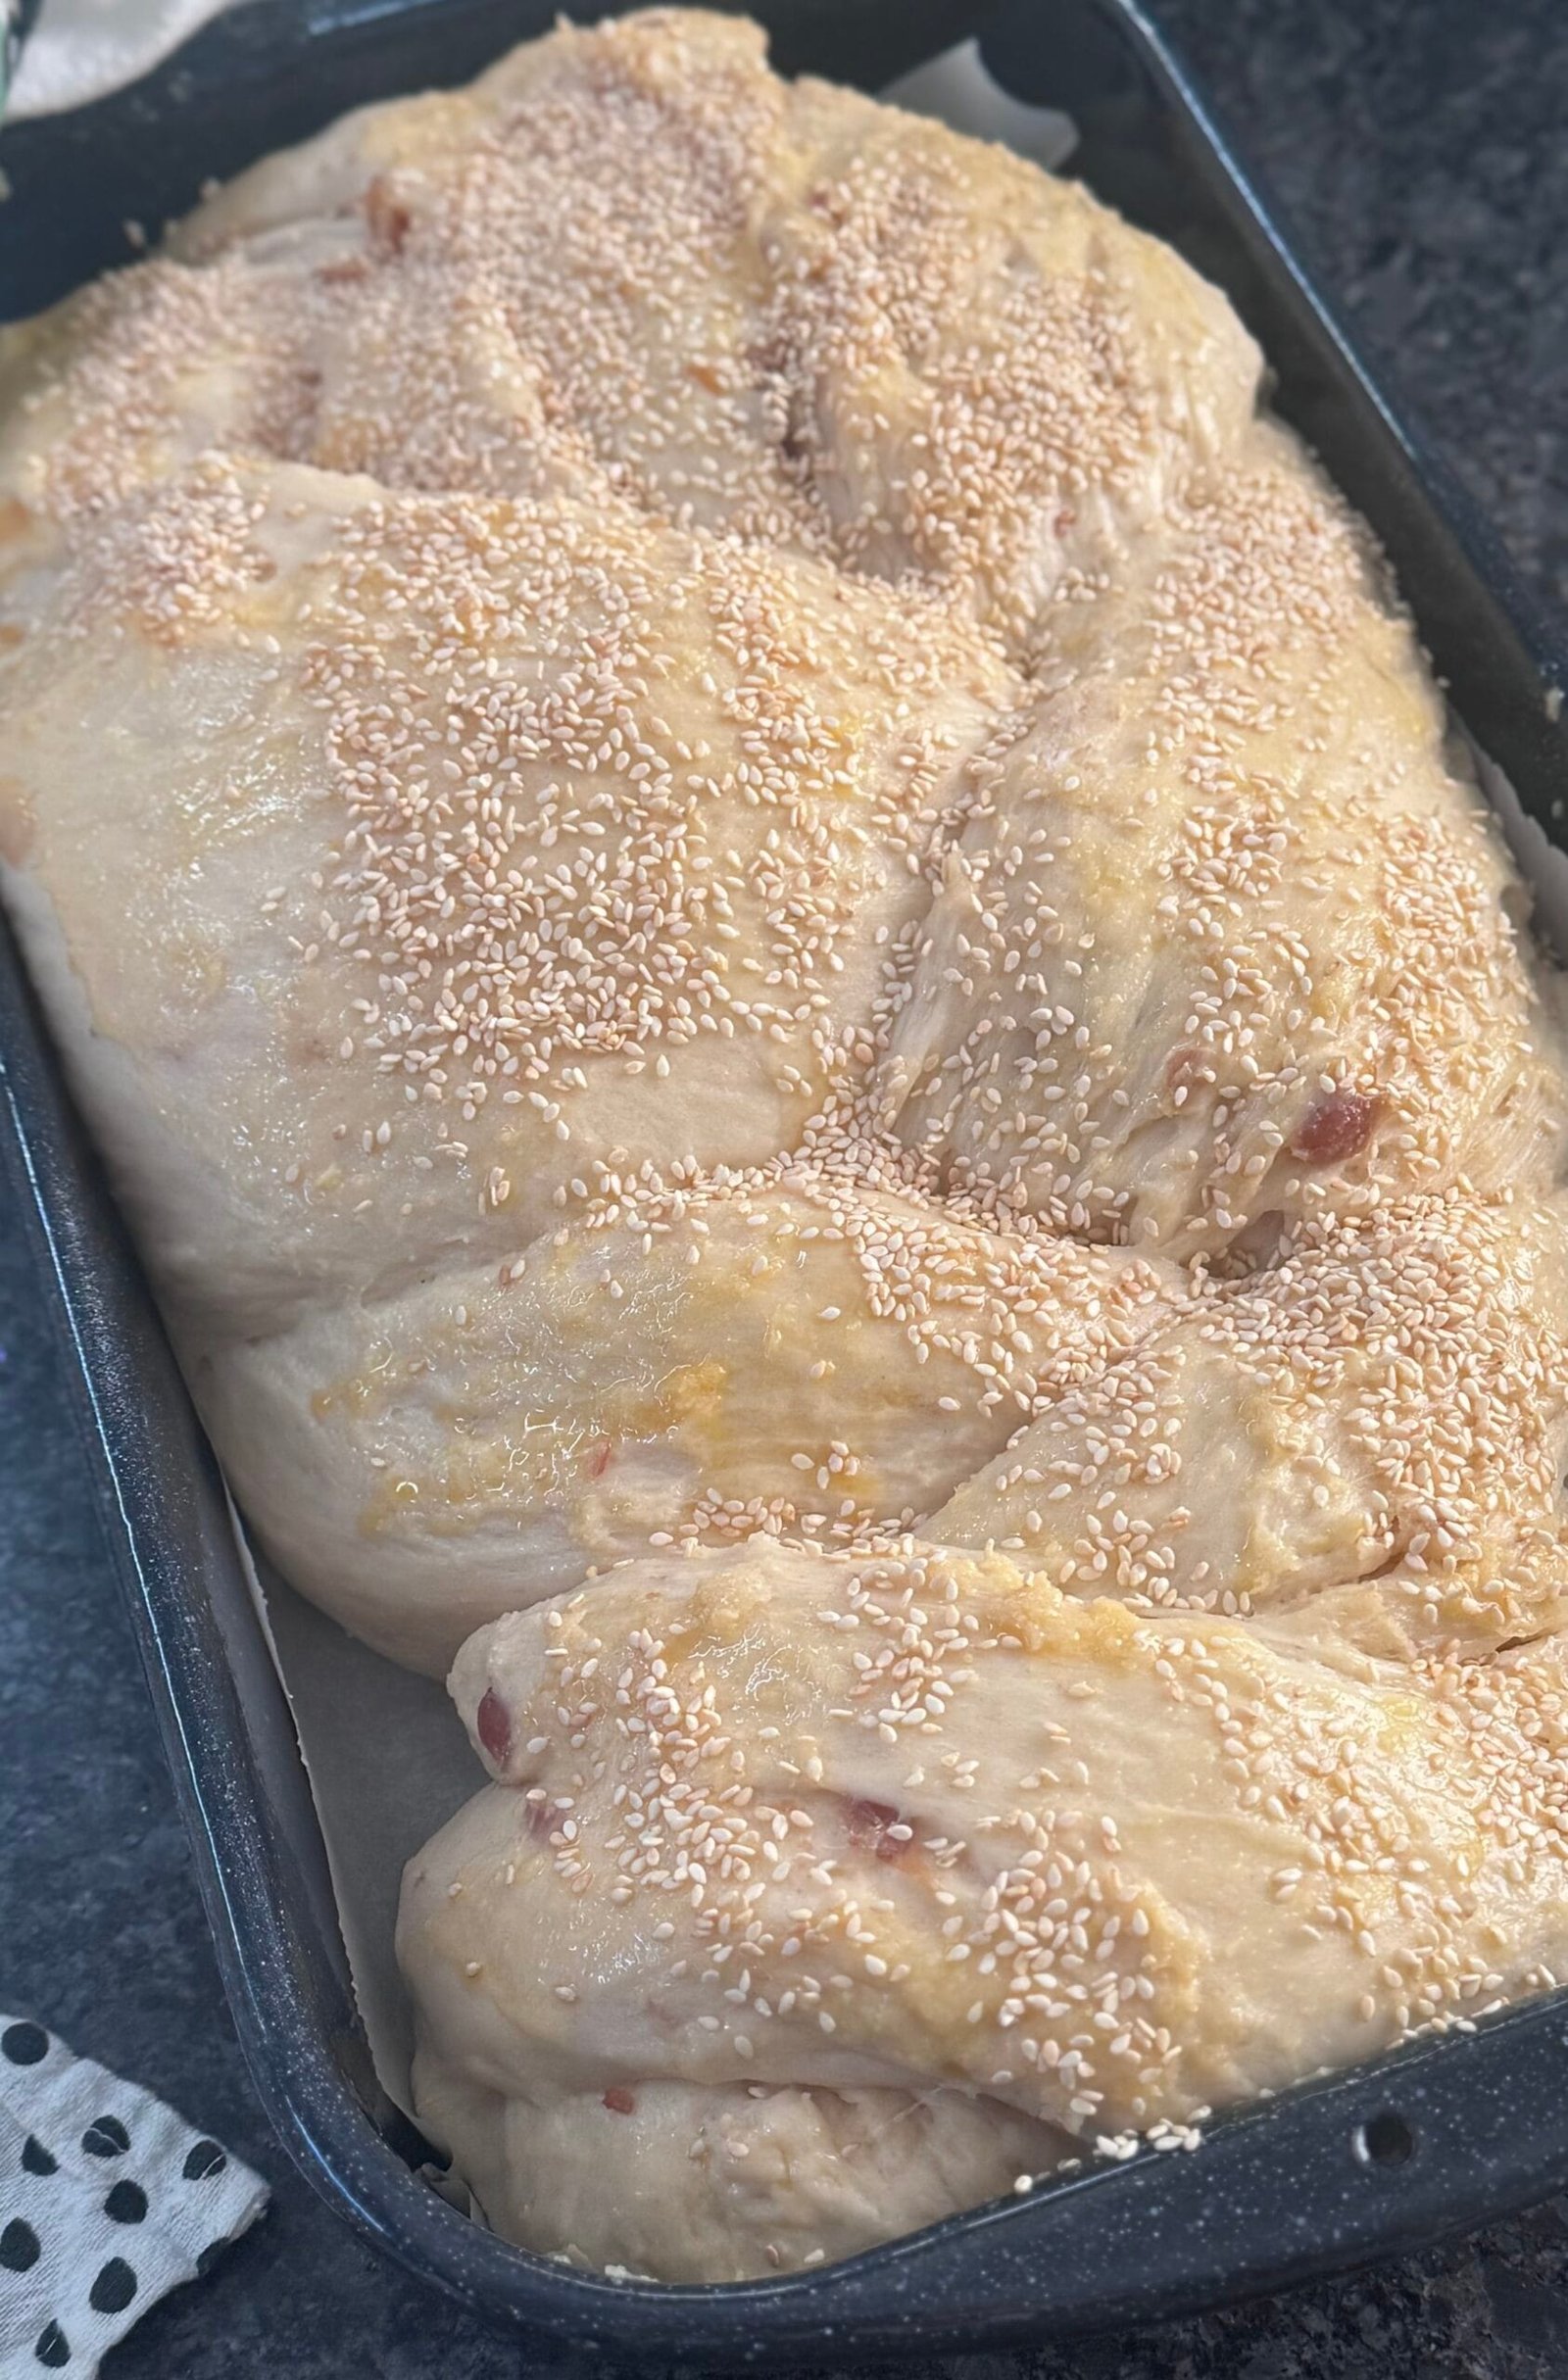
- Sprinkle with sliced almonds or toasted sesame seeds for extra crunch and beautiful fancy look.
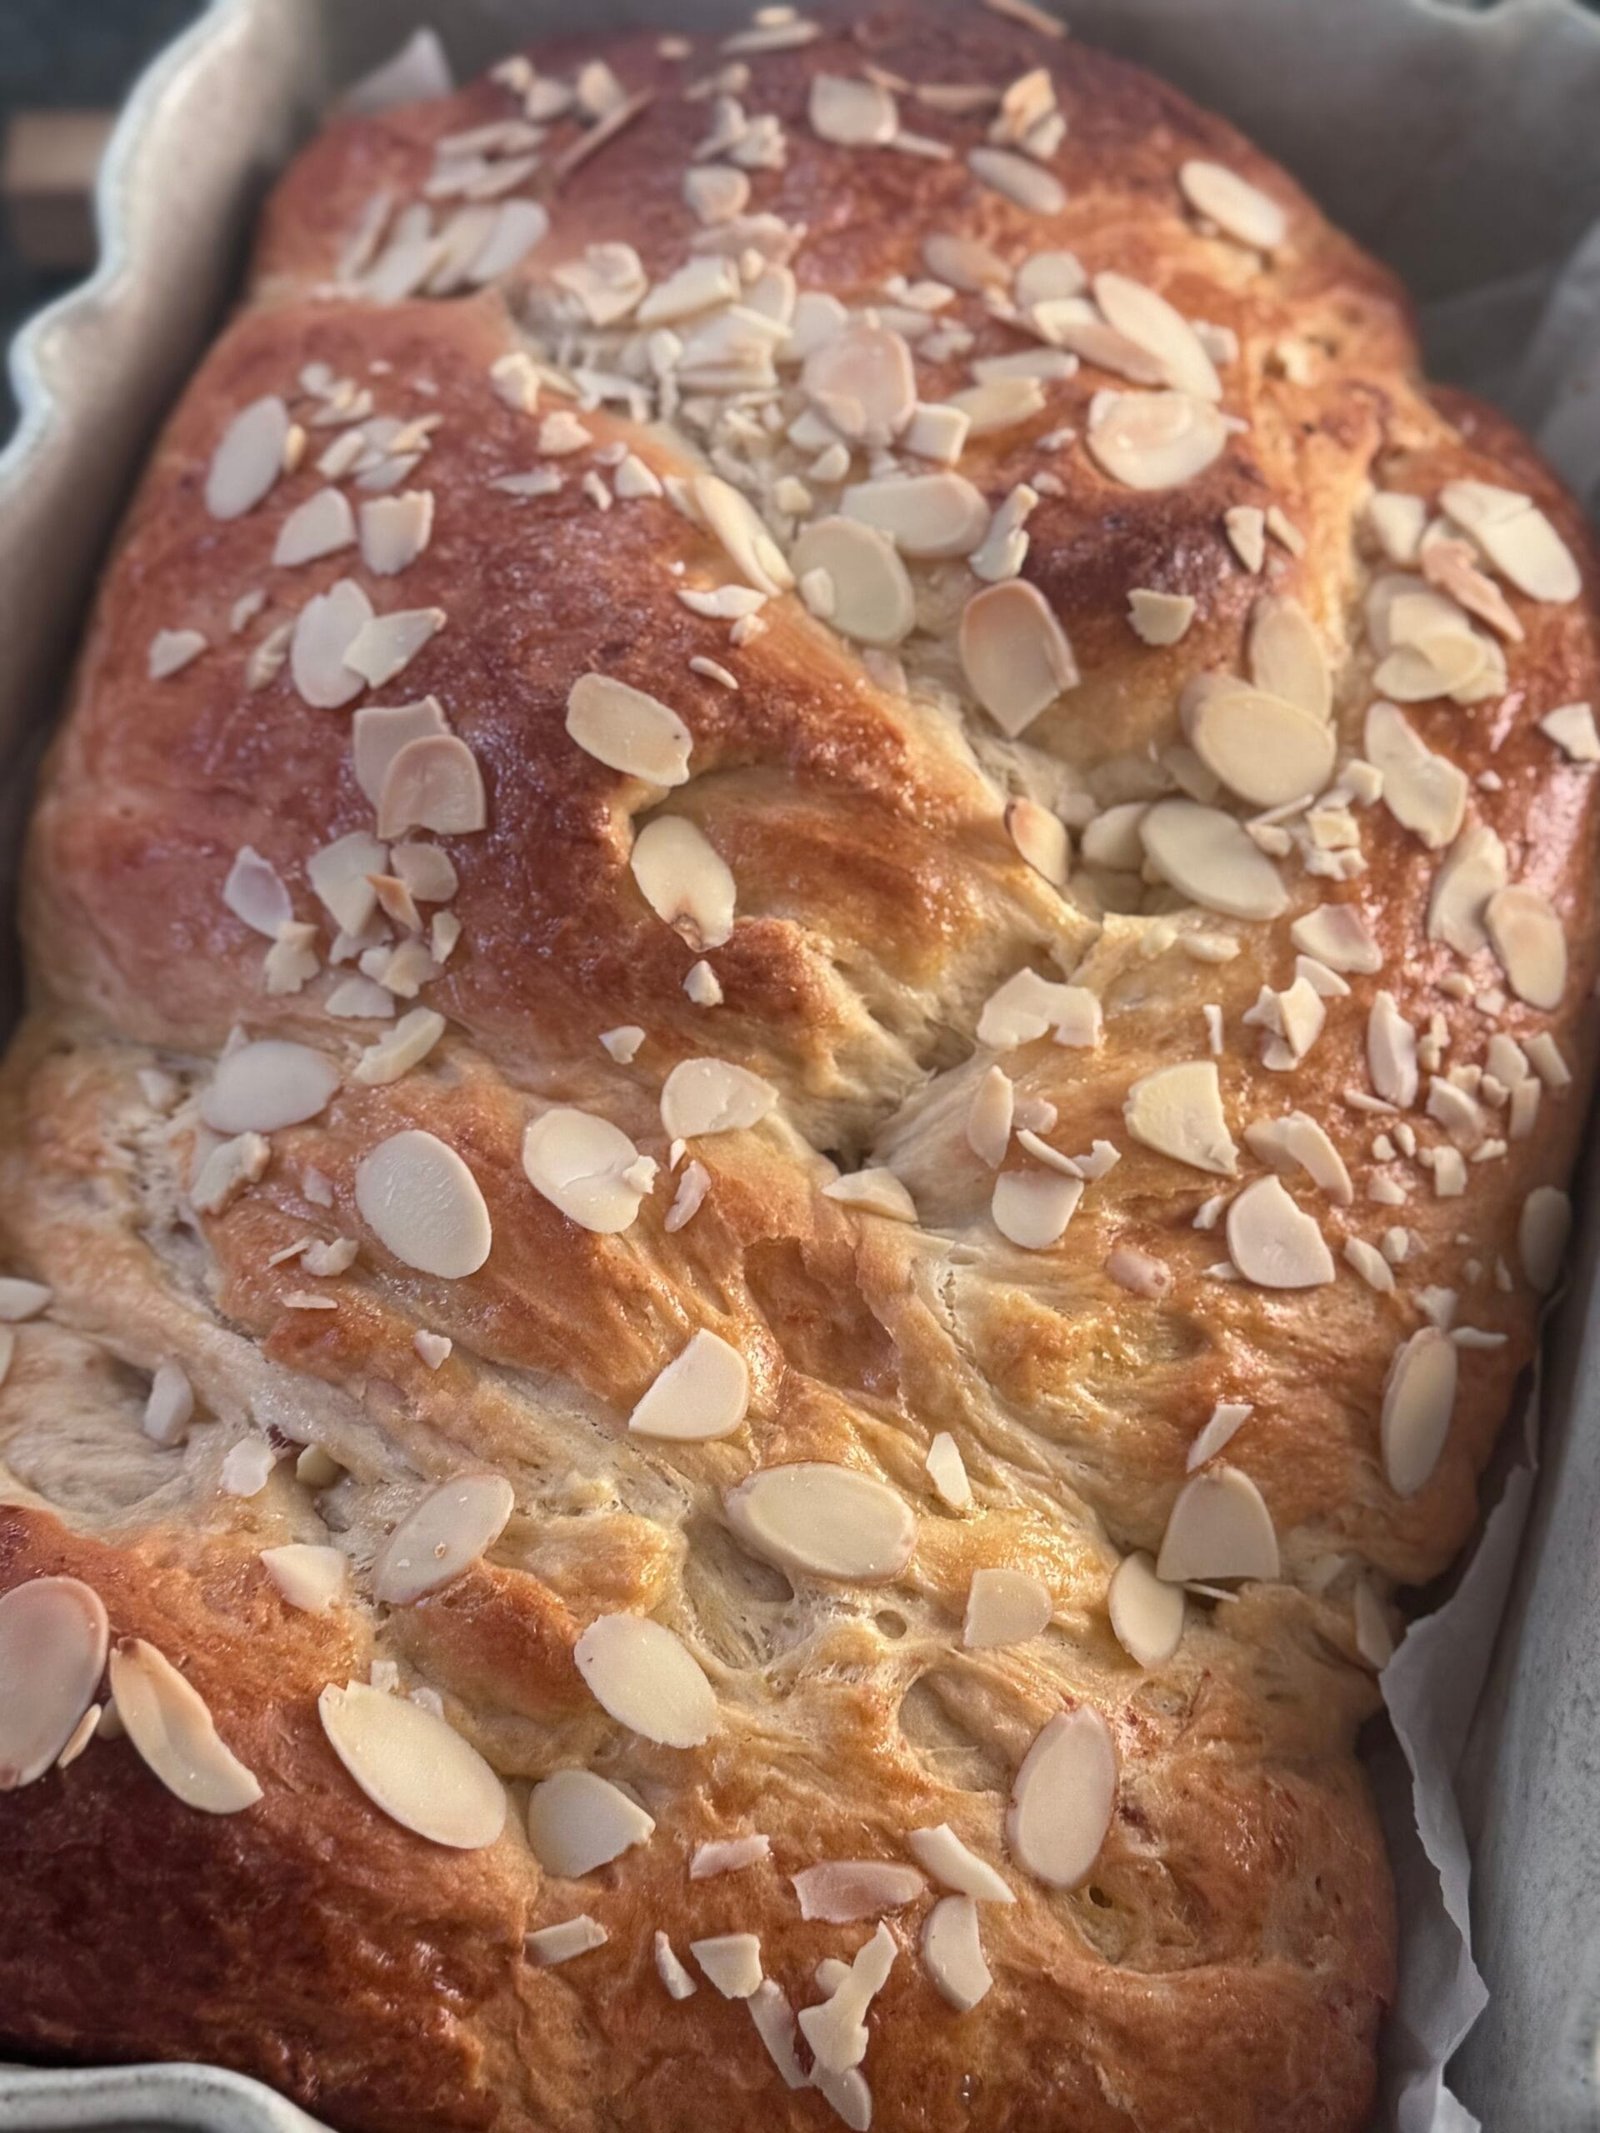
- Transfer into the oven and bake for 40 minutes, or until the top turns a beautiful golden brown.
- Once the sweet bread gets golden, loosely cover the top with a thin sheet of foil to prevent burning and bake for another 20 minutes.
- Check if ready by simply poking with a toothpick into the center; if it comes out clean, your bread is ready.
- Take it out of the oven and transfer onto a baking rack to let cool air circulate below. Once cool, cover with a towel to prevent it from drying.
Notes
- If the yeast does not rise, you need to discard it and start again. That means your yeast is not activating, therefore dough won’t work. Unfortunately you will need to repeat the process with another pack of yeast, because what you have is either old. Sometimes, the reason may be too cold milk or being too hot.
- I usually substitute 50 grams of fresh yeast with 1 tablespoon of dry yeast. So if you are swapping fresh for dry in this recipe, you'll need 2 tablespoons of dry yeast.
- You can substitute the butter with vegetable oil, even coconut oil. Just make sure you melt it first to mix in properly.
- You can use orange zest, but I prefer the lemon zest instead.
- Alternatively you can shape the bread as a roll. You can spread jam, nutella, ground nuts, or even a mix of cinnamon and brown sugar to get something similar to cinnamon rolls. It is up to you on any possible variations, be creative.
How I Like Eating It
Fresh out of the oven, it’s absolutely divine. But let me tell you a little secret: this bread gets even better as it ages, especially when toasted.
One of my favourite ways to enjoy it is to take a slice, pop it in the toaster until it’s nice and warm, then spread a thin layer of butter on top. The way it melts into the soft, sweet bread is a perfection.
You can enjoy a slice (or few) for breakfast, as a coffee snack, or even as a little lunchtime treat. No wrong way to eat it!
How to Store the Bread
While the easter bread is still fresh, you can store it wrapped with a clean kitchen towel for few hours. For longer storage, transfer it in a paper bag or plastic bag (to retain moisture).
Because this recipe makes a generous batch, you will most likely have leftovers and you would like to keep it fresh. In such a case, you can divide the bread into smaller pieces and freeze it for up to a month.
Did You Make This Recipe?
Love This Recipe? Try These Next
Hi, I’m Biba, the creator of Chick in Apron!
As a busy mom and food blogger, I am passionate about making cooking fun and stress-free. I share simple, delicious recipes that are quick and easy to prepare, along with helpful kitchen hacks to save you time.
So, let’s turn cooking into something you enjoy with tasty meals and handy tips to make kitchen tasks a breeze! ✨
