Time for the best vanilla cookies, people! There Is nothing better and more comforting than delicious, simple grandma cookies vanilla loaded. They are the perfect treat to satisfy anyone’s sweet tooth. Even if you don’t actually usually like sweets – you will like these!
The best thing about them is that they are easy and simple to make, cute and absolutely adorable. I like using various cookie cutter shapes to have fun and experiment building their shape. From simple circle shape, to cute stars and sandwich variations filled with your favourite jam! Don’t even get me started on the incredible aroma that fills the kitchen while they’re baking. Vanilla is like the warmest invisible hug!
These butter cookies Christmas recipe will help you make cookies that awaken beautiful childhood memories. They remind me of traditional cookies, just like grandmas used to make. I haven’t met a single person who can say no to a good vanilla cookie. They are simply irresistible, and with a good reason!

Christmas Treat

This Christmas sugar cookies recipe is perfect to make cookies for the holiday season, whether you’re snacking by the fire, gifting to neighbours, or adding them to Santa’s plate.
They are the cookies everyone will be reaching for, guaranteed. I made all kinds of Christmas cookies, but these vanilla cookies were the clear winners among my home judges.
Now, what are you waiting for? Grab your apron and let’s get started! I will show you how to make Christmas cookies – the easy way.
What You’ll Need For This Christmas Sugar Cookies Recipe
Butter – The butter is what gives these cookies their flaky texture and incredible taste. I’ve tried substitutions like coconut oil, but trust me – nothing beats the perfection that butter brings.
Lemon zest – While optional, I strongly recommend adding a touch of lemon zest, because it gives the cookies a bright, fruity flavour that pairs so beautifully with their sweetness.
Flour – For a pure, snowy-white cookie look, stick with all-purpose flour. If you’re okay with a slightly darker cookie and you want fiber boost, substitute it with whole wheat flour.
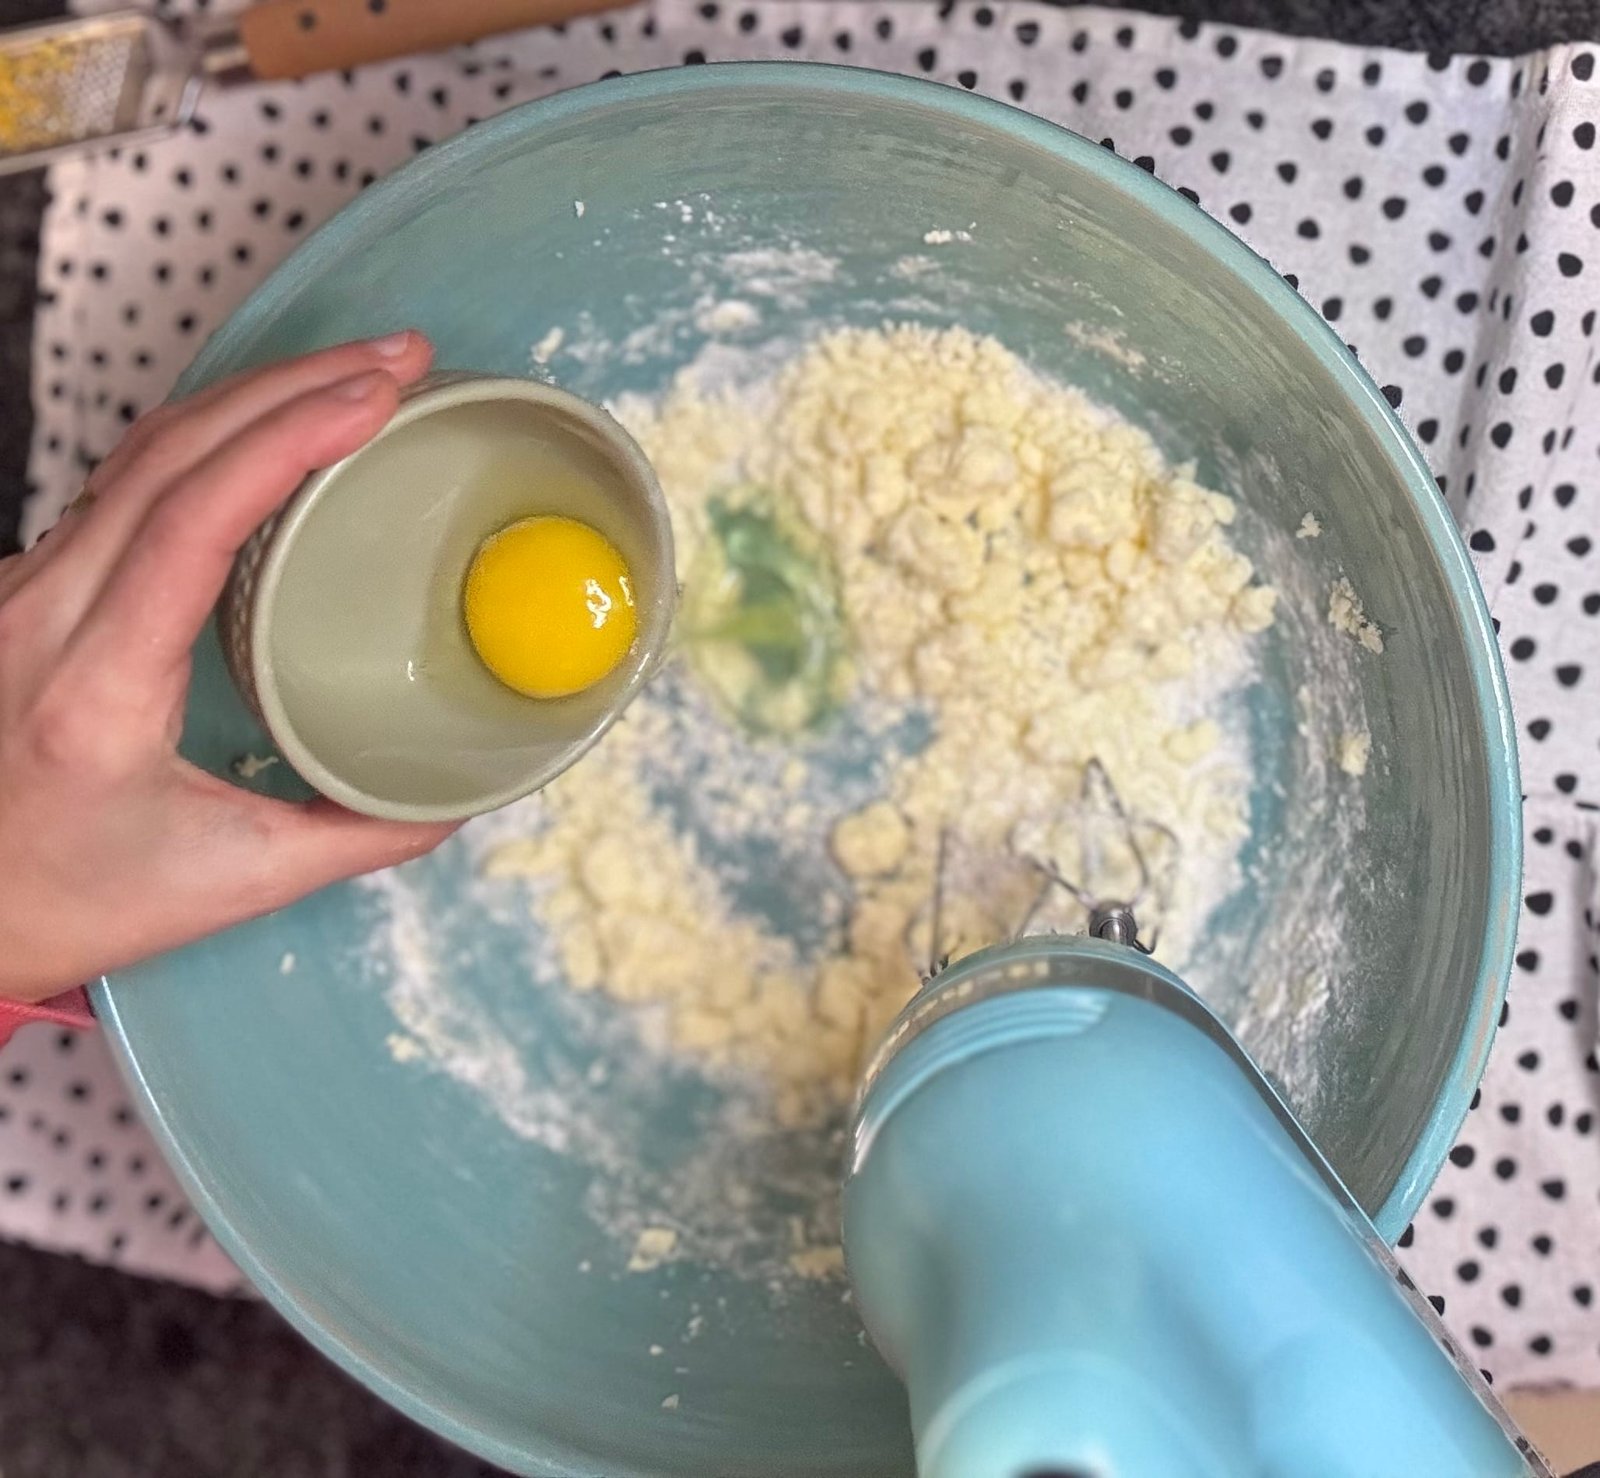
Egg – To perfect the dough and give the right texture, one egg will do the magic. Make sure you keep the egg at room temperature for at least 30 minutes to incorporate nicely.

Vanilla extract – This is the heart of the flavour! Whether you use vanilla extract or vanilla sugar, it’s what makes these cookies so irresistible.
Powdered sugar – It is essential that you use powdered sugar instead of regular granulated sugar. I’ve tried both, and powdered sugar always wins for the smooth perfect texture that gives to the cookies. Plus, you will need some for dusting, so it is an important ingredient. Granulated sugar doesn’t always mix well into the dough, which can leave little crunchy sugar bits in the final cookies, and that is not exactly what we are looking for.
Pinch of salt, some baking soda and baking powder – The magic baking trio, that helps the cookies bake perfectly and get nice and fluffy.
For Decorating
Keep it simple and dust some powdered sugar for a classic, elegant look. You can also make cookie sandwiches with your favourite jam. Or you can go even further and cut a small shape in the top cookie for an extra fancy look. This time, I used a wild berry mix jam for nice colour and extra flavour. I also like how jam softens the cookies, but that’s me 🙂 Have fun!
The Best Vanilla Cookies
Course: DessertDifficulty: Easy6
servings10
minutes15
minutes1
hour10
minutesLearn how to make traditional, simple, and delicious vanilla cookies - a popular Christmas treat that’s perfect for any holiday celebration
Ingredients
125 gr. unsalted butter, at room temperature
2 cups powdered sugar (plus about ½ cup extra for dusting)
1 egg, at room temperature
1 tablespoon lemon zest
2 tablespoons vanilla extract or vanilla sugar
200-250 gr all purpose flour
Pinch of salt and baking soda
1/2 teaspoon baking powder
Directions
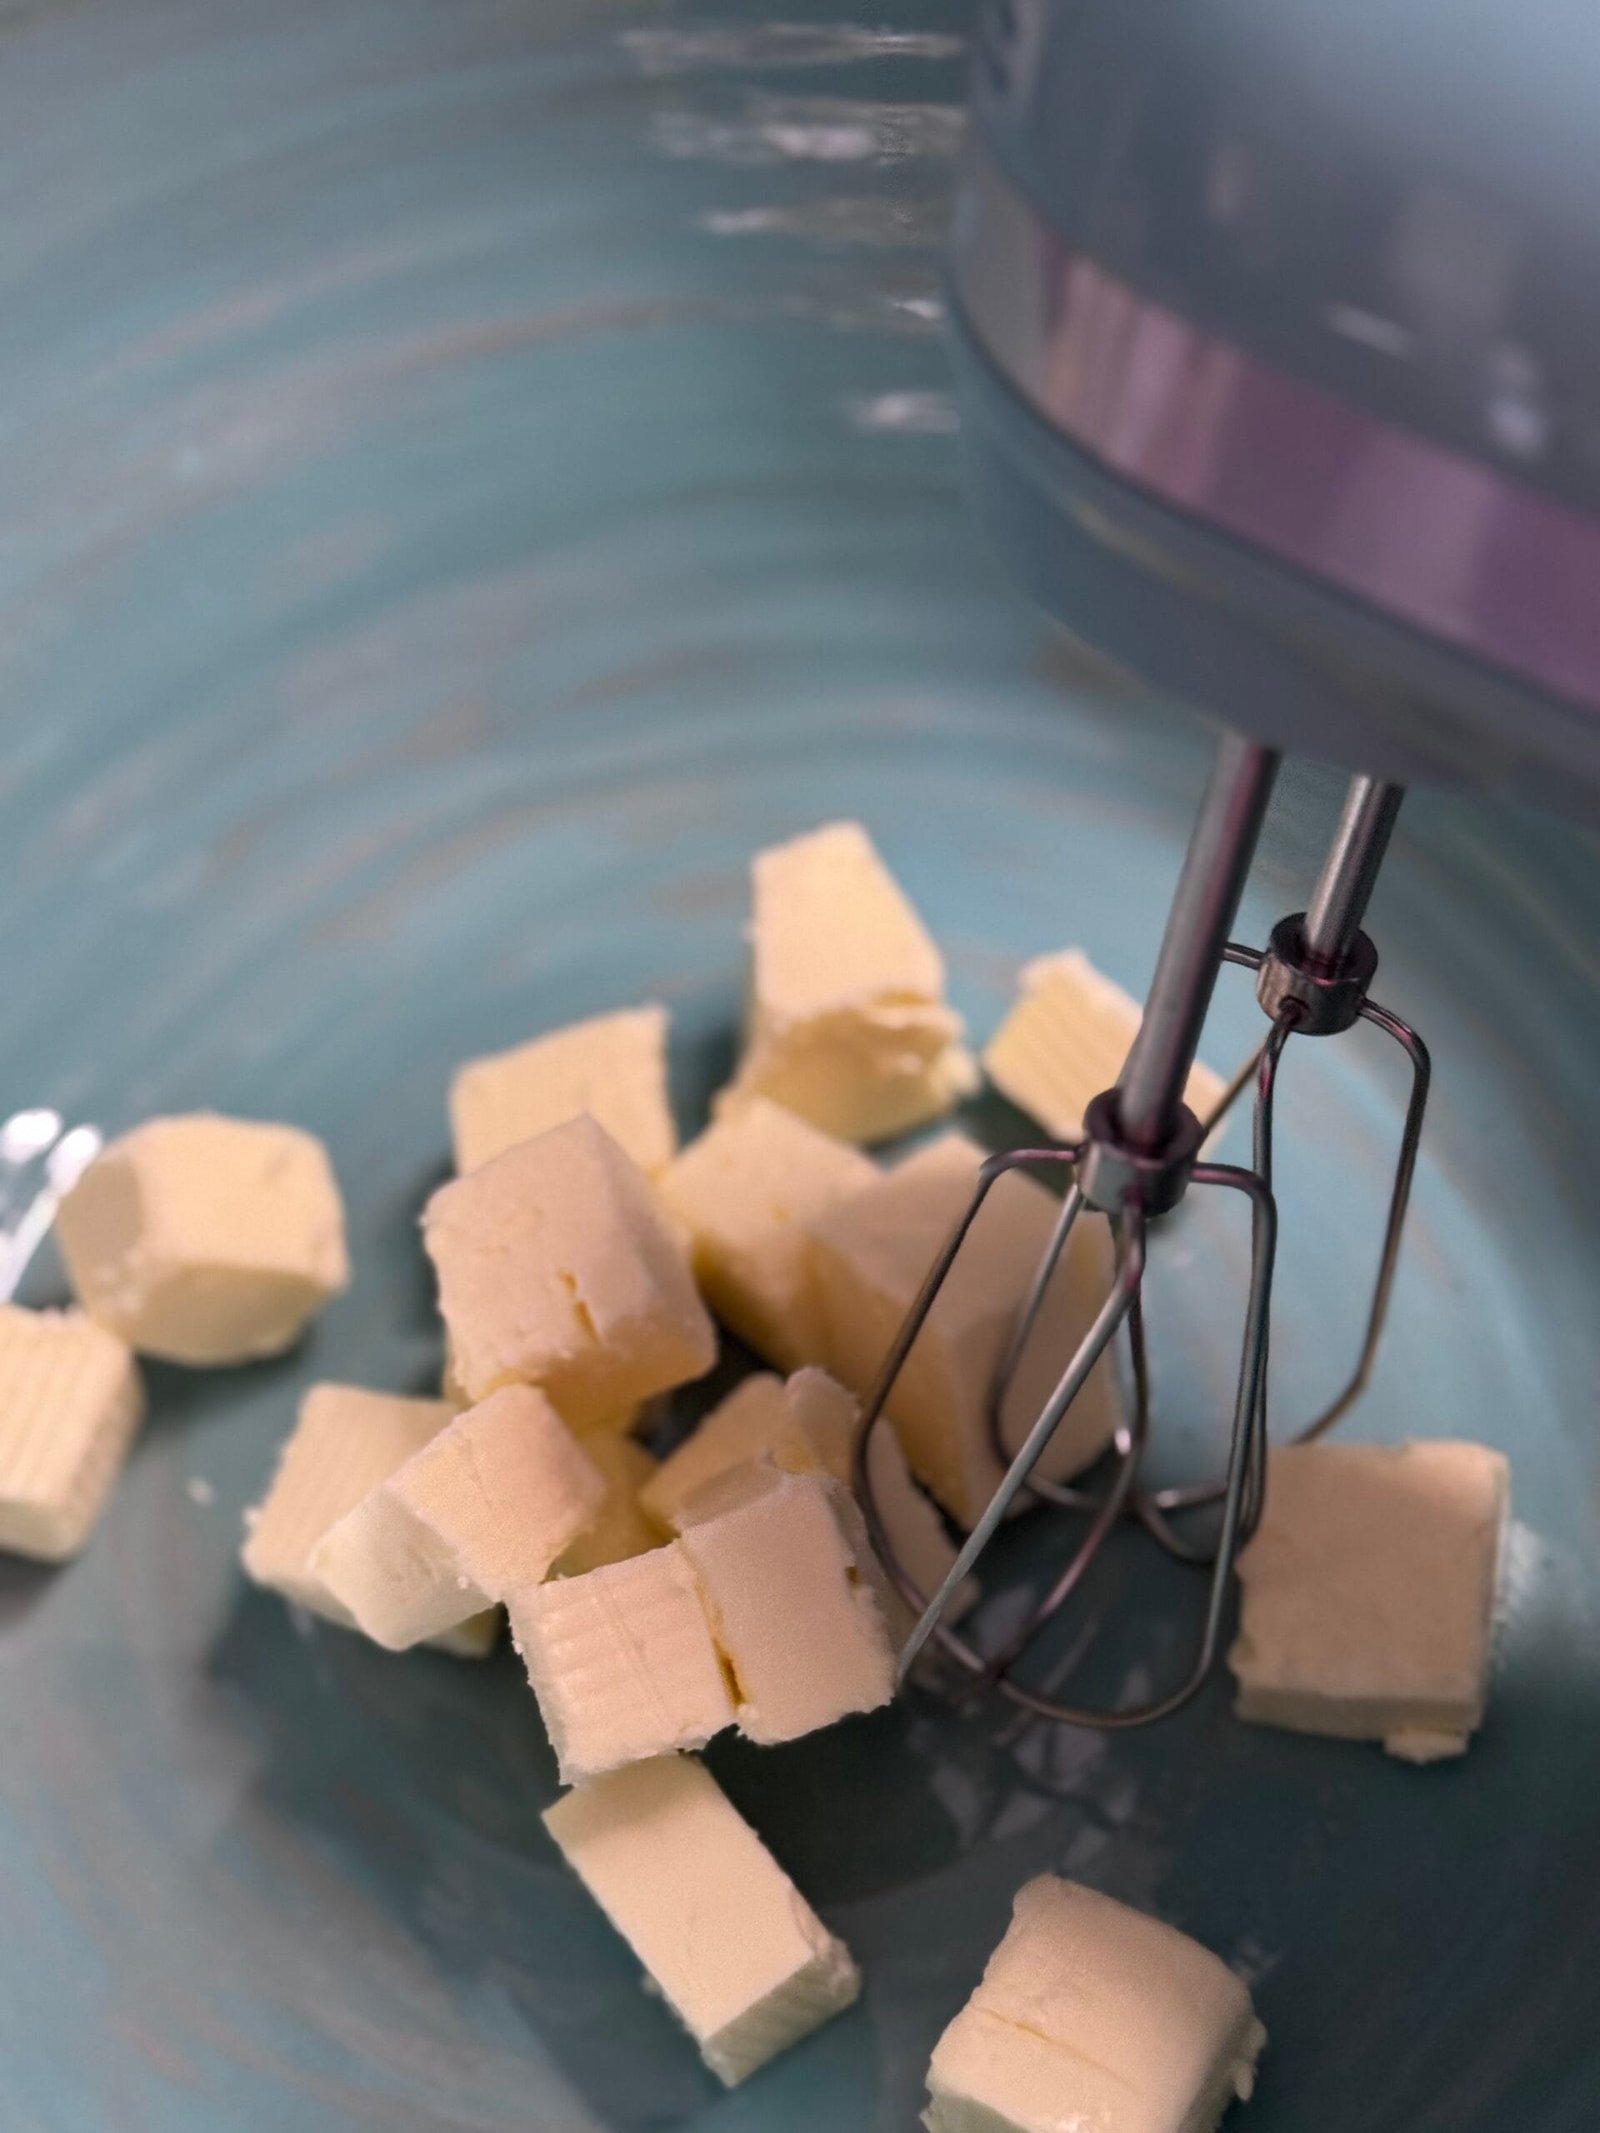
- Using a hand mixer or stand mixer, mix the butter until smooth and fluffy. For best results, let the butter sit at a room temperature for at least 30 minutes before starting. Cut the butter into small cubes as it helps in the mixing process.
- Gradually mix in the powdered sugar as you cream the butter. Next, add the vanilla and lemon zest for extra flavour.
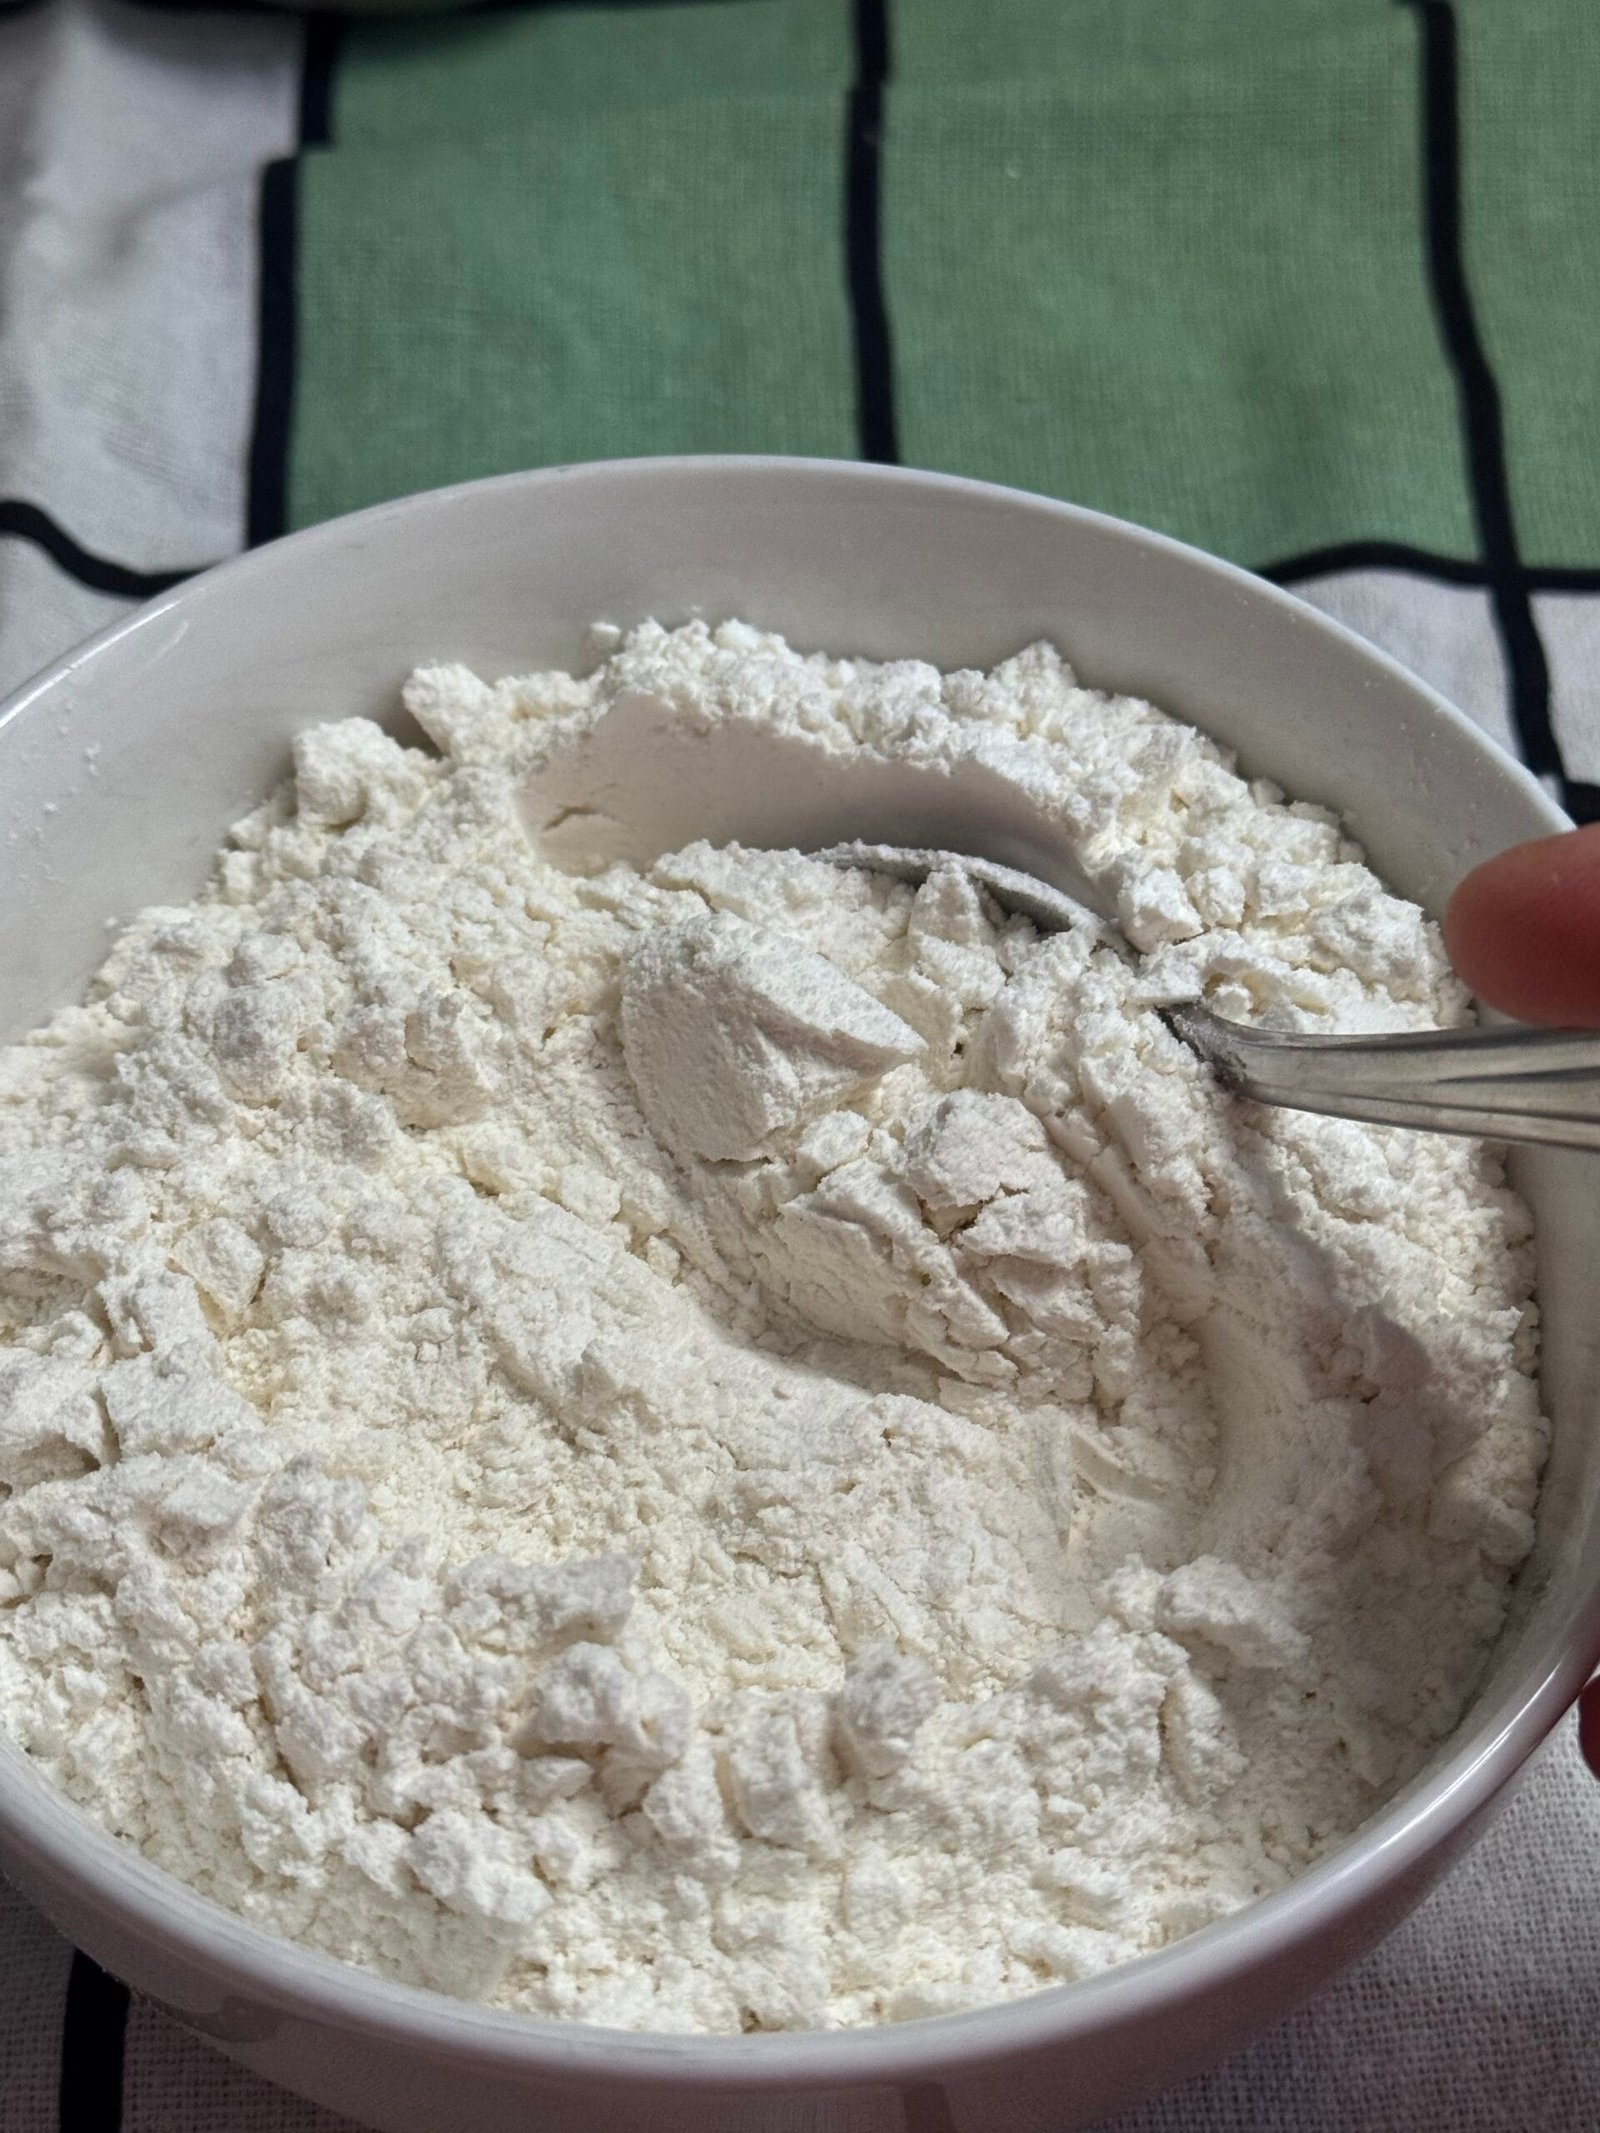
- In a separate bowl, mix the dry ingredients by combining the flour, salt, baking powder, and baking soda. Slowly add the dry mix into the wet ingredients, blending as you go.
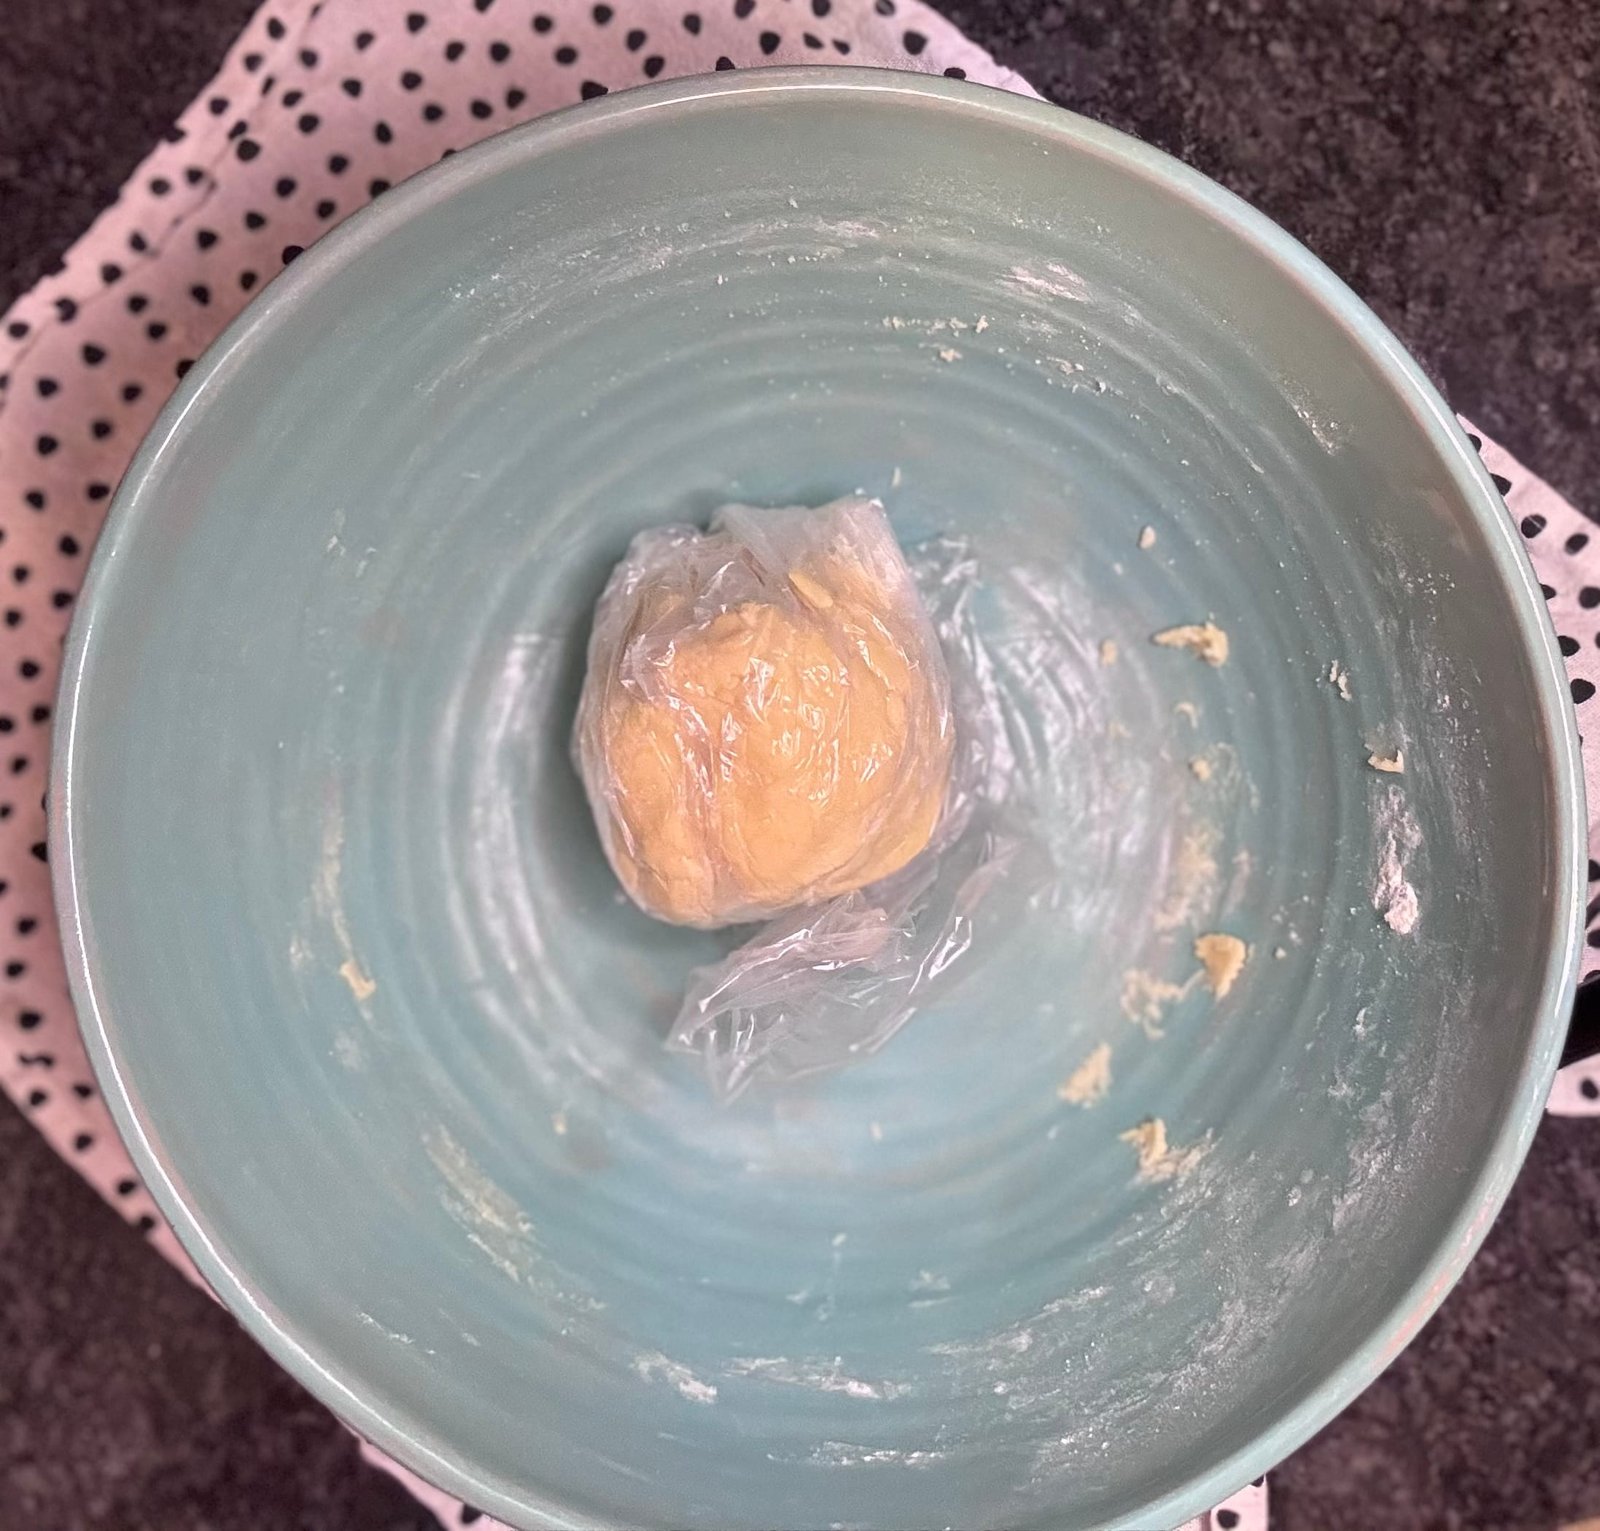
- Now, switch to a spatula or simply use your hands to bring the dough together into a smooth ball. Wrap it in plastic wrap and let it chill in the fridge for at least 30 minutes to firm up. This step will also make easier to shape the cookies and prevent them from sticking to the surface.
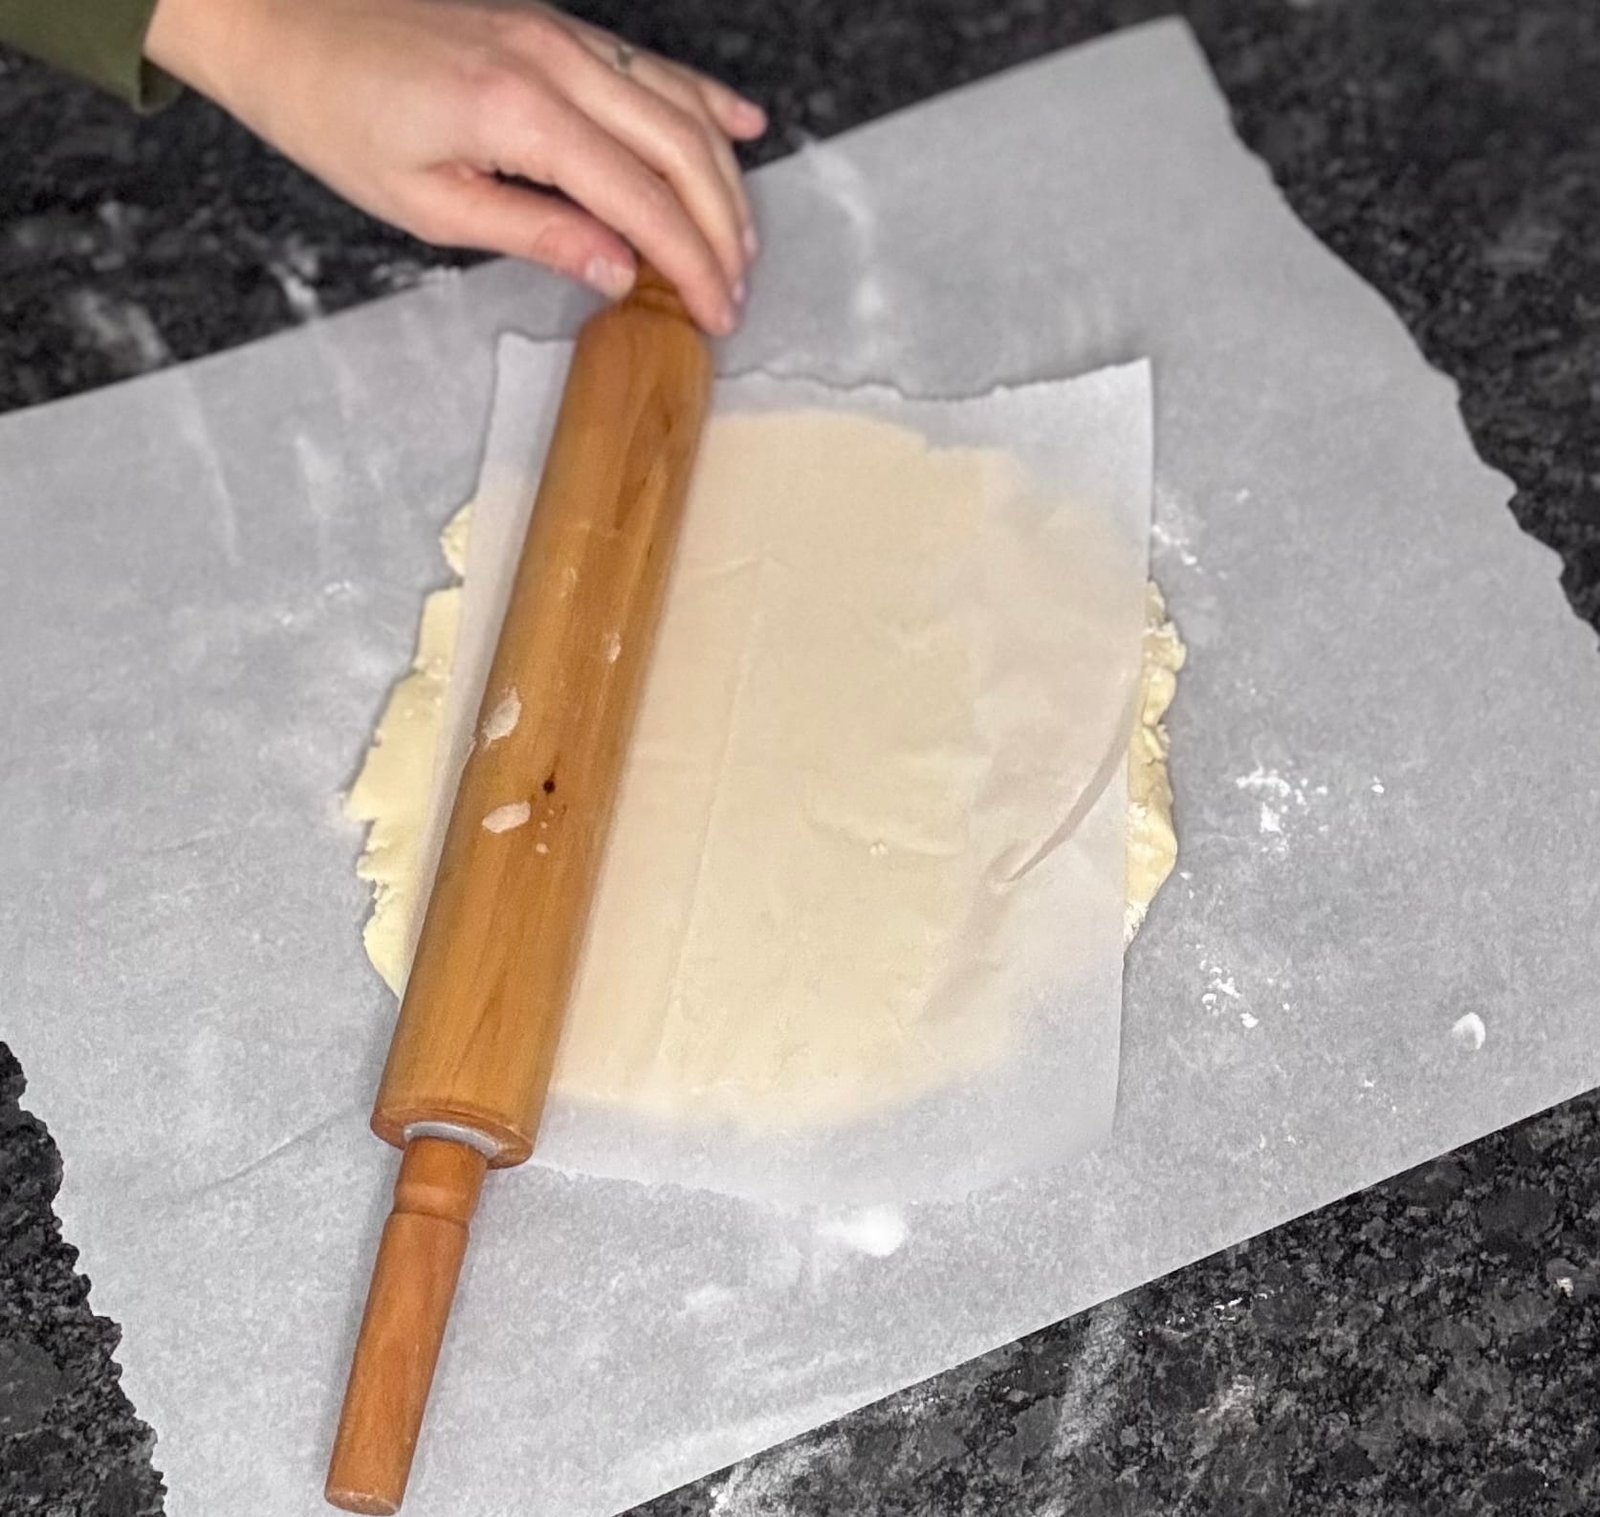
- Once the dough is ready, roll it out to about 1 inch thick with a rolling pin. In a meantime, preheat the oven to 350°F.
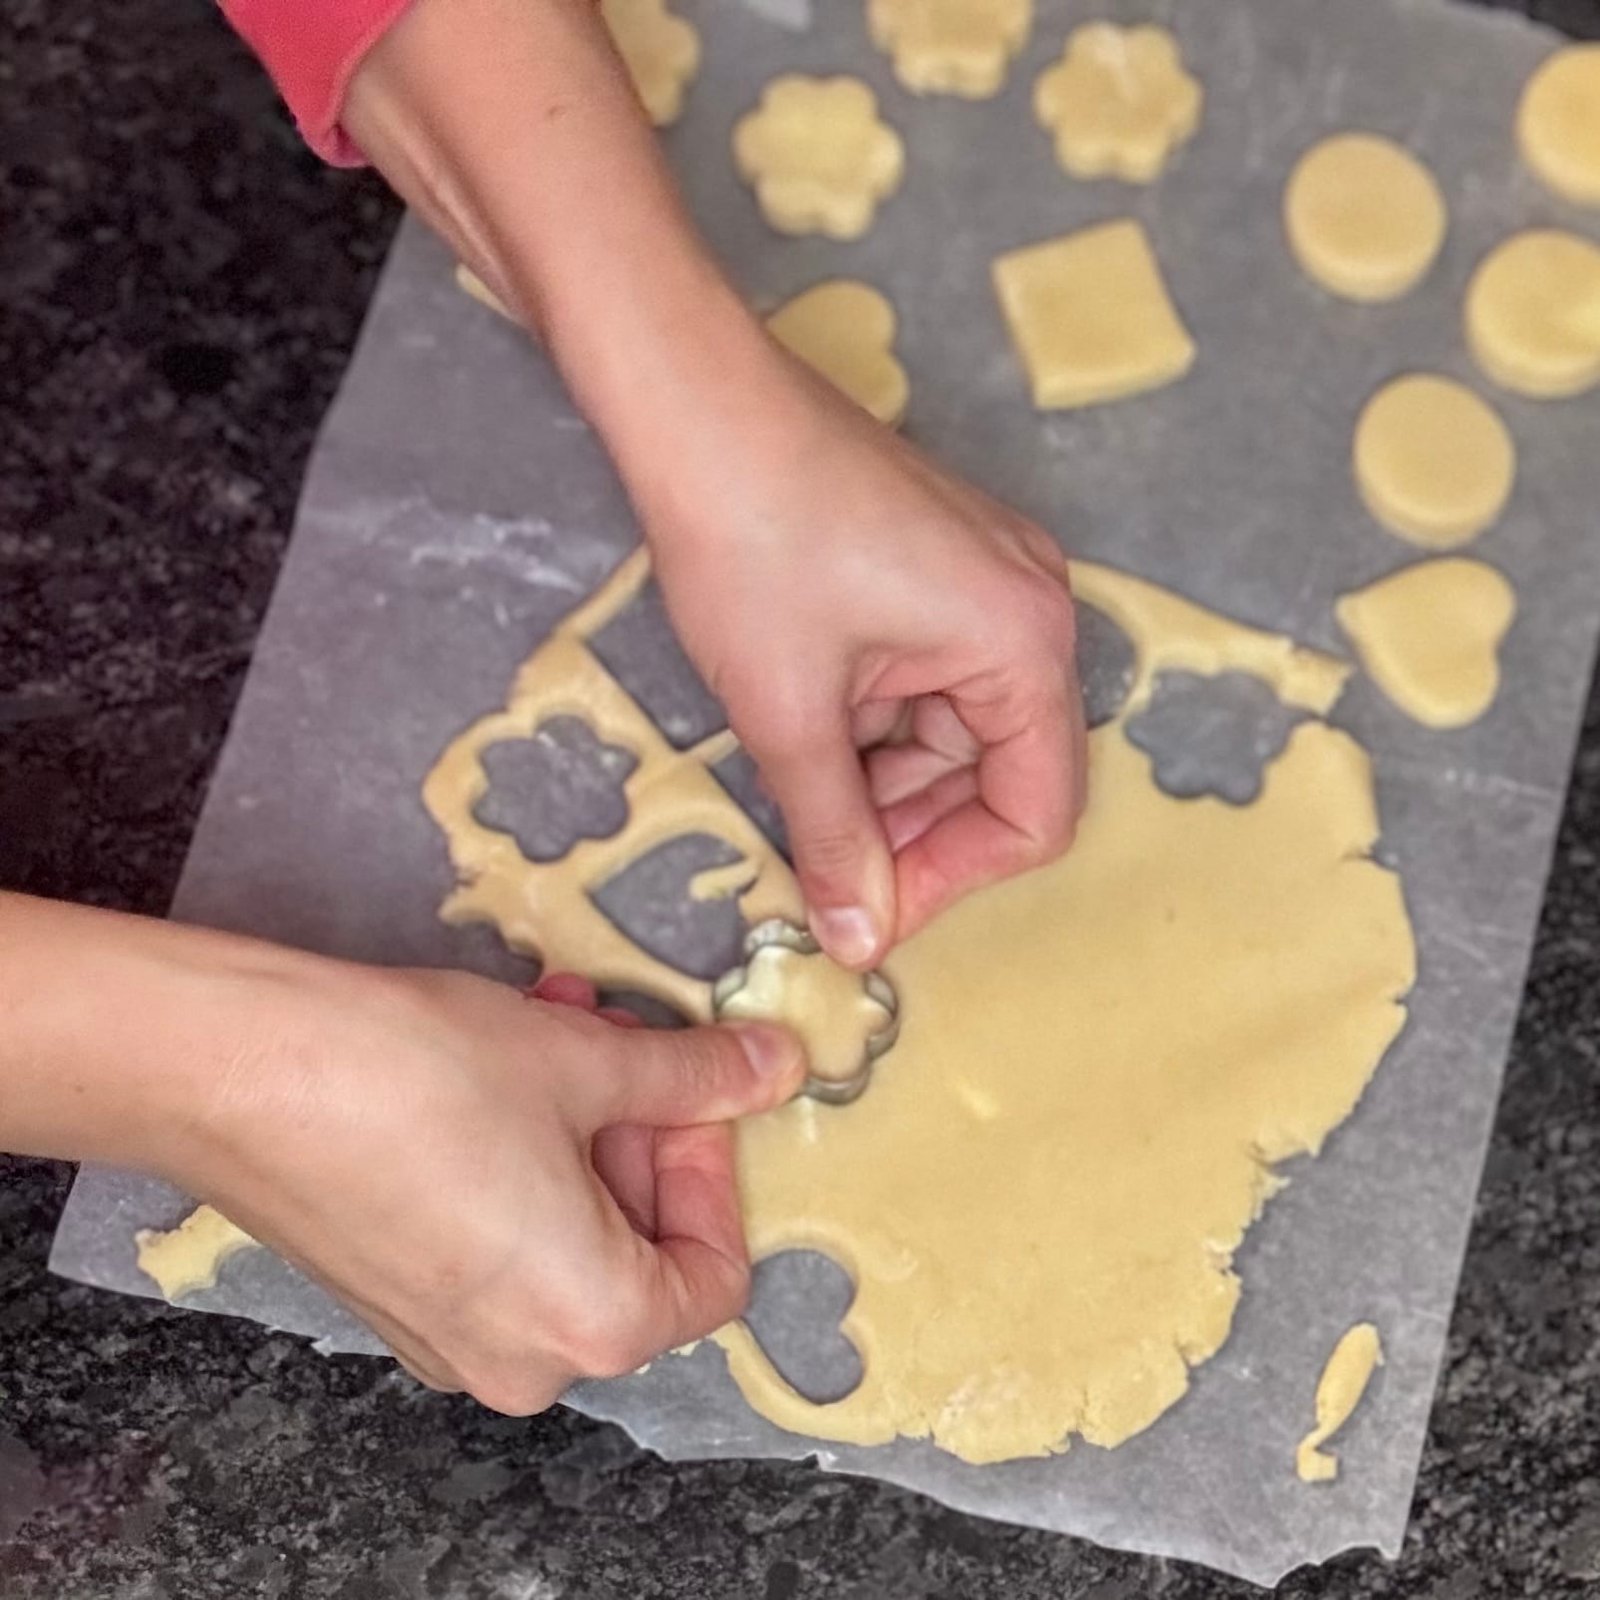
- Using cookie cutters, cut out the cookies to your favourite shapes. This is the fun part, so get creative! Note: If you’re making sandwich cookies, roll the dough thinner so the cookies do not get too high when the bottom part get combined.
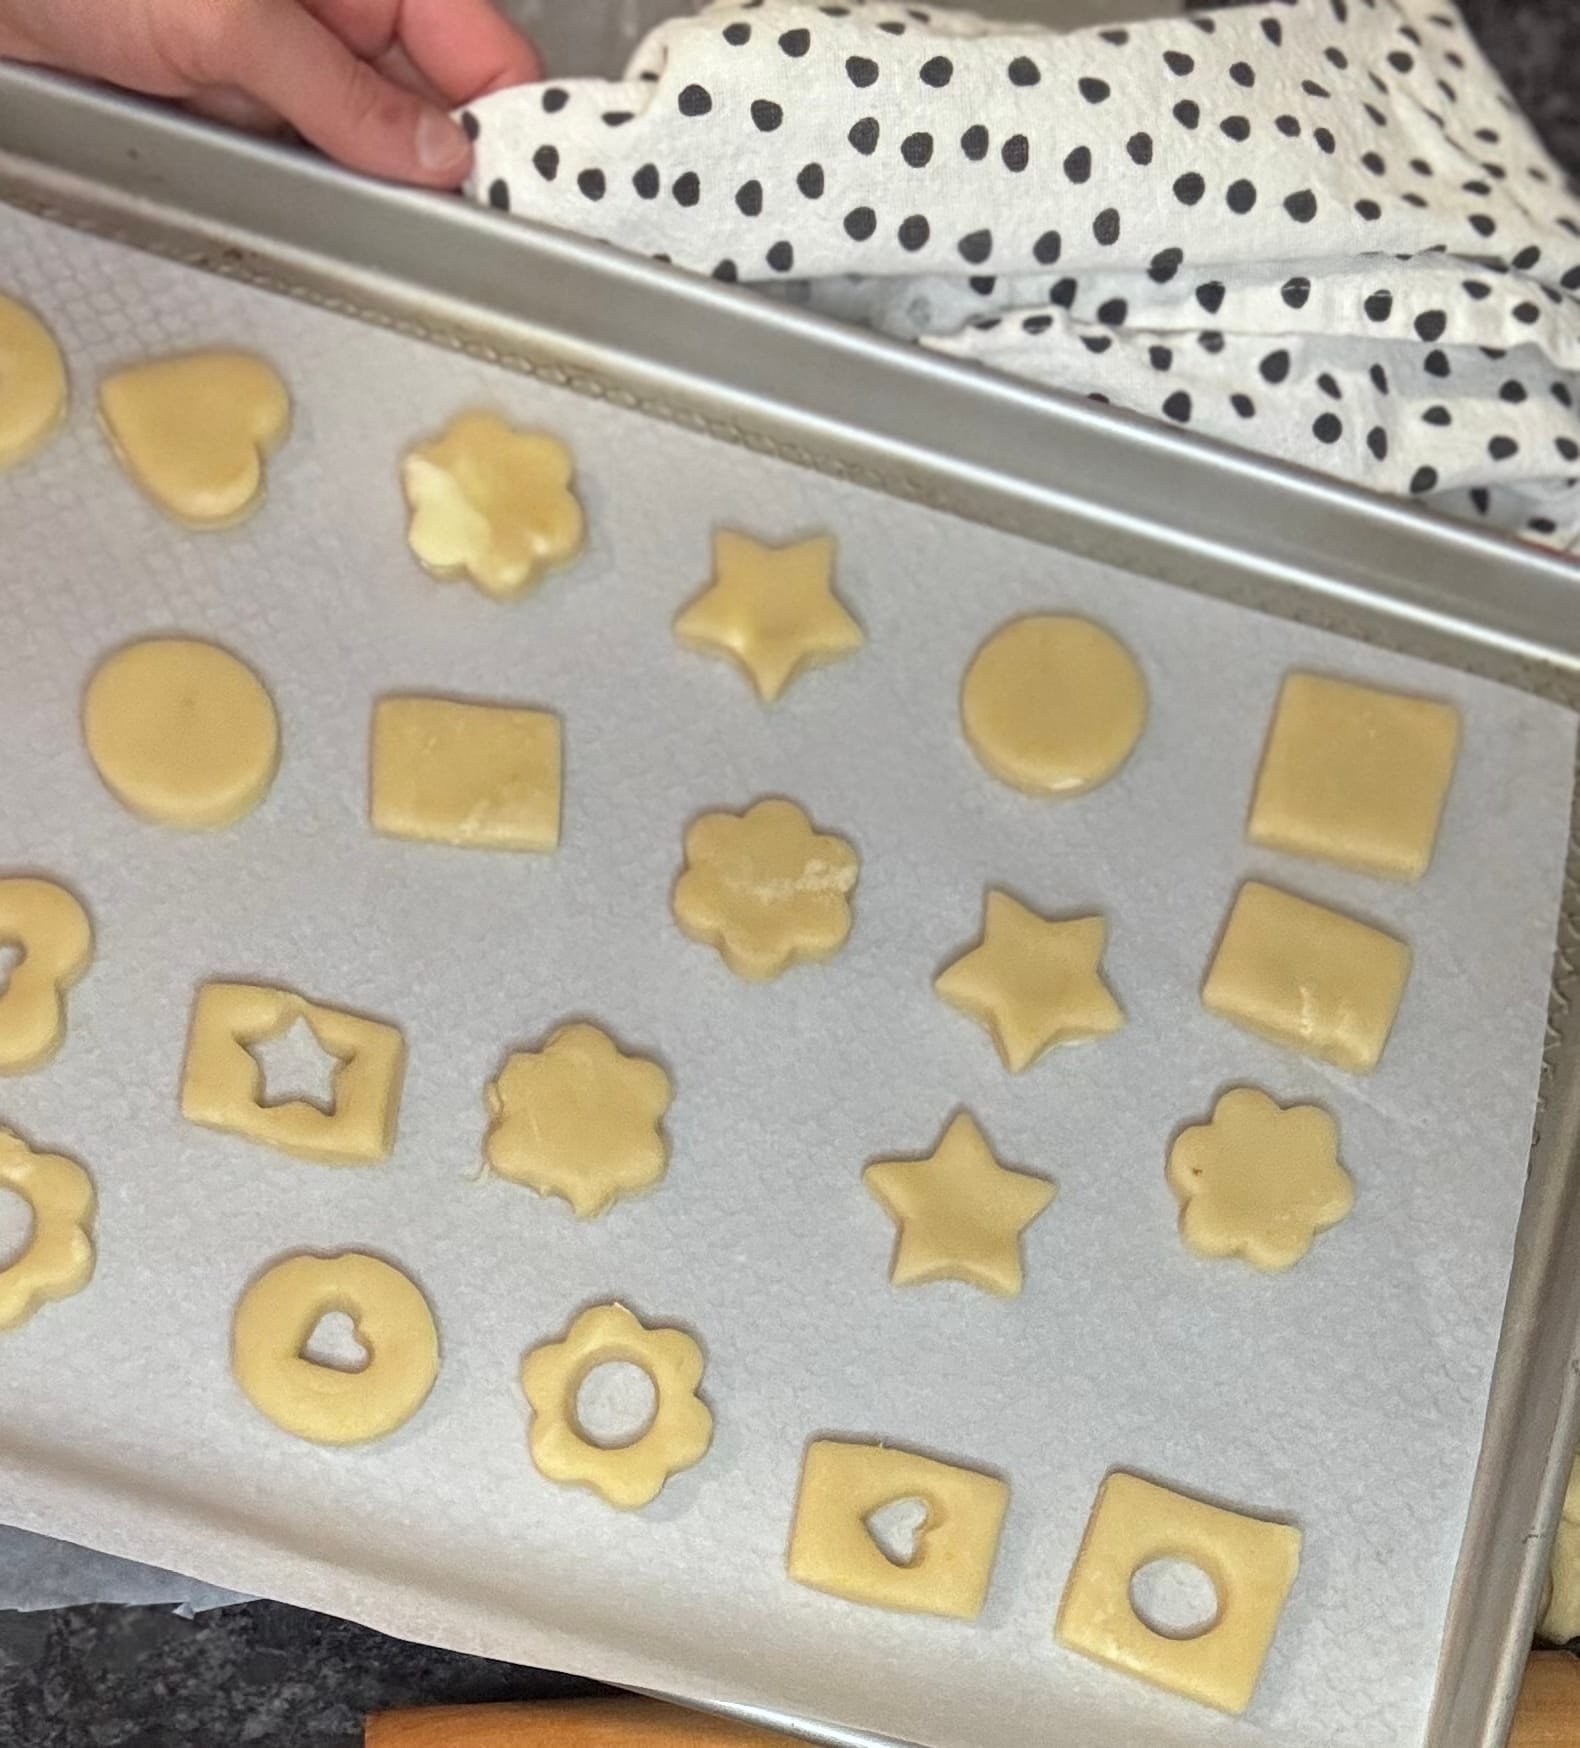
- Place the cookies on a baking sheet lined with parchment paper and bake for 10-15 minutes. Keep an eye on them, as they should be just golden around the edges. Don't over-bake as they will be too crunchy.
- Cool and decorate
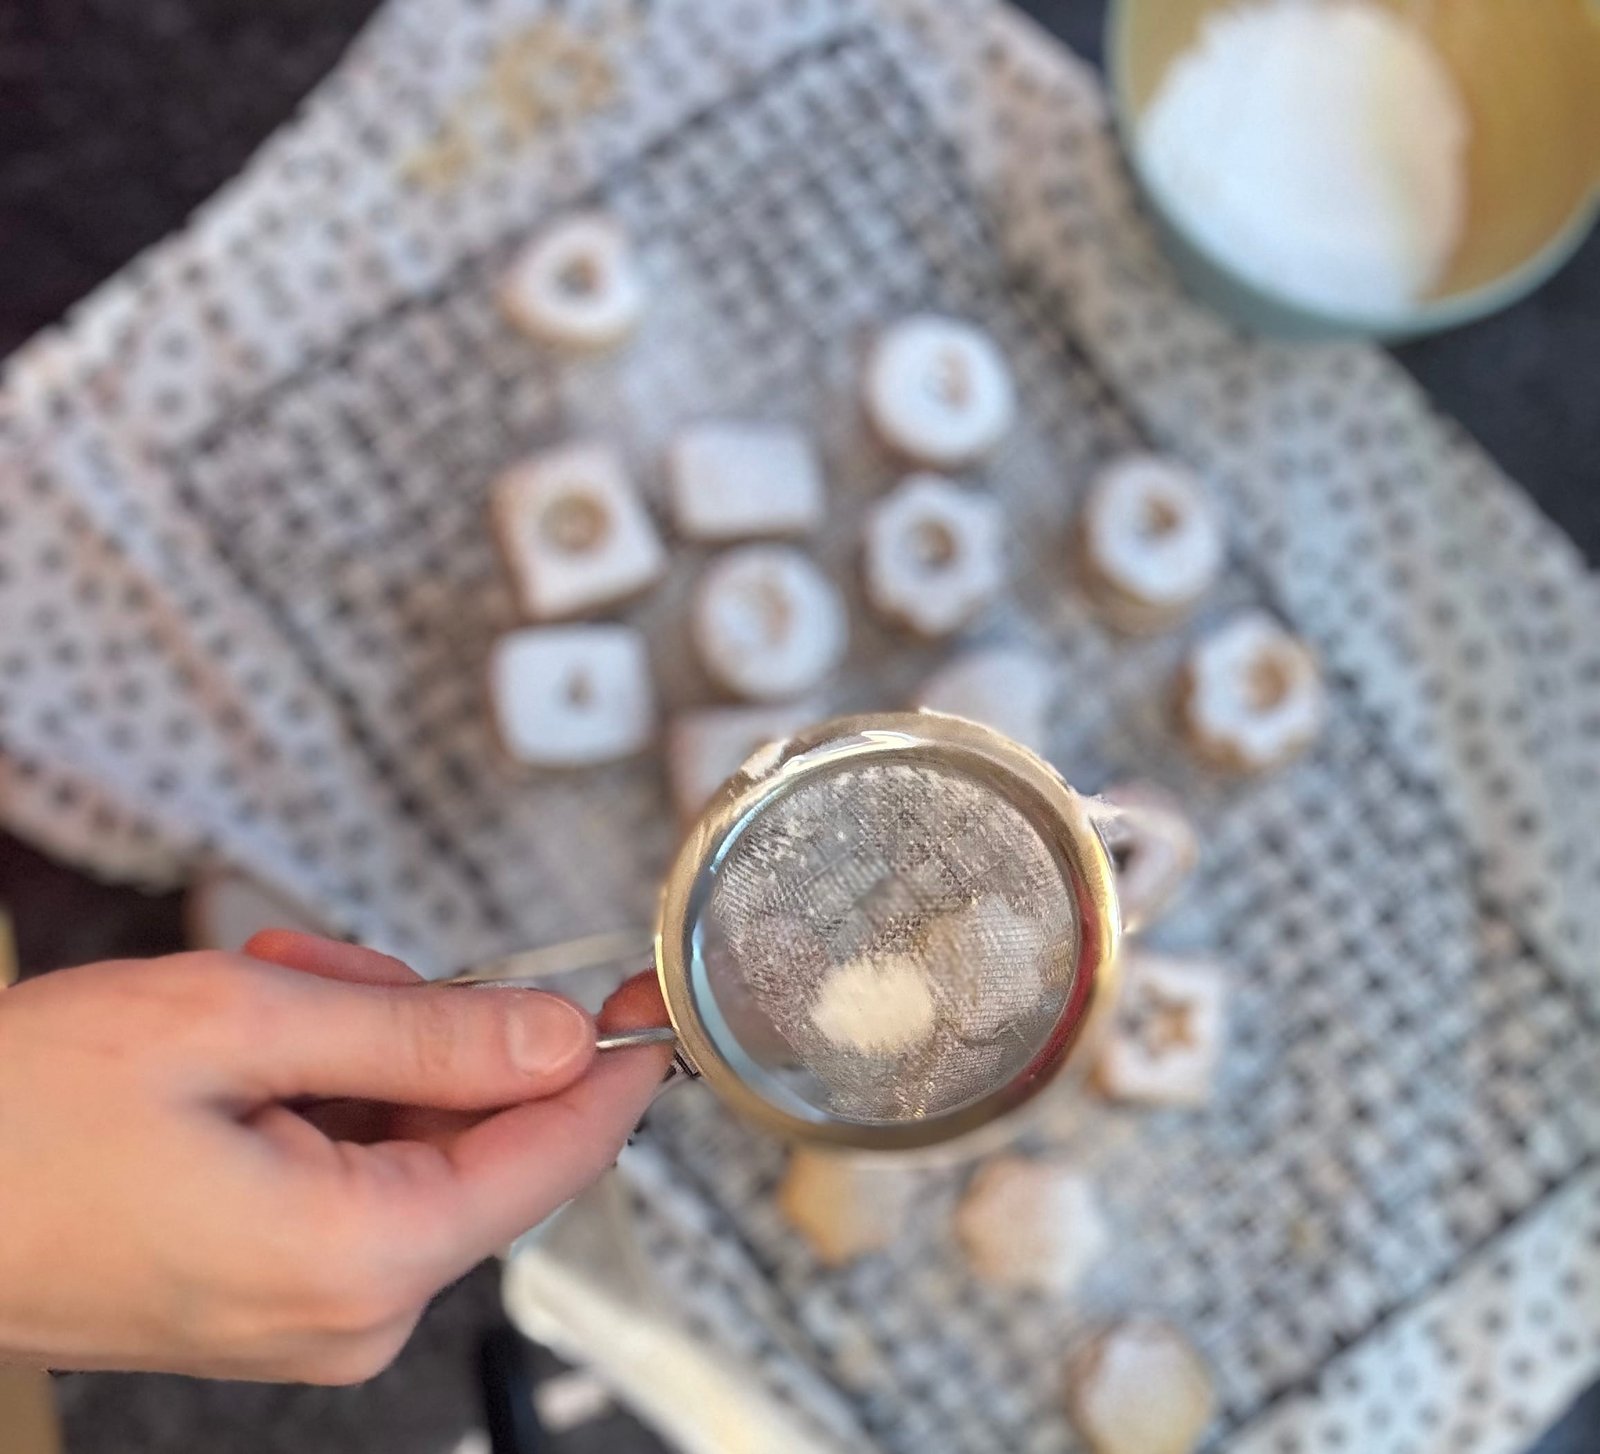
- Let the cookies cool slightly, then dust them with powdered sugar. If you are making sandwich cookies, after dusting, spread your favourite jam on one cookie and top it with another.
Notes
- Don’t worry if the cookies don’t look fully done. When they are golden on the bottom and just starting to brown around the edges, it might be a good time to pull them out. To keep them flaky and delicious, take them out and let them cool, they will settle perfectly as they rest.
- Lay some wax paper on your kitchen countertop while shaping and cutting the cookies. It will make the cleanup much easier, no fuss-no mess.
- ln the sugar you can add some cinnamon for extra flavour, but I like to keep things simple and dust with simple plain powdered sugar.
- Alternatively, you can dip the cookies in some melted white chocolate and add some sprinkles on top - be creative.
These Christmas sugar cookies are so perfect – a true delight! Both kids and adults went crazy for them and they barely lasted until the next morning. We officially agreed that THESE are the cookies for Santa. So Santa – get ready to enjoy the visit!
How to Store the Vanilla Cookies
You can refrigerate the dough, simply wrap the dough in plastic wrap and store it in the fridge for a few days. Alternatively, freeze the dough for up to a month. Just make sure it’s well wrapped.
Baked cookies can also be frozen. Just skip the powdered sugar until you are ready to serve.
Try some of the other recipes and complete your menu
Spread the Word
Don’t forget to let me know how they turned out! Share the recipe with friends and family, and spread the word for some inspiration. Enjoy the cozy, warm season!
Hi, I’m Biba, the creator of Chick in Apron! As a busy mom and food blogger, I am passionate about making cooking fun and stress-free. I share simple, delicious recipes that are quick and easy to prepare, along with helpful kitchen hacks to save you time.
So, let’s turn cooking into something you enjoy with tasty meals and handy tips to make kitchen tasks a breeze! ✨

